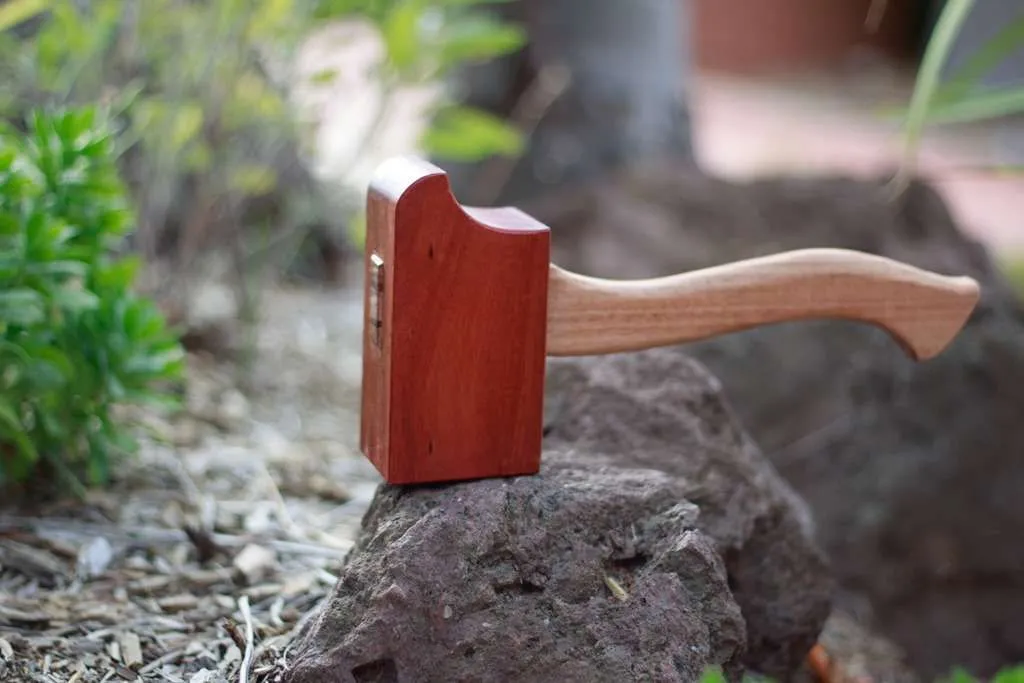
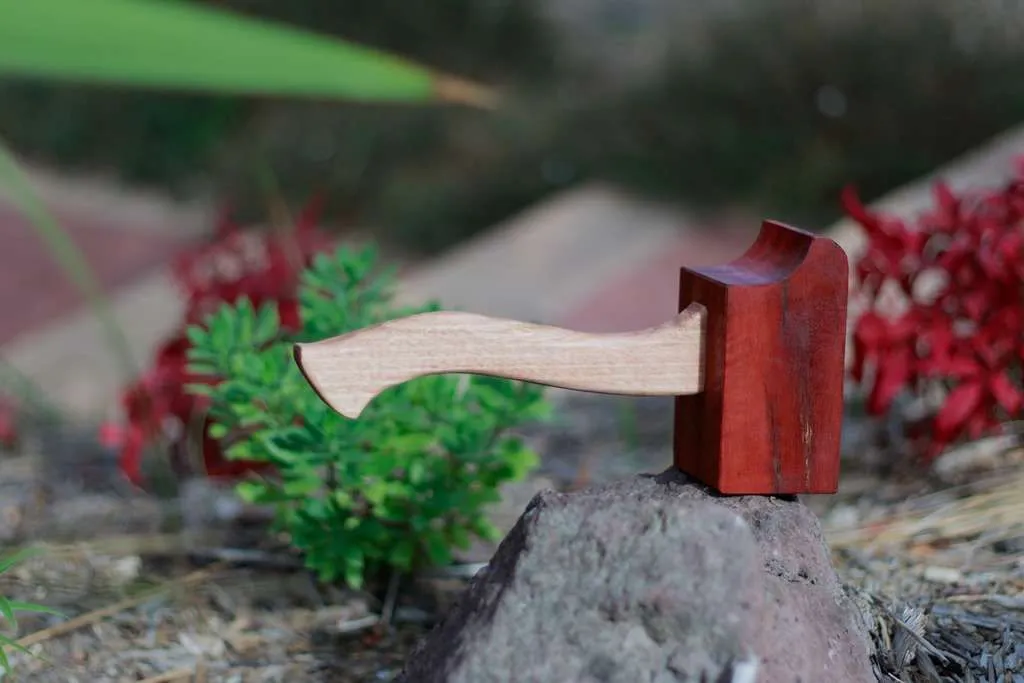
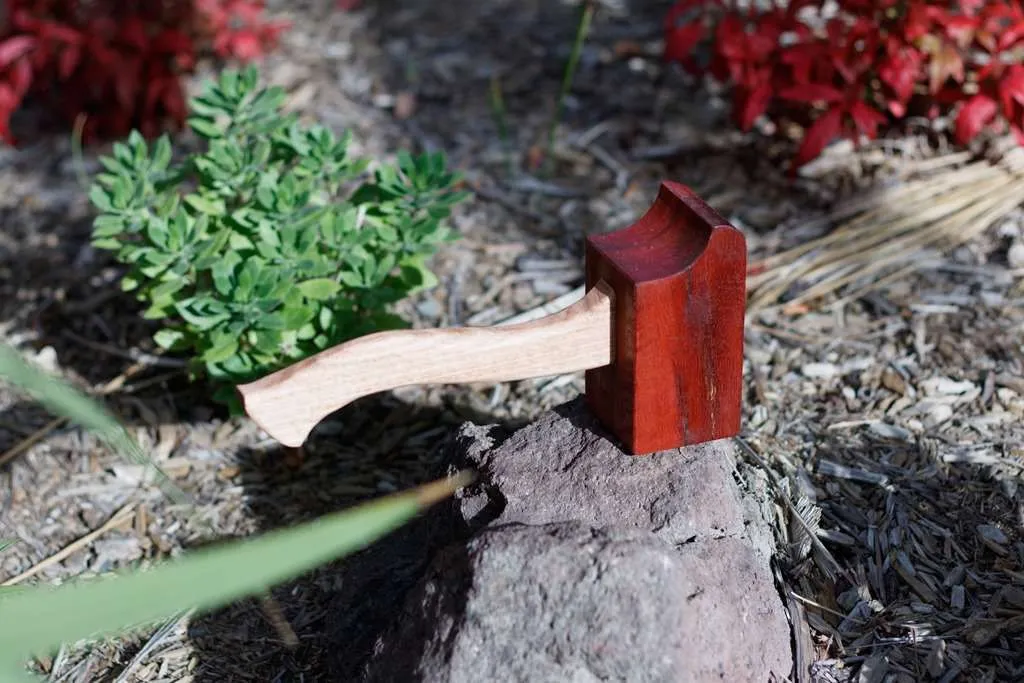
Hatchet Mallet
Grab the free template
Making your own mallet is almost a rite of passage for woodworkers, right up there with building your own workbench and making a chopping board. Until now, I’ve only been using a ~$10 or so wooden mallet from Bunnings. To be fair to the mallet, it hasn’t done me too wrong for the abuse I’ve hurled at it, but it is far from perfect.
Looks aside, the mallet isn’t super comfortable with just a straight handle and doesn’t weigh enough. Heavier mallets require less effort to propel a chisel forward – more dropping the mallet on the chisel than winding up to thwack it as hard as possible. A example of this is brass head mallets, often weighing in at 500g to 700g. My old mallet comes in at a paltry 343g compared to the new mallet at a much more substantial 583g! Given how much I like my new mallet, one day I may remake it with some weights in it to make it even heavier, for a deadblow effect.
One of the “issues” with other mallets is they all look the same – nearly all derive from Steve Ramseys video, which itself derives from WOOD magazine. This isn’t really an issue, it’s just I wanted something that looked differently, so I started looking up small axes and hatchet designs, until I found the handle and head shapes I liked.
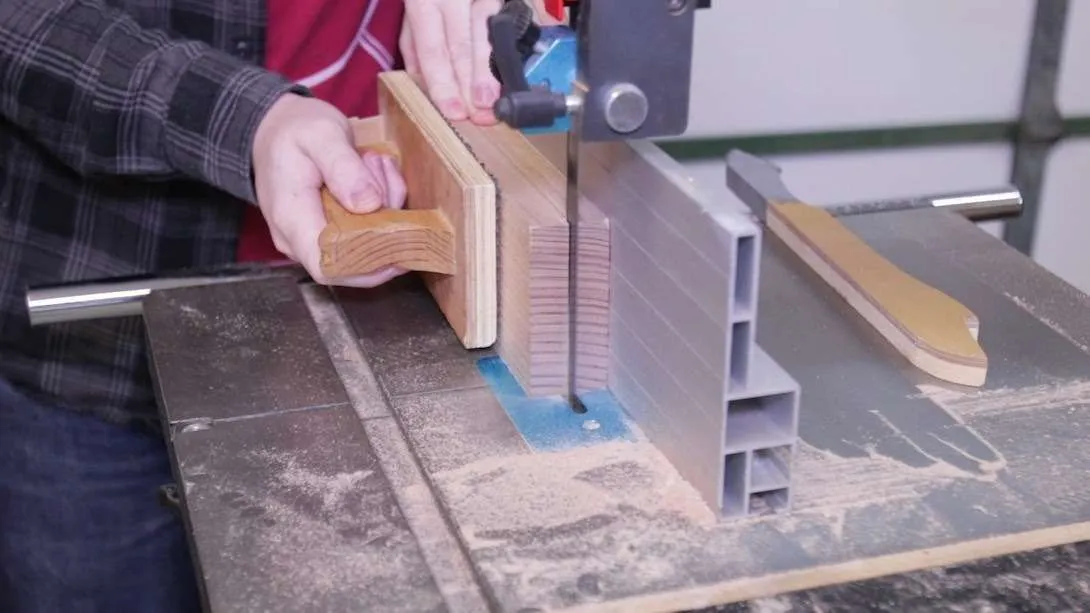
I started by prepping the material, in this case Vic Ash. I wanted the handle to be about 20mm thick, so the 44mm board will yield two handle “blanks”.
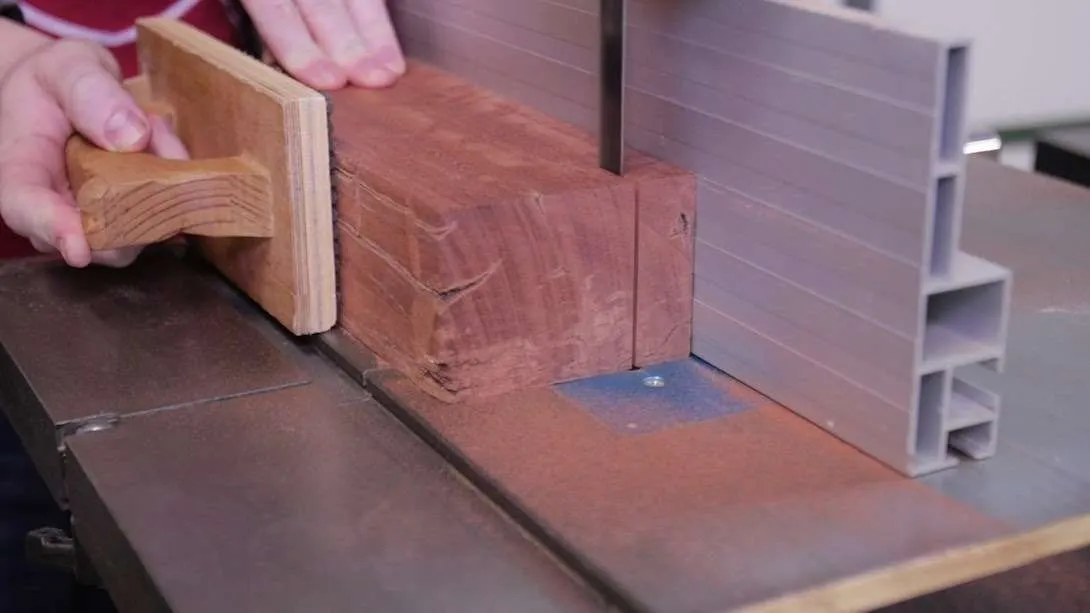
As a nice contrast, the mallet head is redgum – an old fence post at that. Redgum is nice and heavy, but also a lovely colour. I could slice off parts of redgum to form the three layers needed for the head of the mallet.
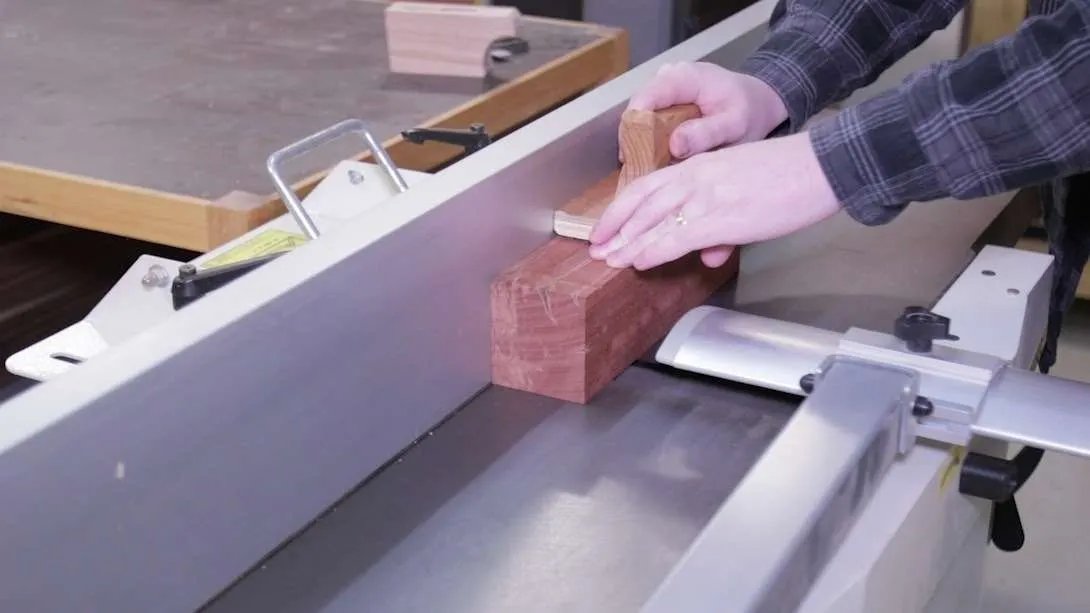
Between each layer, I took the remaining block to the jointer to clean up the face. It doesn’t matter too much if the face isn’t square to the edge, but flattening the face does make it easier to resaw, and will give me the maximum thickness yield. Two passes with the table set as high as possible (ie removing the least amount of material) cleaned it up.
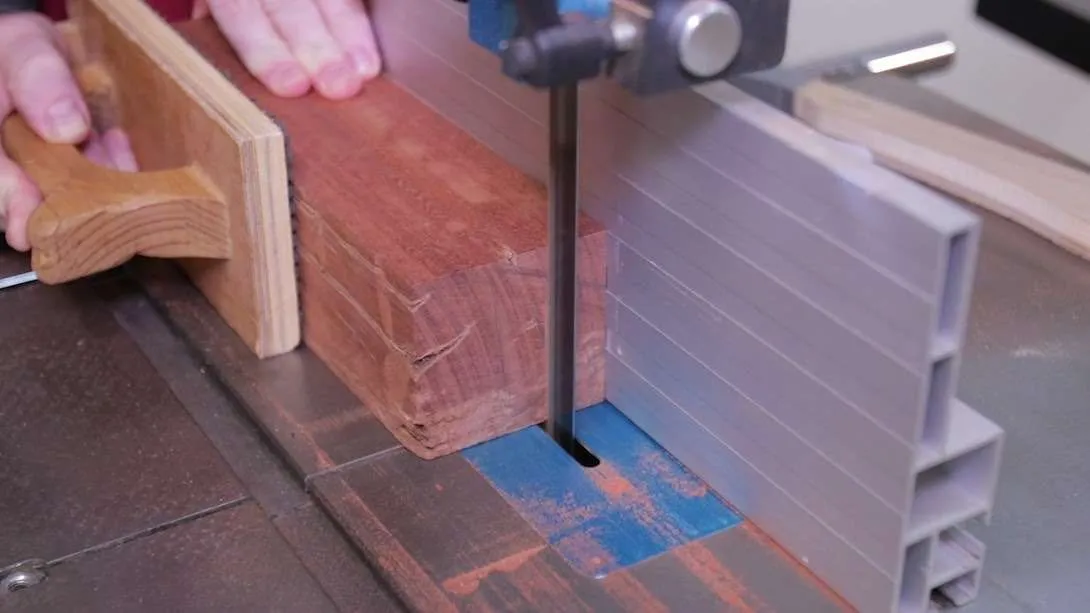
Then it was back to the bandsaw to continue the resawing. You can see here (just!) that I added a carpenters triangle to keep the parts aligned later for nice grain matching. Not really a necessity for a mallet, but a nicety.
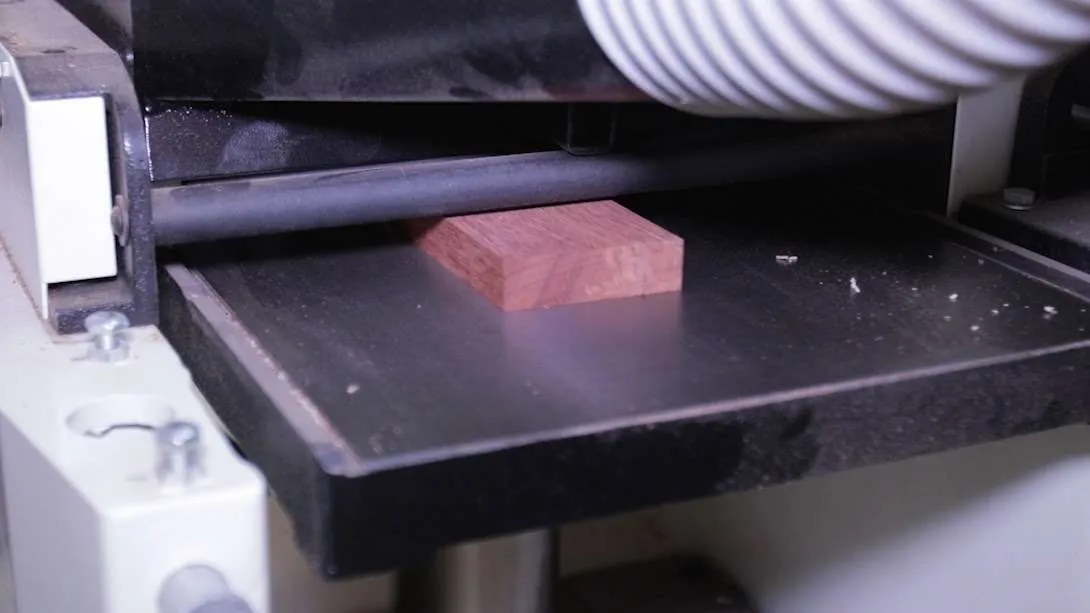
The middle layer of redgum needs to be the same thickness as the vic ash, so both were thicknessed down to the same value. This helps form a nice snug tenon.
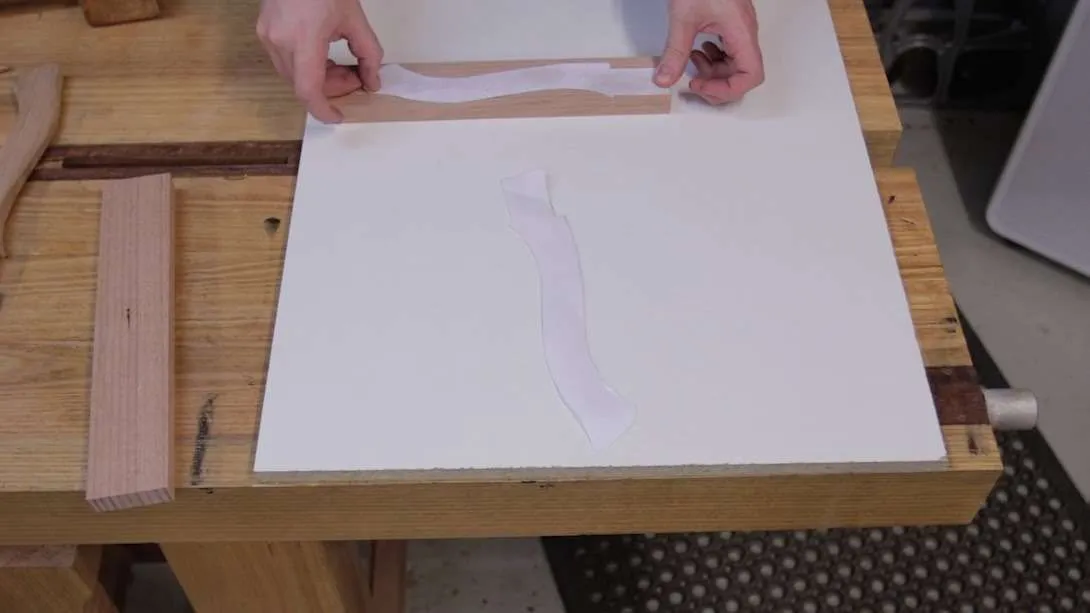
The handle template (see above) is stuck onto the handle blank with spray adhesive. A craft glue stick, hot glue, double sided tape, or PVA will all work too – spray adhesive dries quickly, doesn’t leave much residue behind, and I had it on hand. Later on, I was able to just peel off the remaining paper – if I used double sided tape or PVA I would have been doing a lot of scraping.
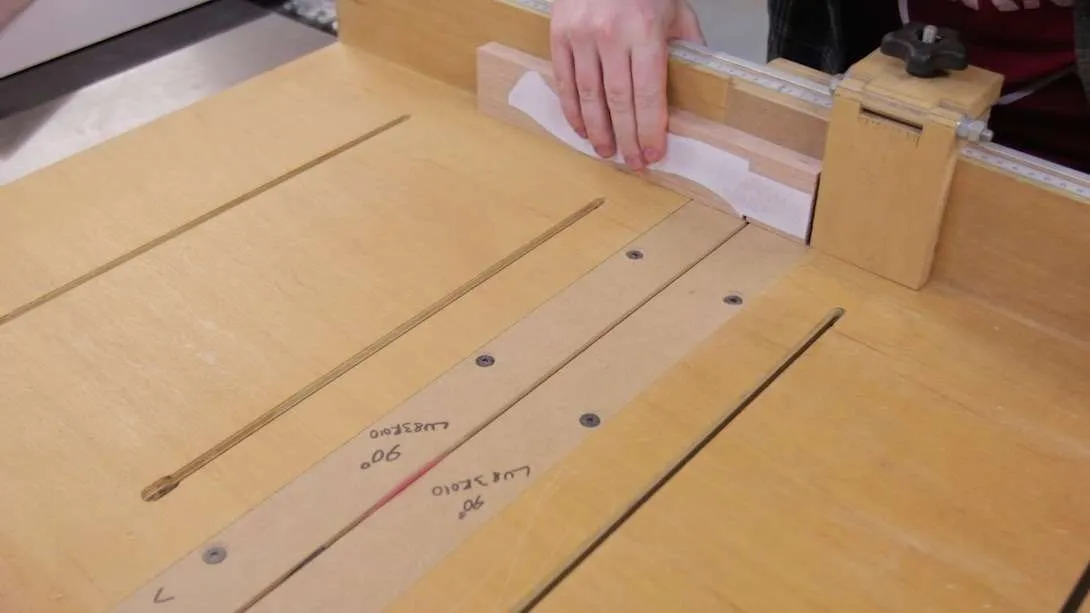
The tenon is asymmetrical to reduce overall material needed, though could be made to be symmetrical. I nibbled away at it using the crosscut sled and table saw
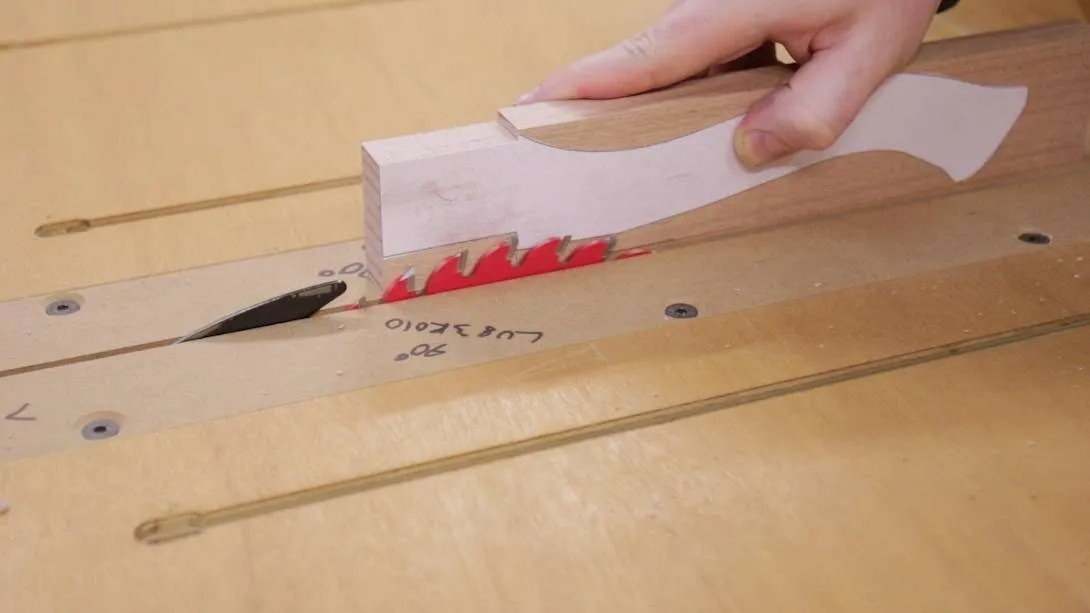
I changed the height of the blade for the other side of the tenon. This is really just a guide, so quickly eyeballing it is more than accurate enough.
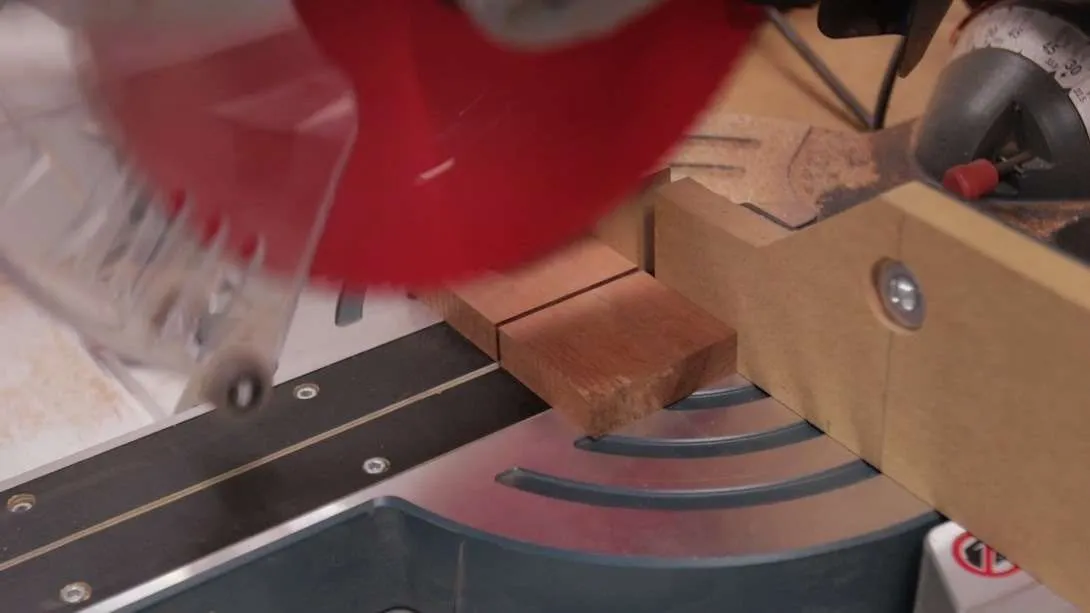
Though not super visible in this shot, the middle layer was cut in half at a 2 degree angle. This creates space for the tenon to expand when its wedged in later.
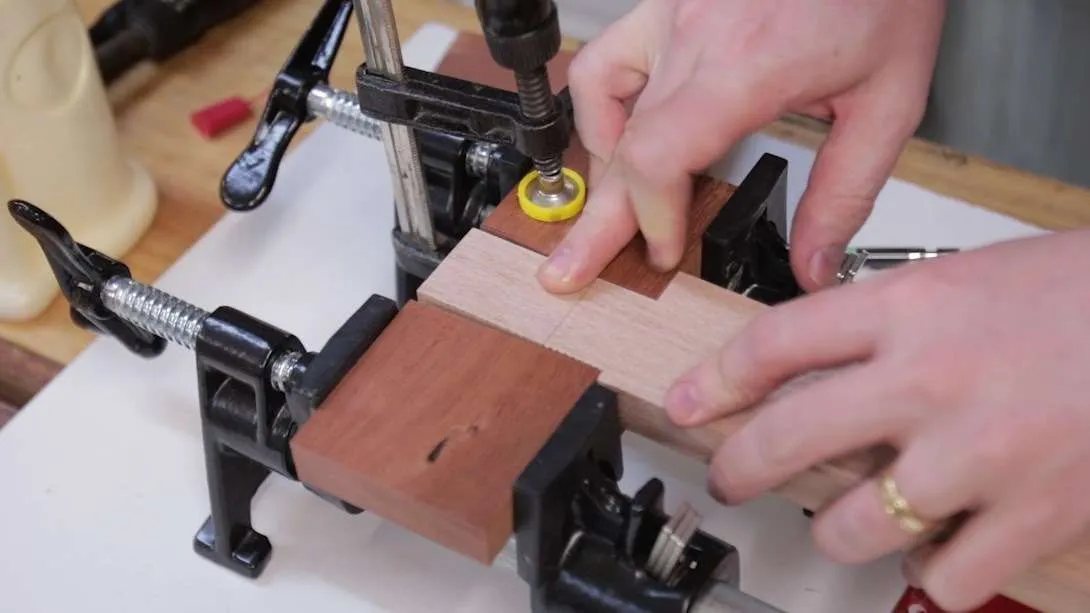
The 2-degree angle is much more apparent here. The layers are glued together, with the handle mallet acting as a spacer on one side.
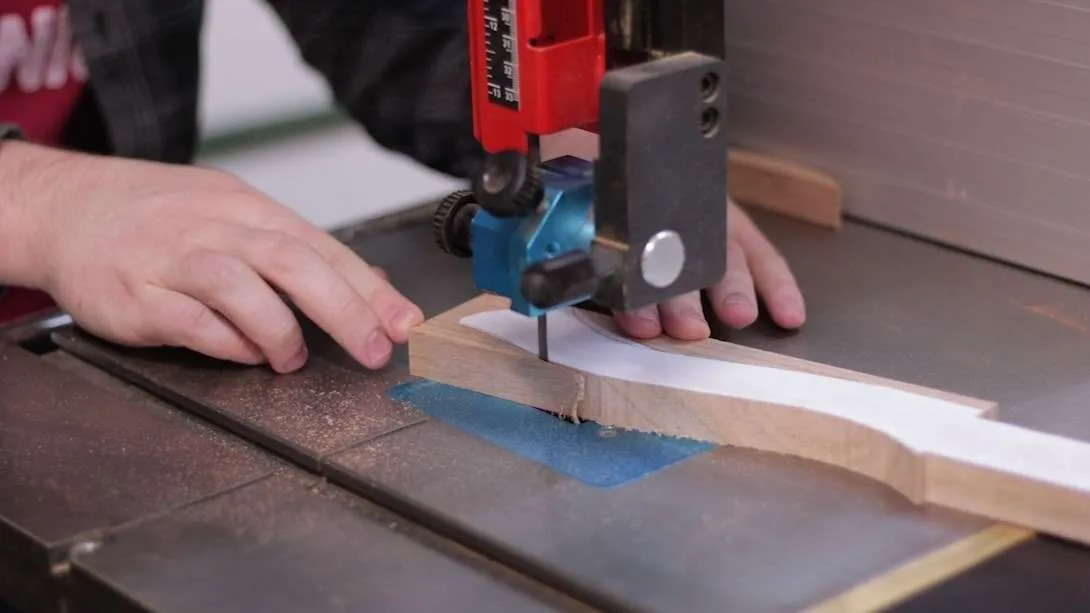
While the mallet head glue dried, I could cut out and shape the mallet handle. A 6mm 4tpi blade cuts through those curves with no problem – if you’ve only got a larger blade (>12mm) you will just need to add relief cuts.
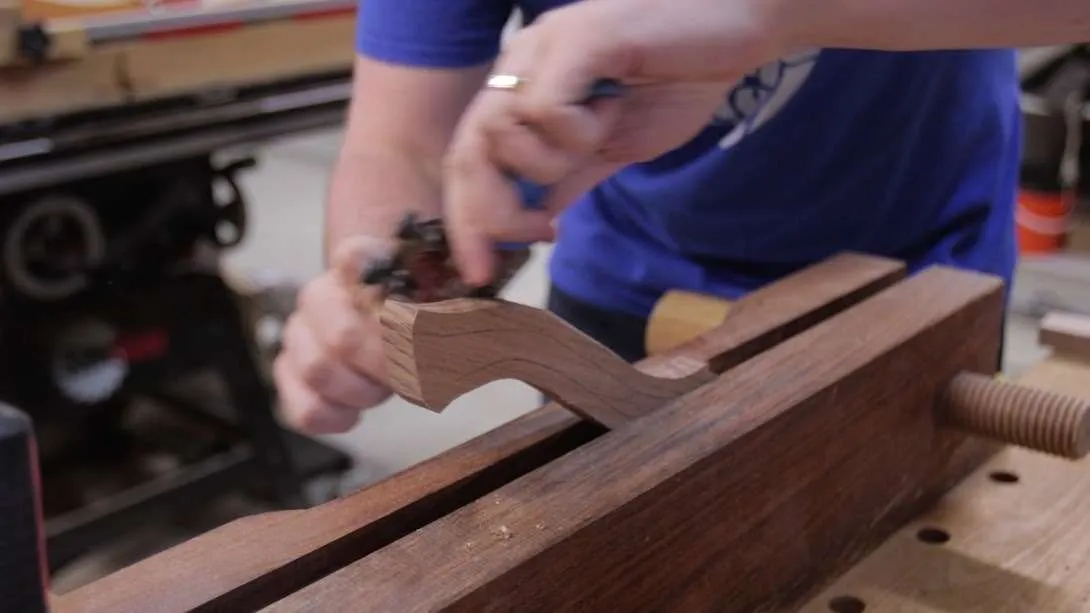
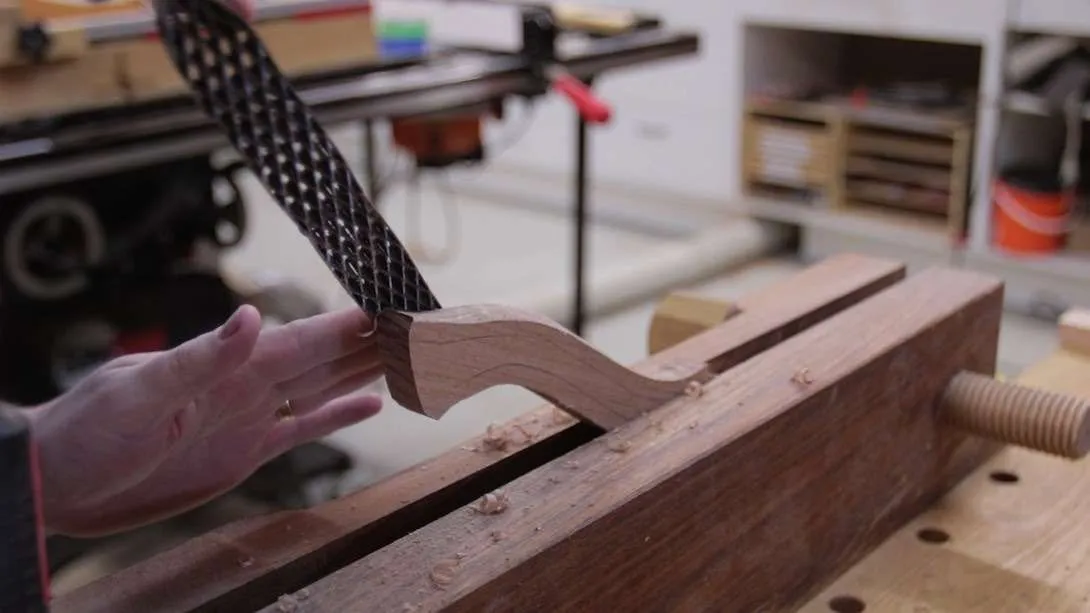
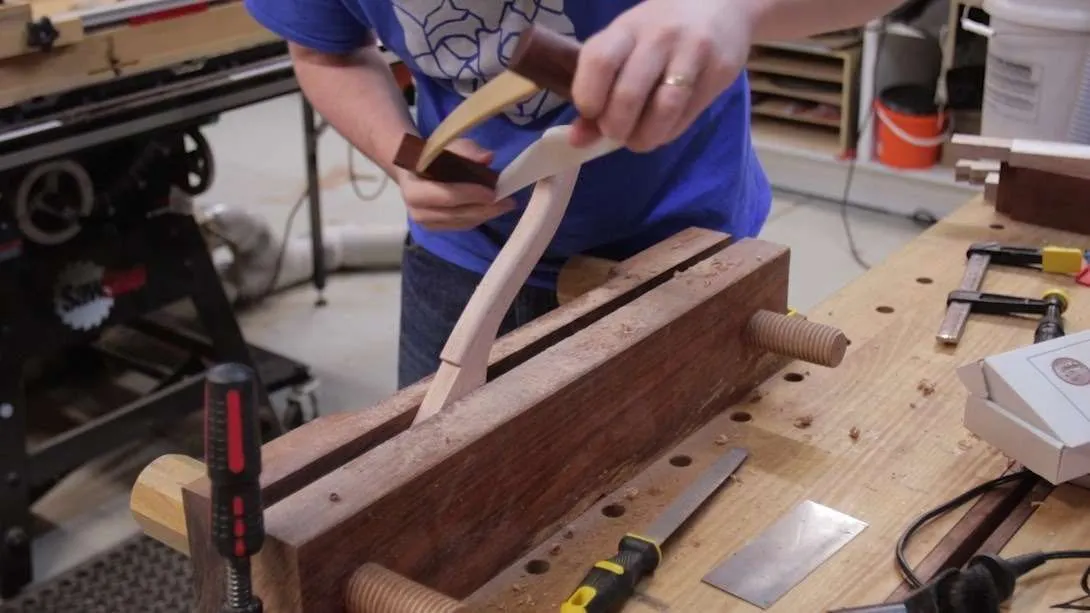
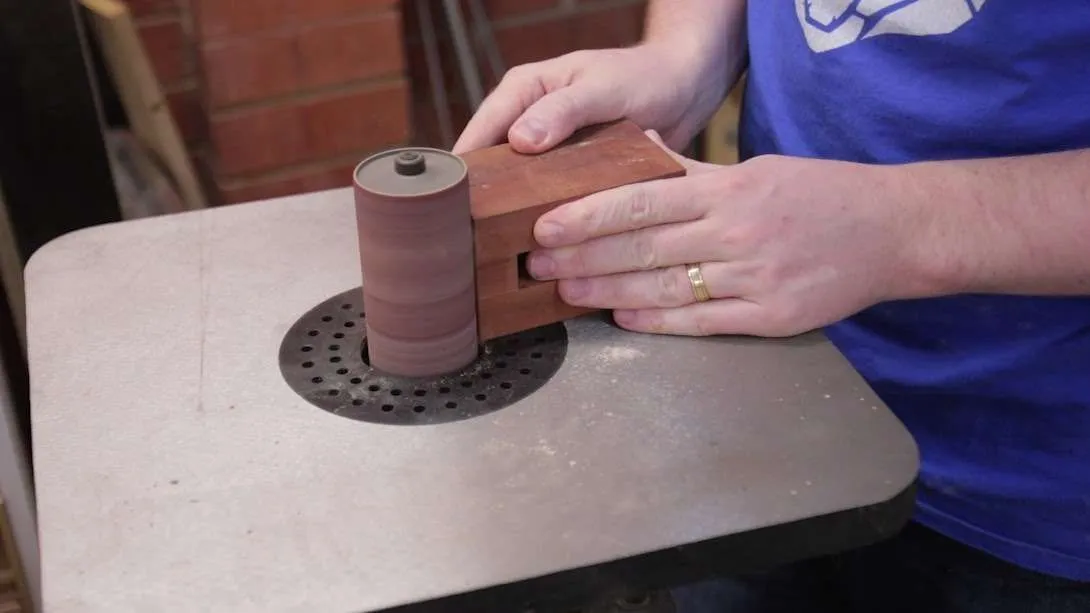
Shaping was done using a variety of tools, primarily spokeshave, rasp and sanding bow. A round over router bit would work but only be ‘OK’ – an oval shape ends up being more comfortable in hand.
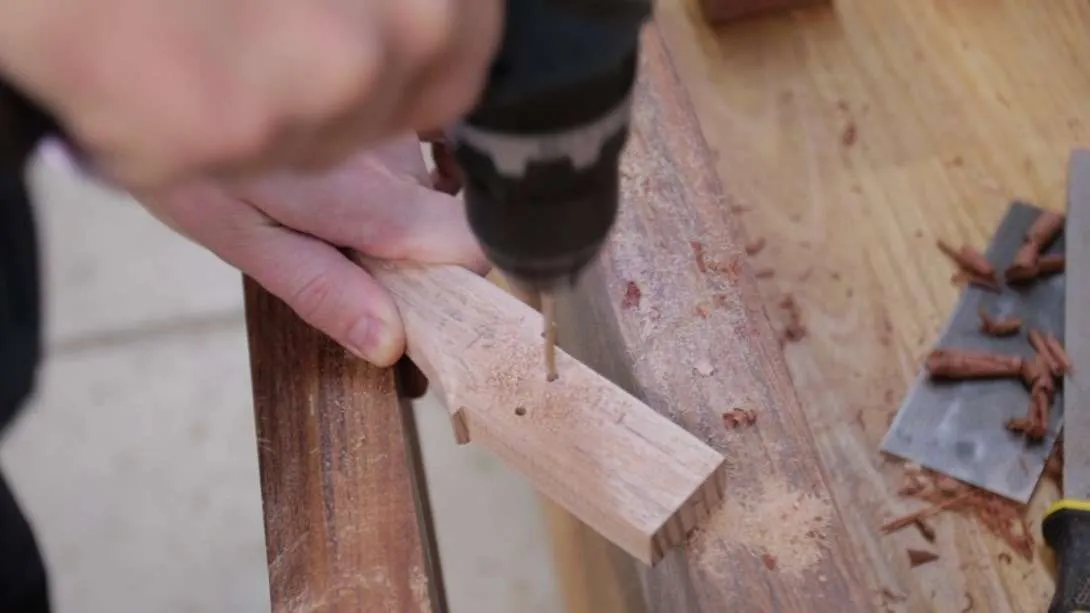
In the handles tenon, about 3/4’s of the way down, I drilled a 3mm hole to add some relief for the wedges.
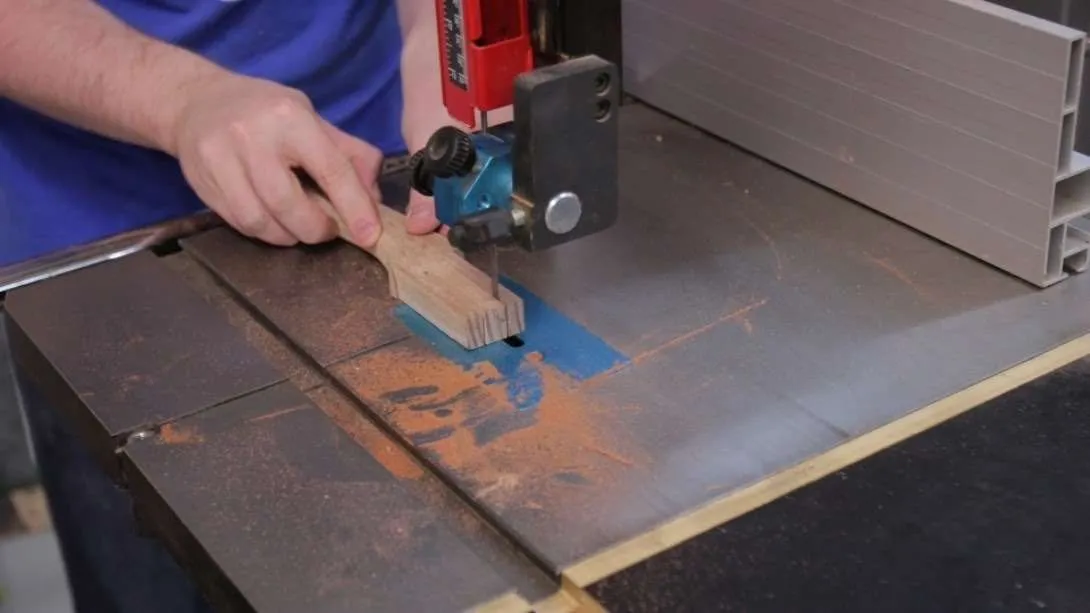
Then the slots were cut at the bandsaw, just free handing down some lines. In hindsight, it would have been much easier to get the wedges in if I made this a kerf and a half wide.
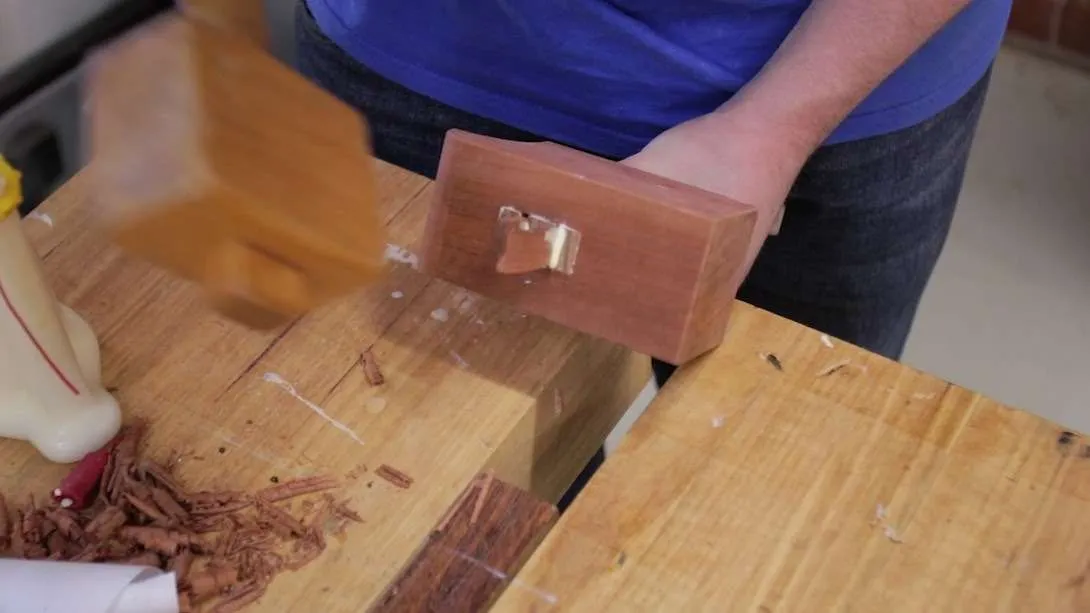
With the shaping done, the wedges were hammered in with an excessive amount of glue.
