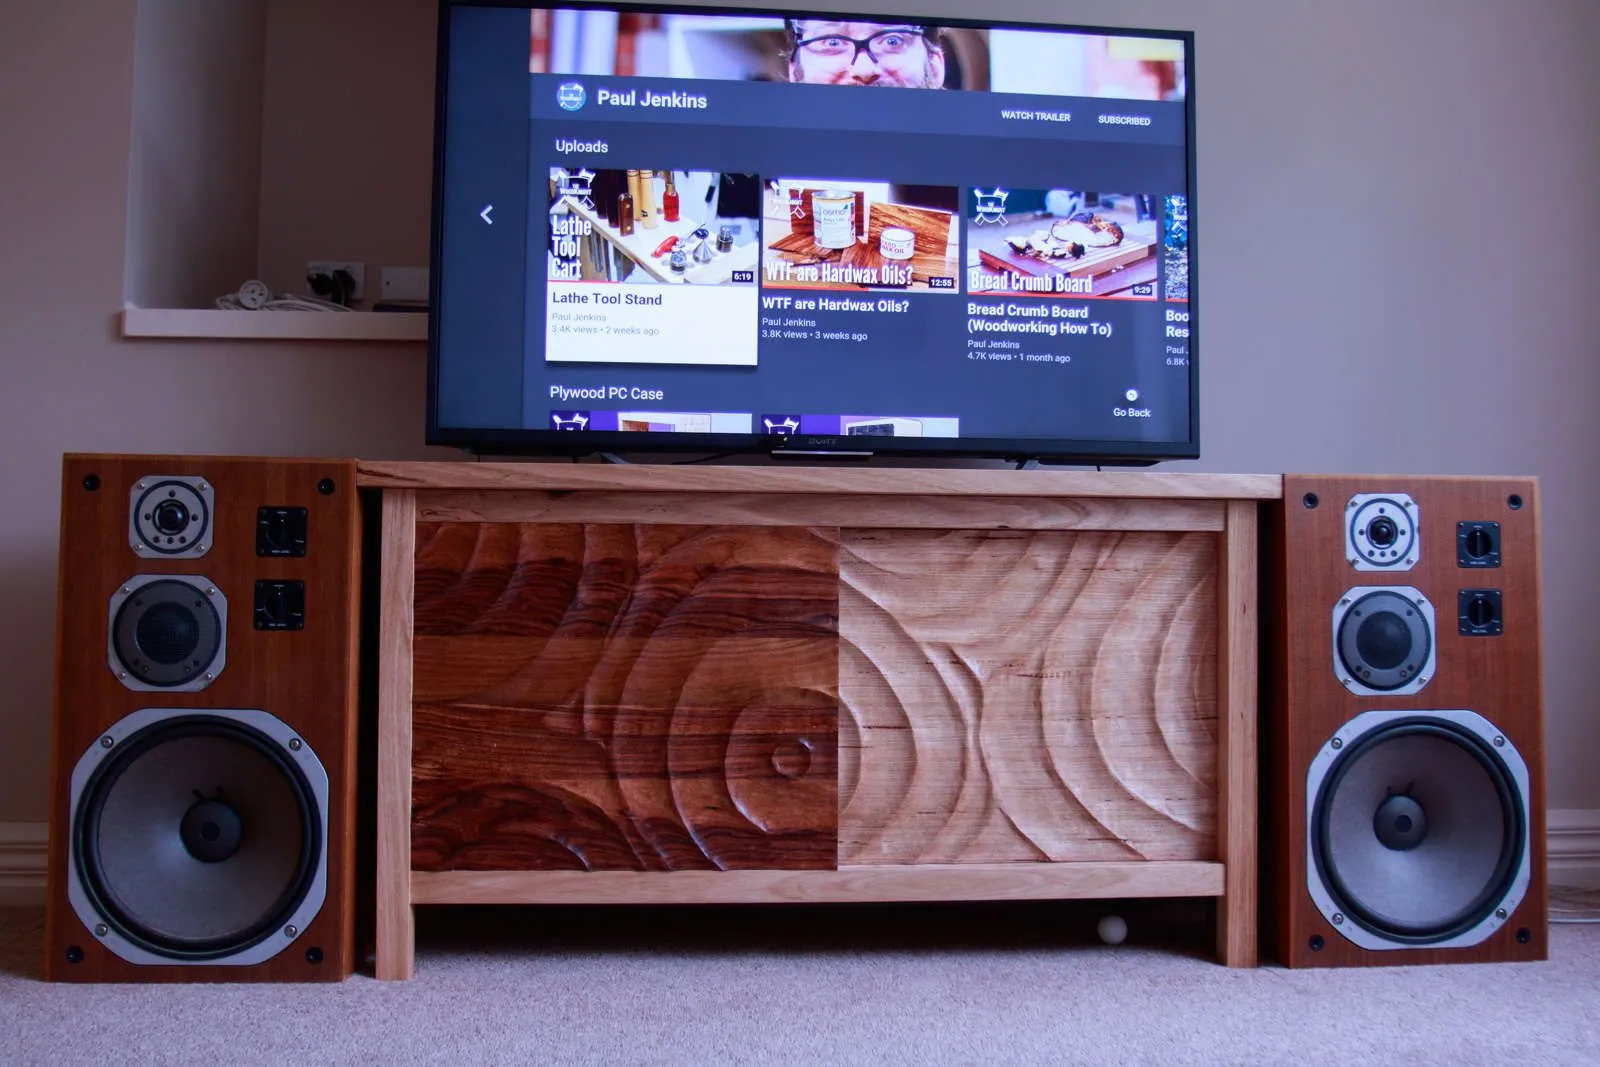
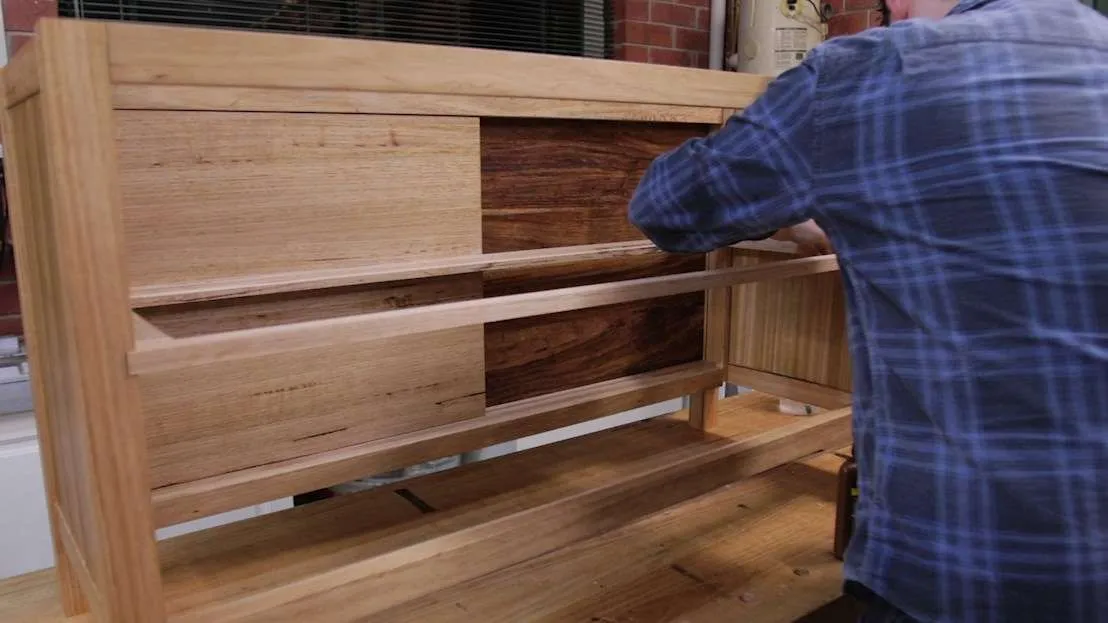
Ripple TV Unit
For a long time our TV unit was one of those relatively inexpensive, seemingly everywhere generic “low line” beasts. Two glass doors, flanking two wide shelves that were never tall enough to put anything in, and a drawer on janky slides. Earlier in the year we were able to give that to family who wanted something just like that, and we managed to score a free hand-me-down, much smaller TV unit. It ended up being about the same height, but about 800mm shorter. The difference to the lounge room was incredible – we hadn’t realised how boxed in it felt with the large, largely under-utilised, tv unit.
However, the hand me down was cheap at the time, and both design and materials hadn’t aged well. So it was time to make a new TV unit.
We had just a few clear requirements – fractionally wider than the TV, no deeper than it needed to be, and the same size as our speakers (Yamaha NS-690s, inherited but great sounding speakers from the ’70s), and a design that matches in with other furniture in the house. Ideally, something that would minimise the access our cat has to cables and devices.
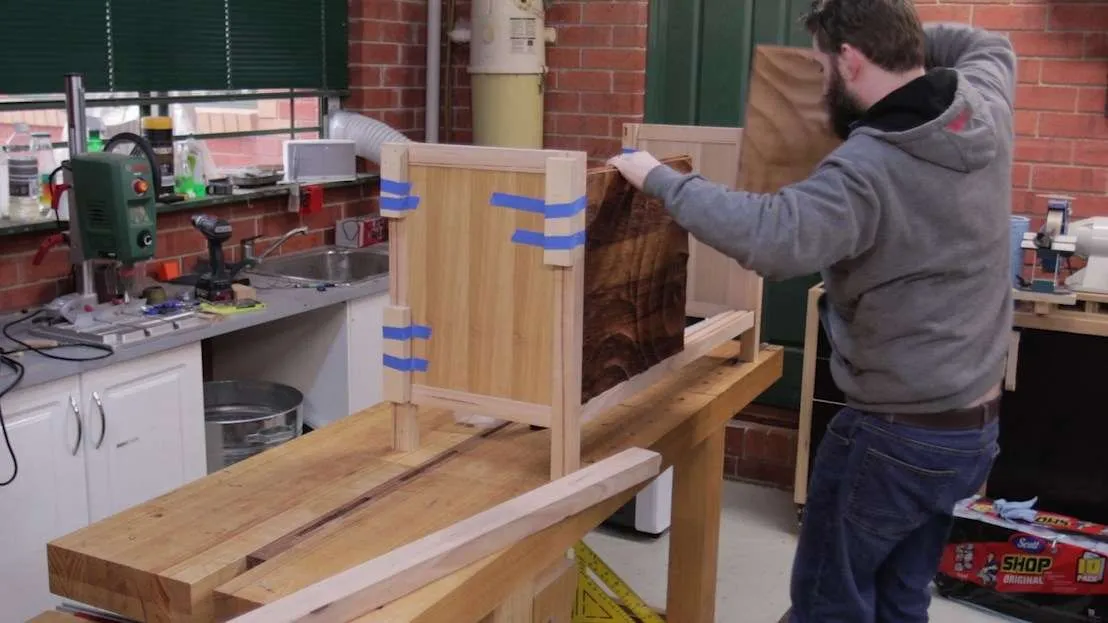
Sliding doors limit how the cat can get in, the dimensions were easy to match and by using a similar design to the board game storage cabinet and sculpted doors to match the black wave triptych, the room starts to be tied together.
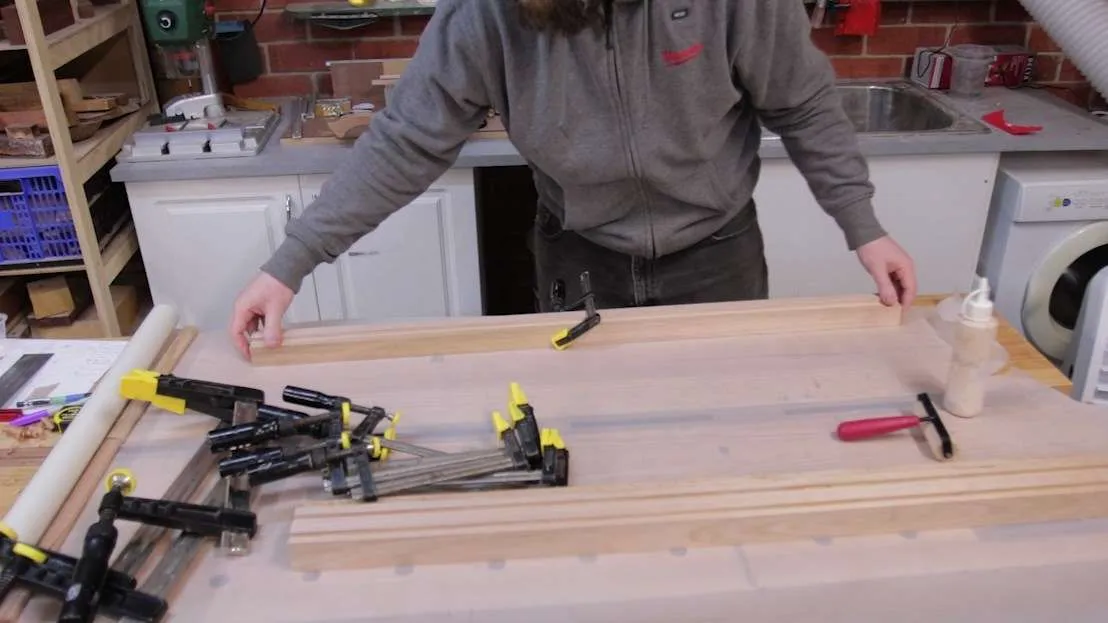
I like to break projects down into sub assemblies. It makes it easier for me to mentally wrap my head around, and small parts are much less intimidating. This project was no different – I started with the side sub assemblies, which meant starting with the legs.
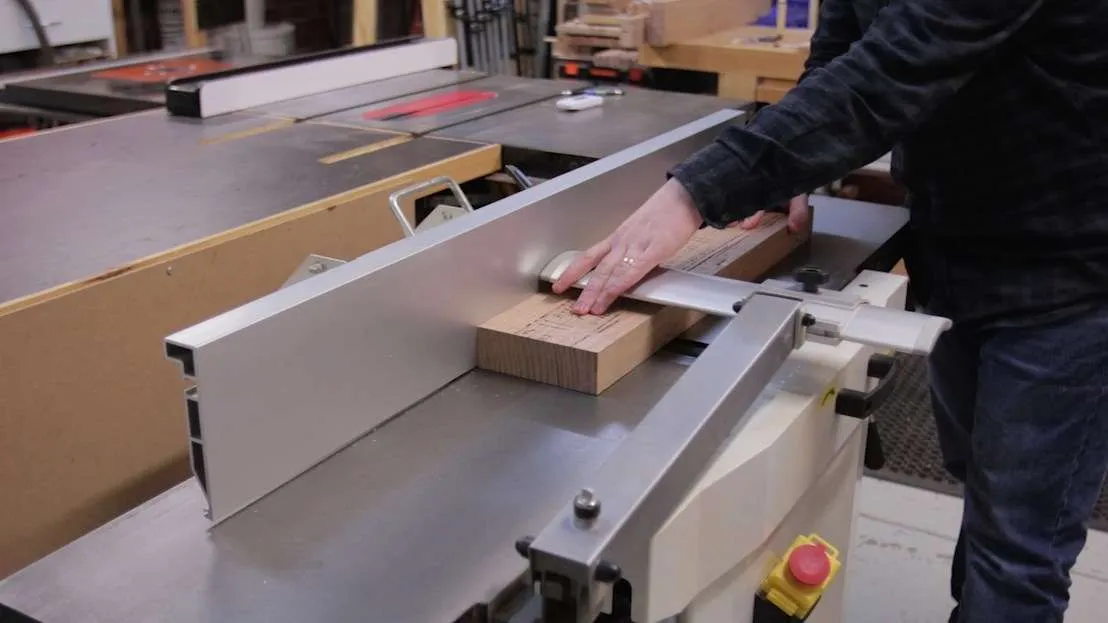
The leg stock is rift sawn – the grain runs at a 45° angle. This means the two visible faces of each leg will have the same grain appearance. In reality, only one face of the front two legs are really seen, as the others are hidden behind speakers, but thinking about how the grain looks in a project is a good habit to get into!
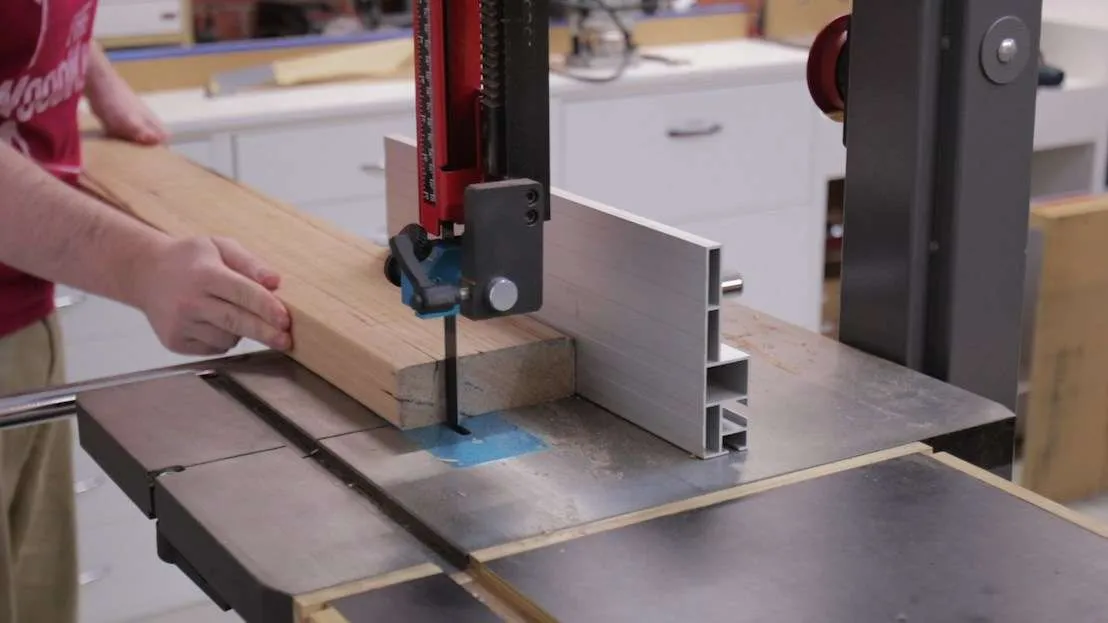
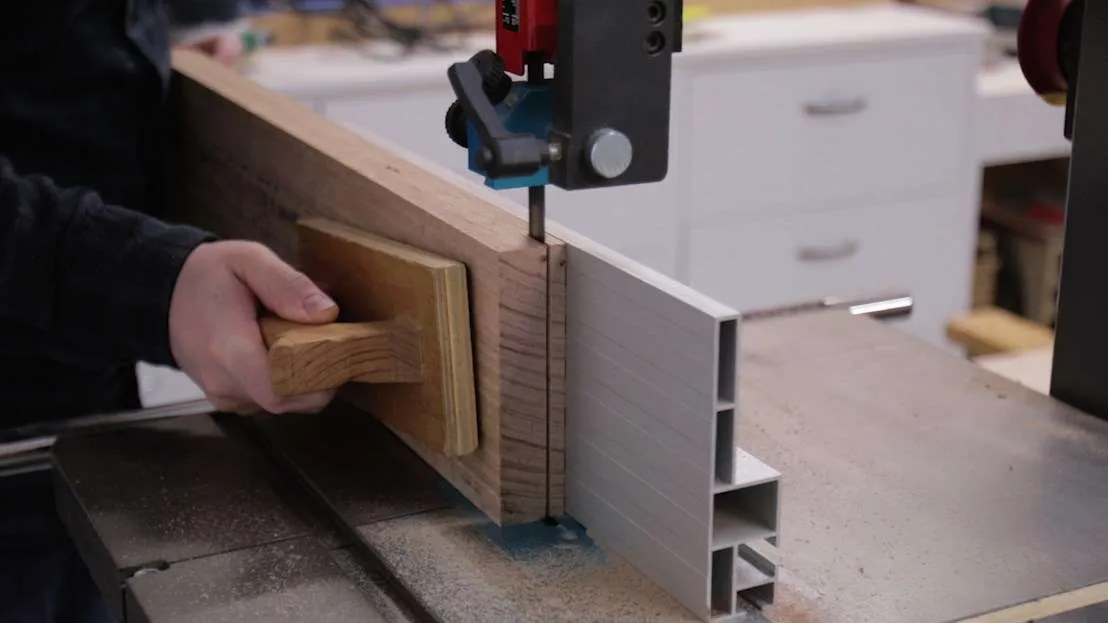
Not all of the grain from this board is running at 45°, so before going through the full jointing process, I ripped off the flatter grain at the bandsaw.

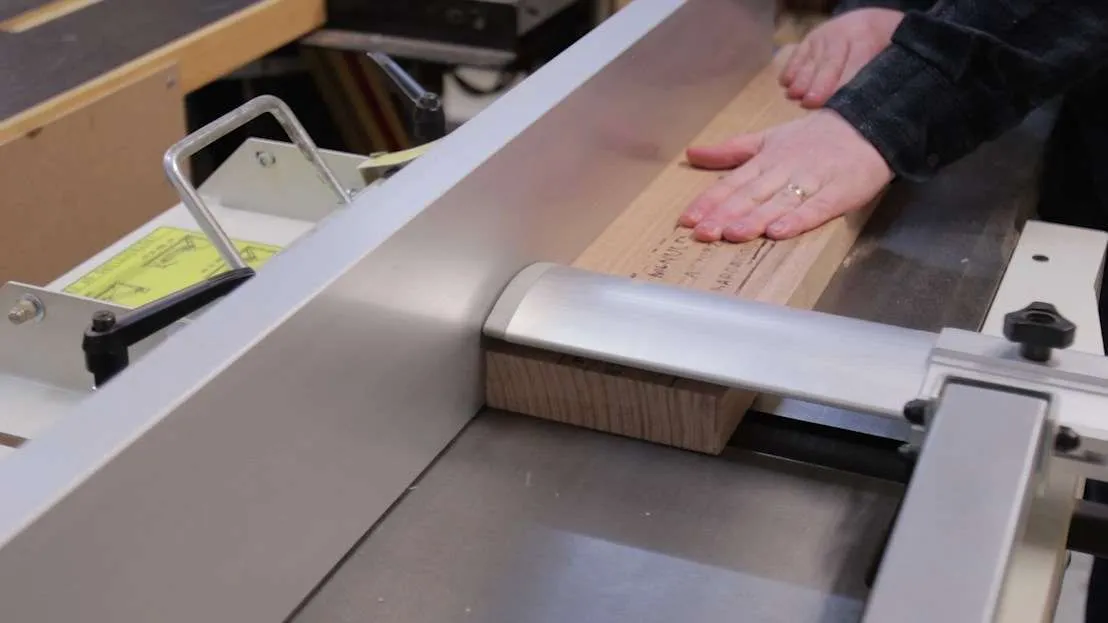
Despite being “just” a 1.75hp saw, a good quality (full kerf!) low tooth count rip blade handles 45mm thick rips with no problems. This brought the legs down to 40mm x 40mm. The featherboard helps maintain even pressure against the fence for a cleaner cut.
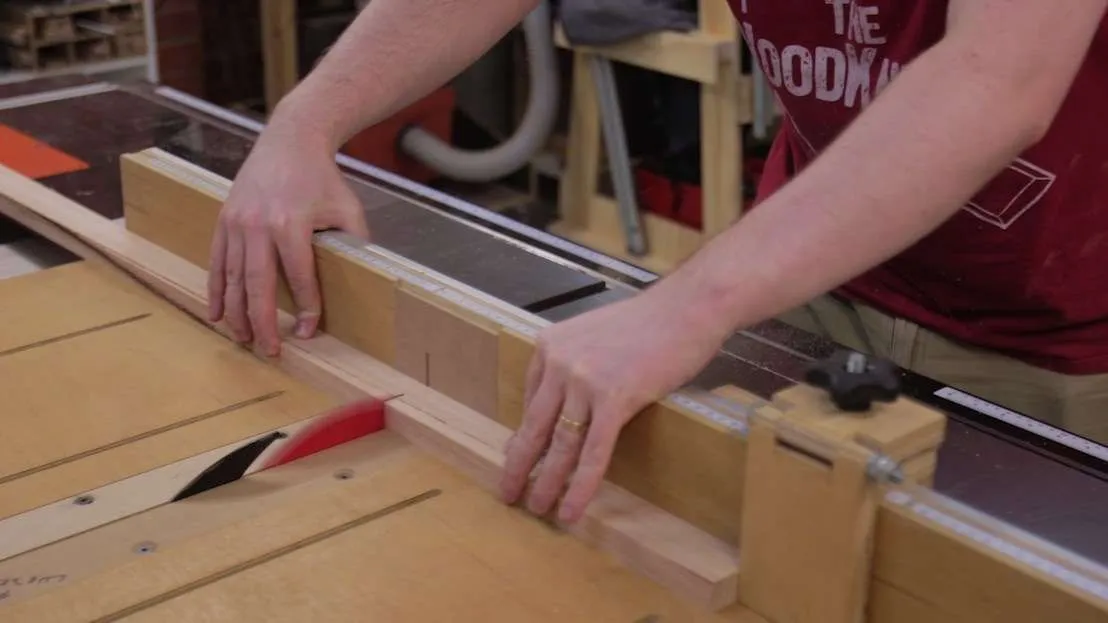
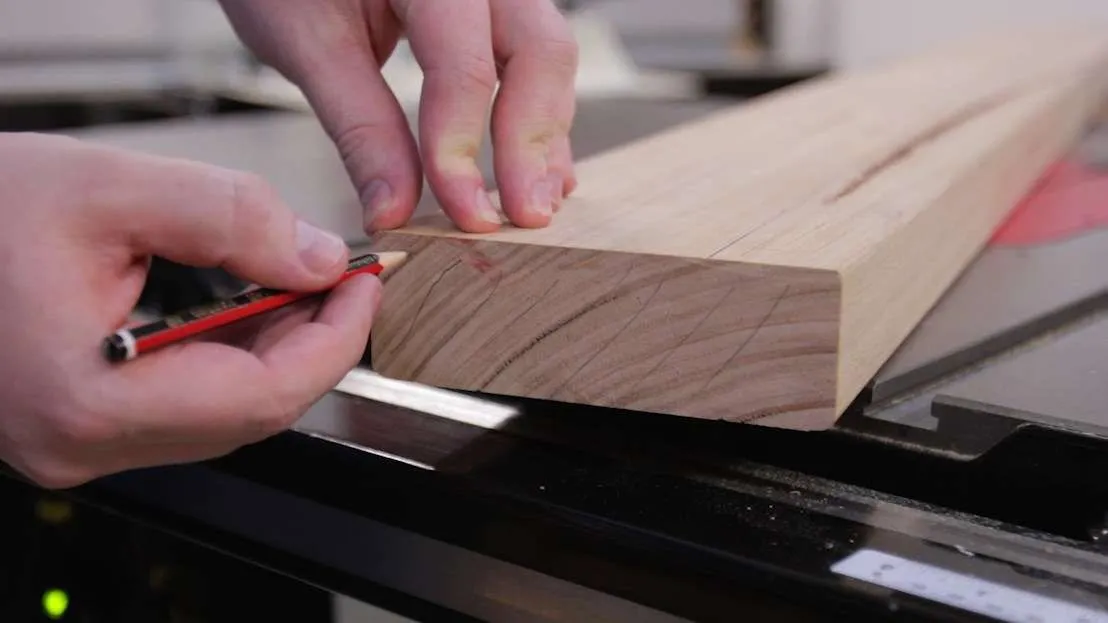
The short rails are cut to length using the crosscut sled – they’re too short to do at the mitre saw. The same process applies – square one end, then place that end against the stop block to make the actual cuts.
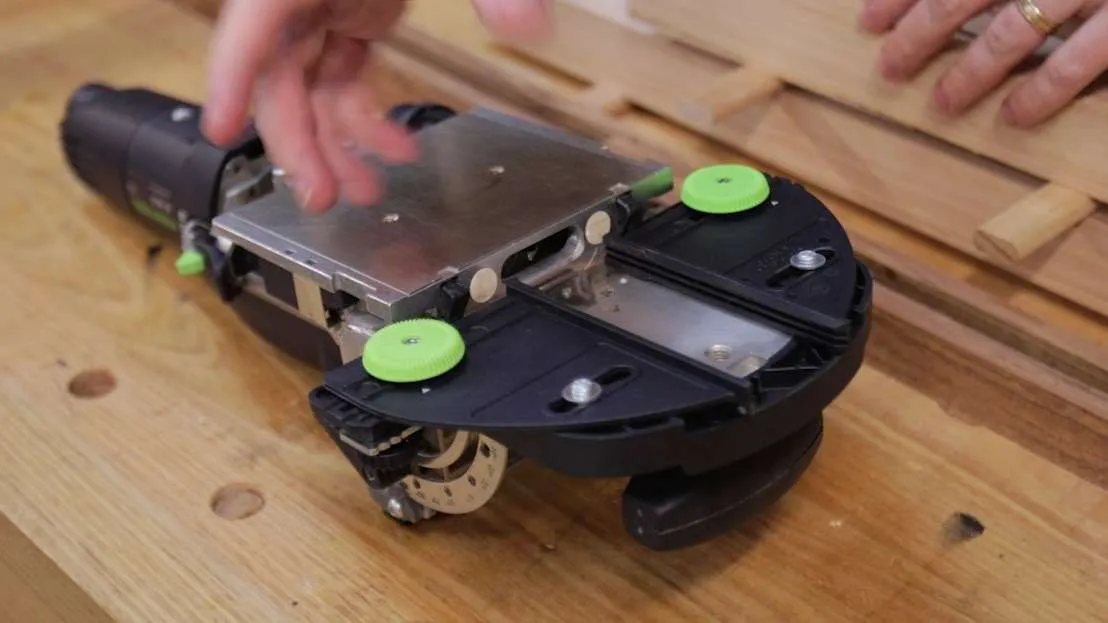
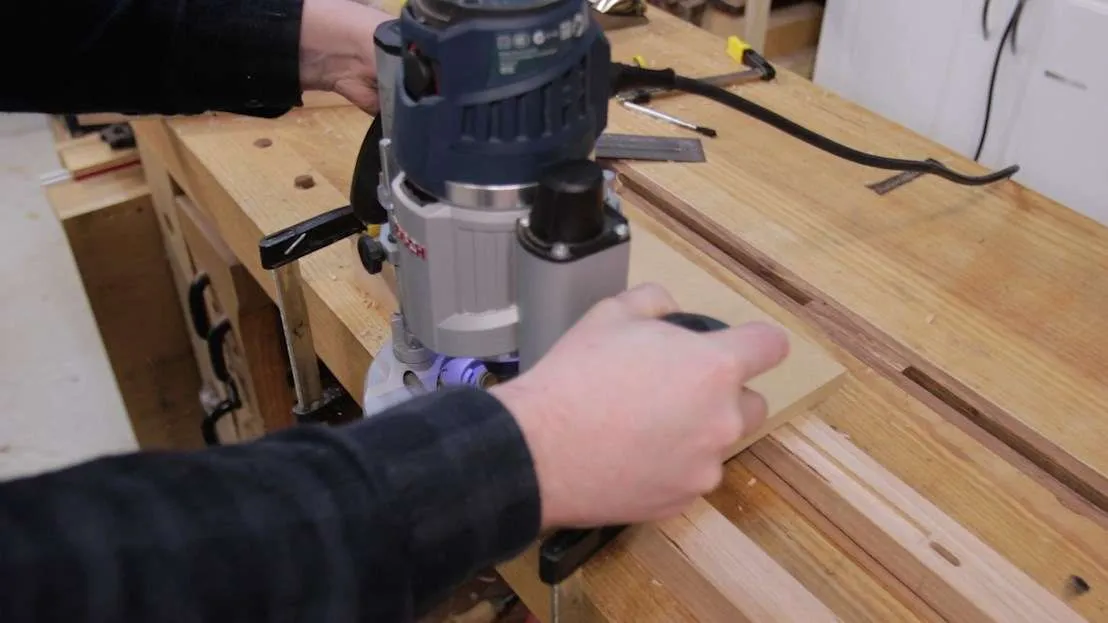
For this project, I’m using the Festool Domino for my joinery. It’s an expensive, single use tool, so if you want to know how to do mortise and tenon with more common, and more versatile tools, I did a video specifically for that.
If you are using a Domino, and do any sort of projects like this, I’d highly recommend the Trim Stop attachment (pictured above). I’ve set the trim stop to 40mm (the width of my rails), by marking out one piece and centering it on that. For the rest of the project, I’ll leave the trim stop set to that value and I don’t have to mark out another rail at all. Even the thicker rails that have the door tracks dado’d into them use the trim stop, and just adjust the height of the fence.
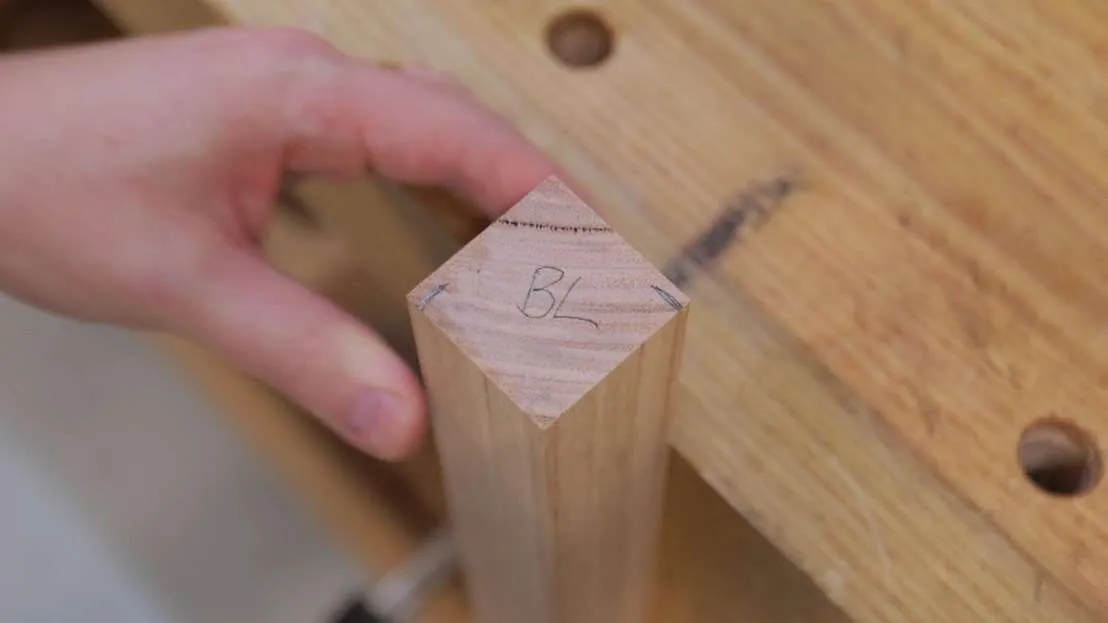
From past experience, I know that I need to have very explicit instructions to myself on what components are what. I like to mark the tops of the legs with what position they are, and where the mortises will fall.
In this case, its the back leg, and you can’t see the mortise faces represented by the two straight lines. The two mortises will actually have different offsets from the face of the leg. The mortise on the back (the right side in the photo) will be flush, while the mortise on the side (the left side) will have a reveal of about 5mm.
I’m using the left over veneered MDF from my board game storage cabinet, and it cuts very cleanly using a HI-ATB blade. It is 12mm MDF core, with “plantation oak” veneer. In Australia, “plantation oak” is Tasmanian Blue Gum, which is very similar to Vic Ash/Tas Oak (what the rest of the cabinet is made from).
I like to use a router table to route the grooves for the panels on small pieces as I find it more manageable. The groove is cut in two passes width wise – the 12mm MDF is actually closer to 1/2″ (12.7mm) plus the thickness of the veneer on both sides, so a single pass with a 1/2″ router bit is just not enough.
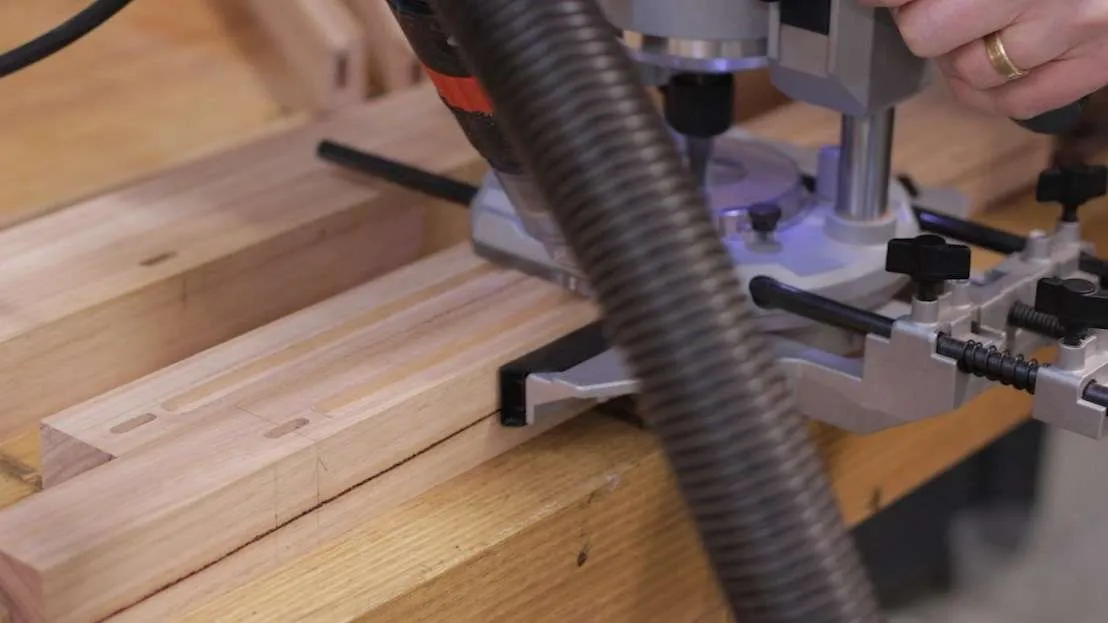
The grooves in the legs, however, aren’t through grooves so its much easier to cut those with a plunge router. I really don’t like doing plunge cuts on the router table – I find things difficult to grip (which gives me the heebee jebees), and I don’t like working blind.
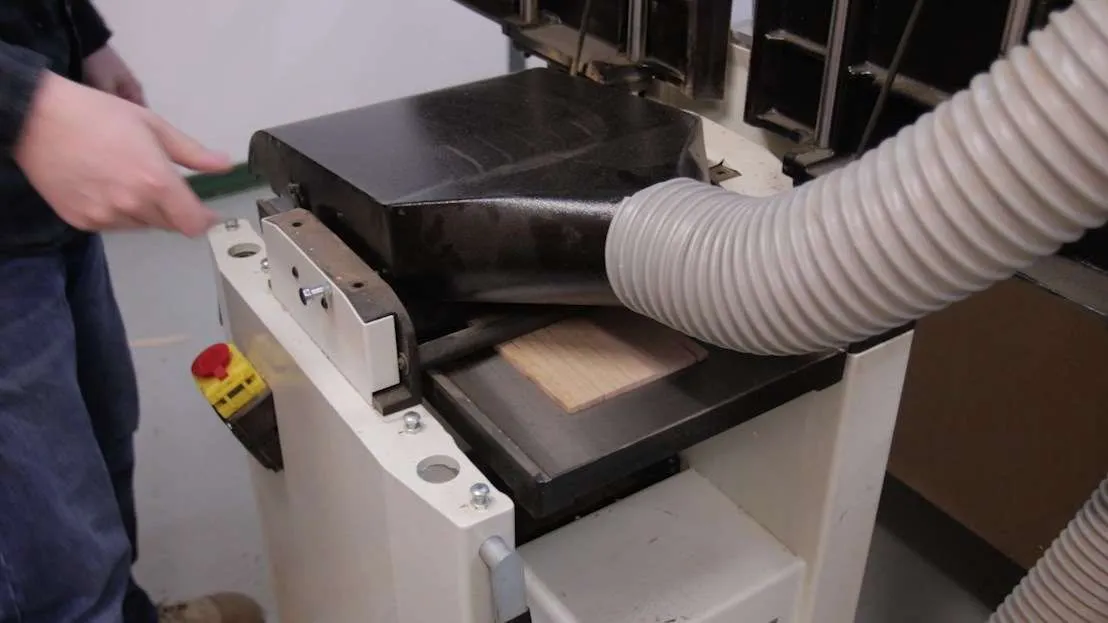
A quick trip back to all the milling tools prepares all the parts needed for the doors.
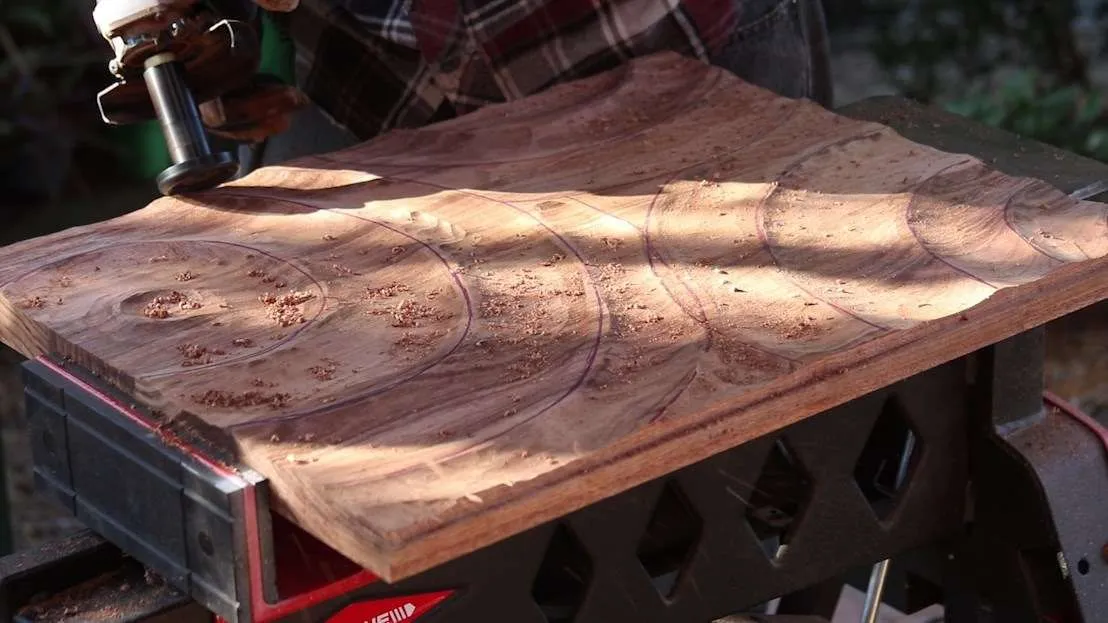
Notice the grain is all fairly straight up and down – by going for quartersawn, I was hoping to avoid any possibility for warping after carving, though in Vic Ash that caused problems with sanding.
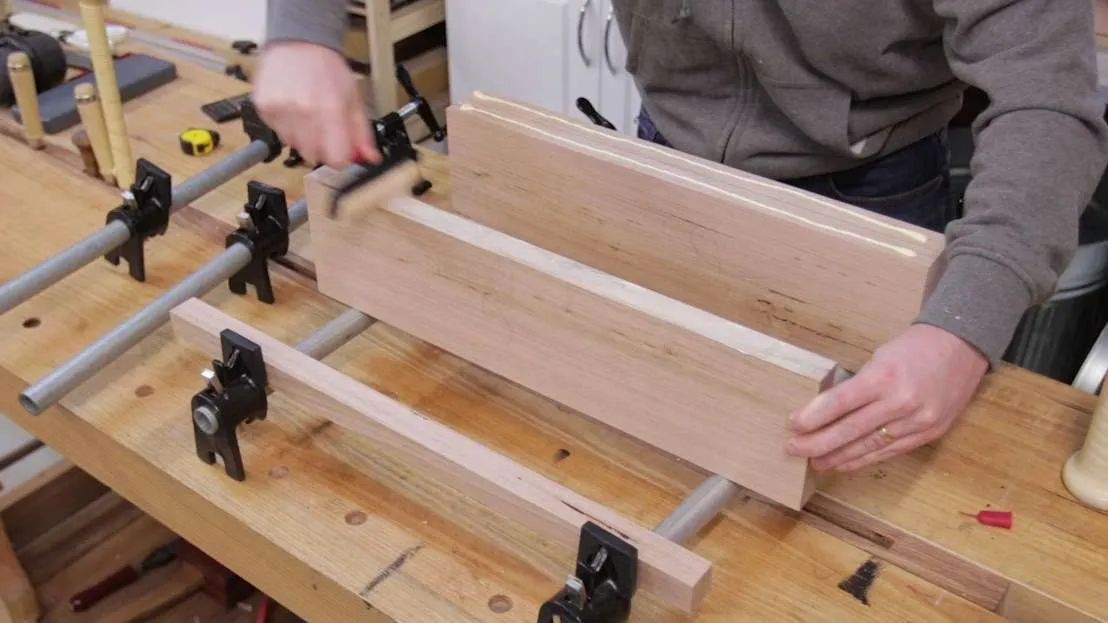
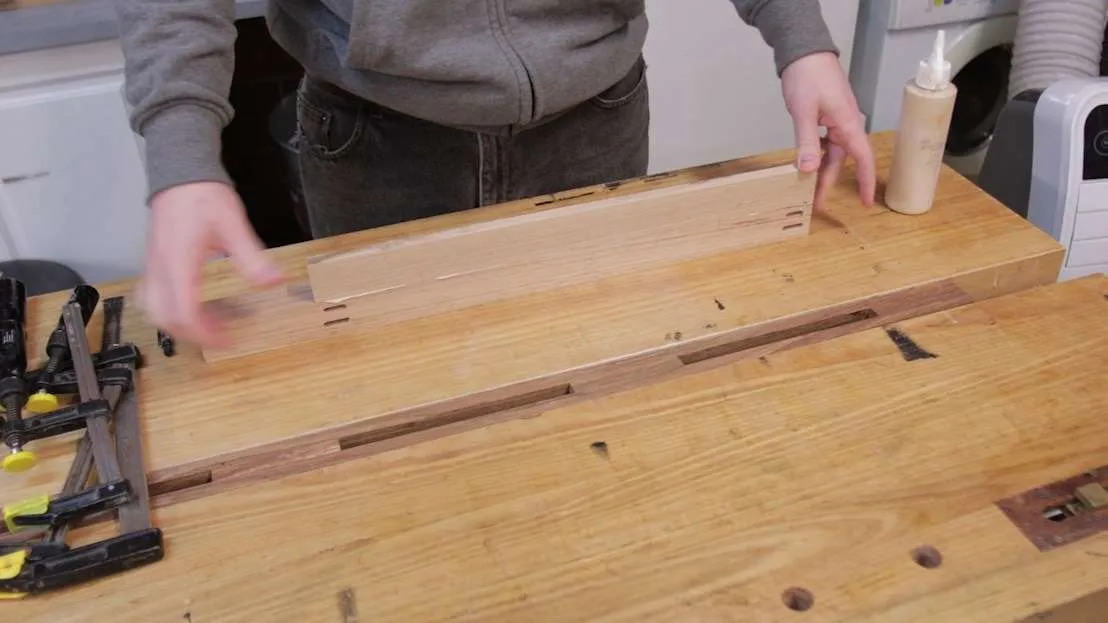
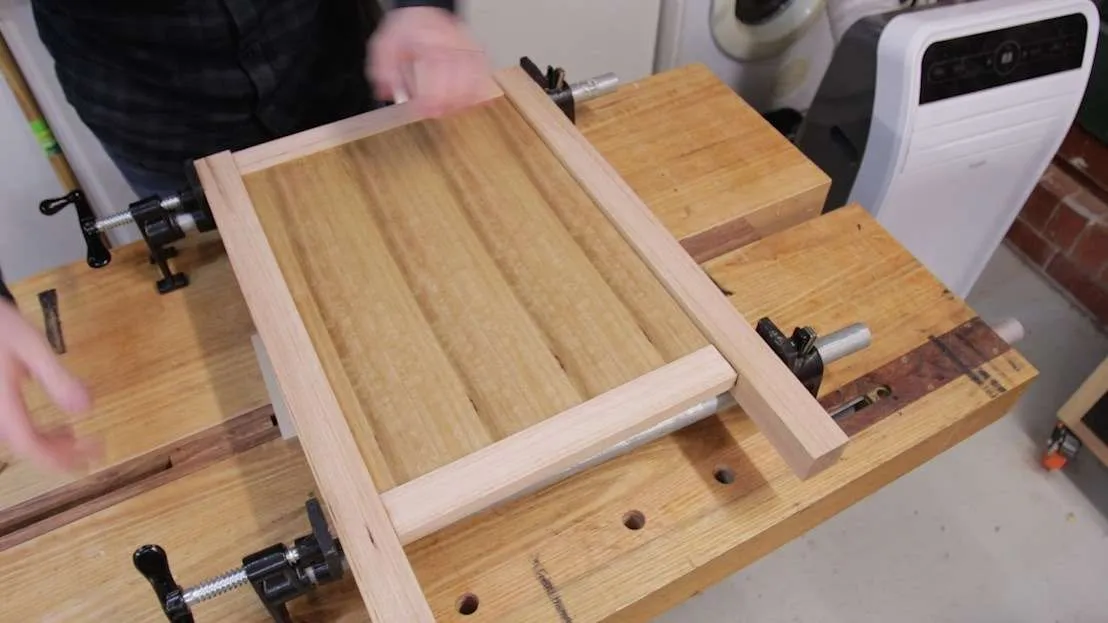
The door blank got glued up, stretching right to the limits of my small pipe clamps.
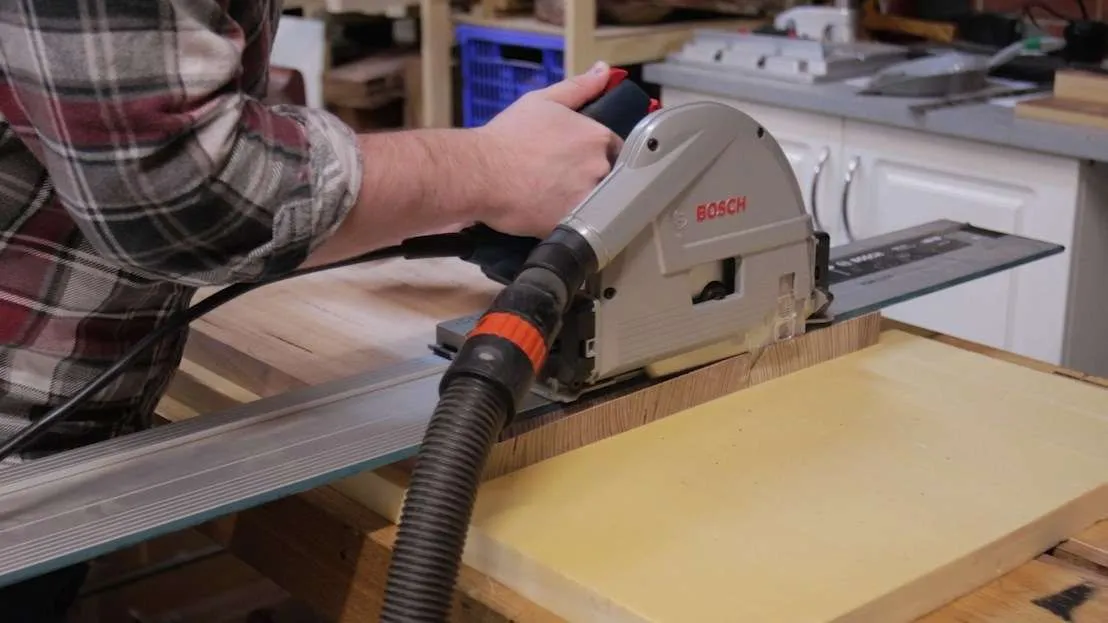
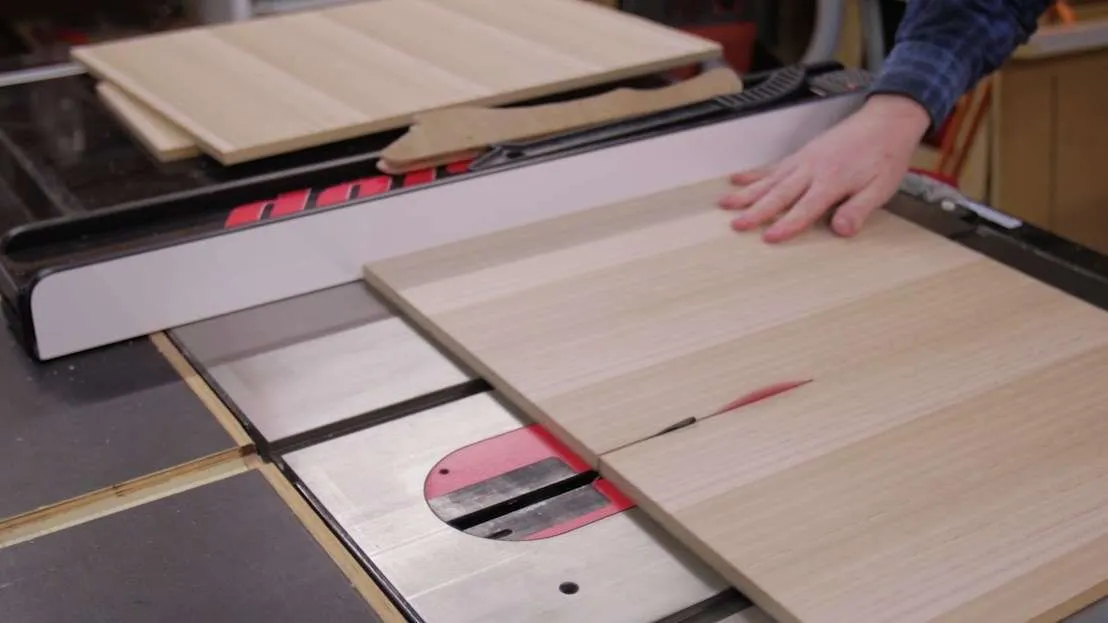
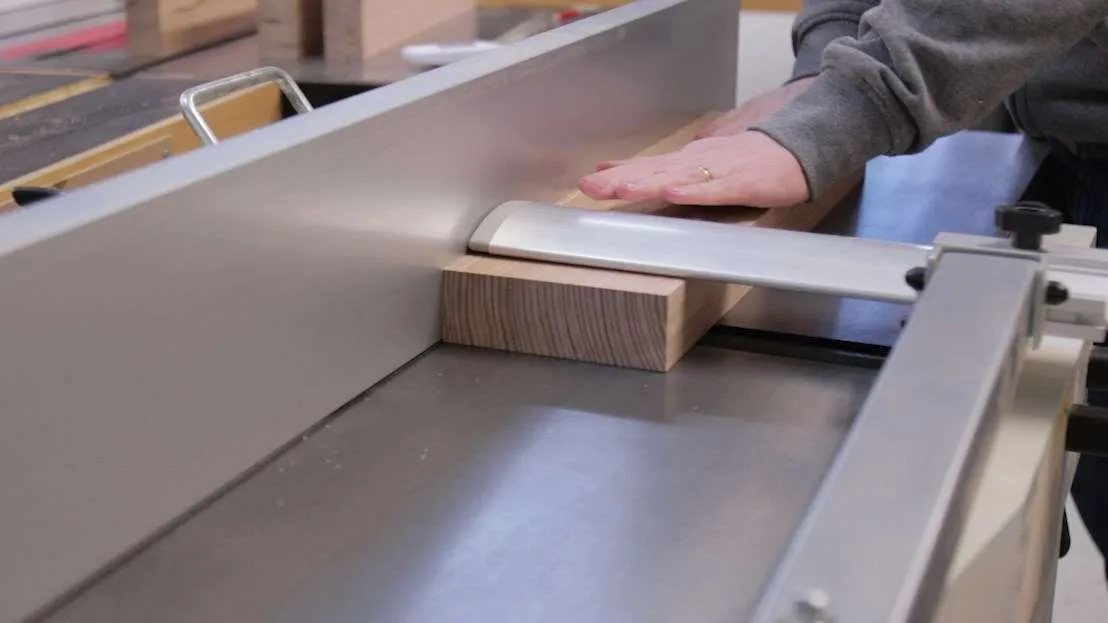
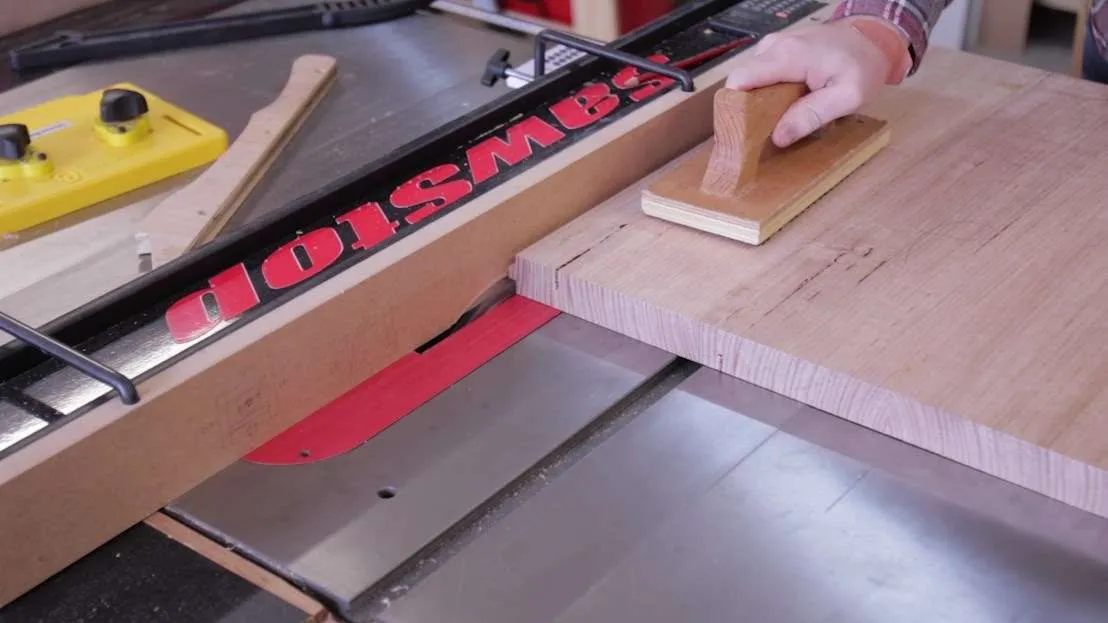
Once the glue was dried on the door, the easiest way to square it up was to use the tracksaw with the door on some foam panelling. I’m just using an XPS foam board – Bunnings sell these in quarter sheet size (1200 x 600), and they’re pretty inexpensive. EPS is also an option, but I find it tends to be a bit more powdery when cutting.
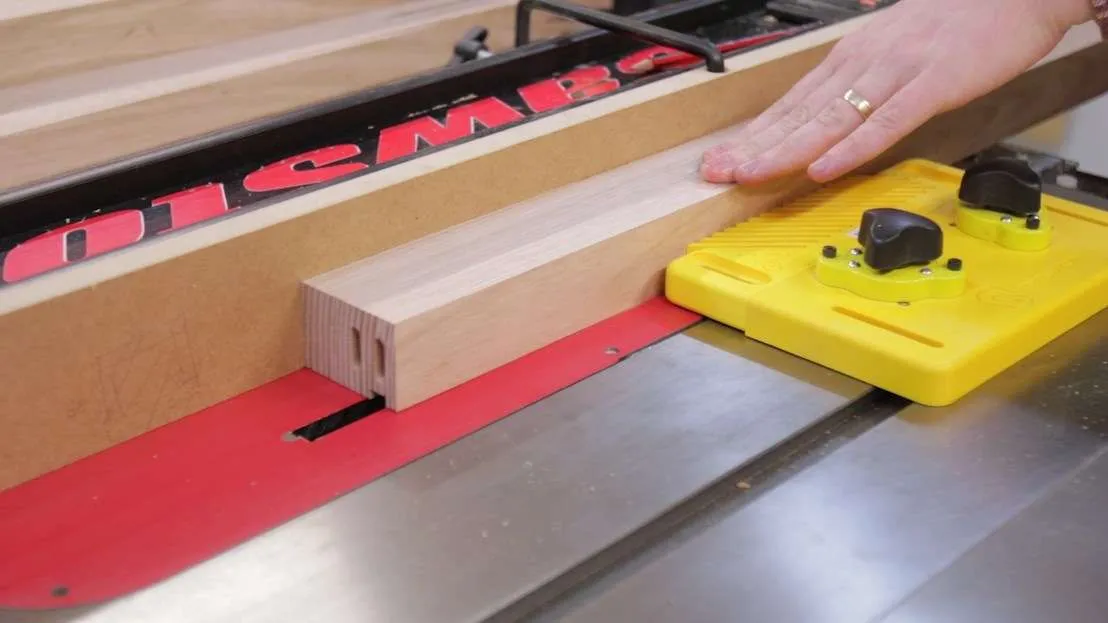
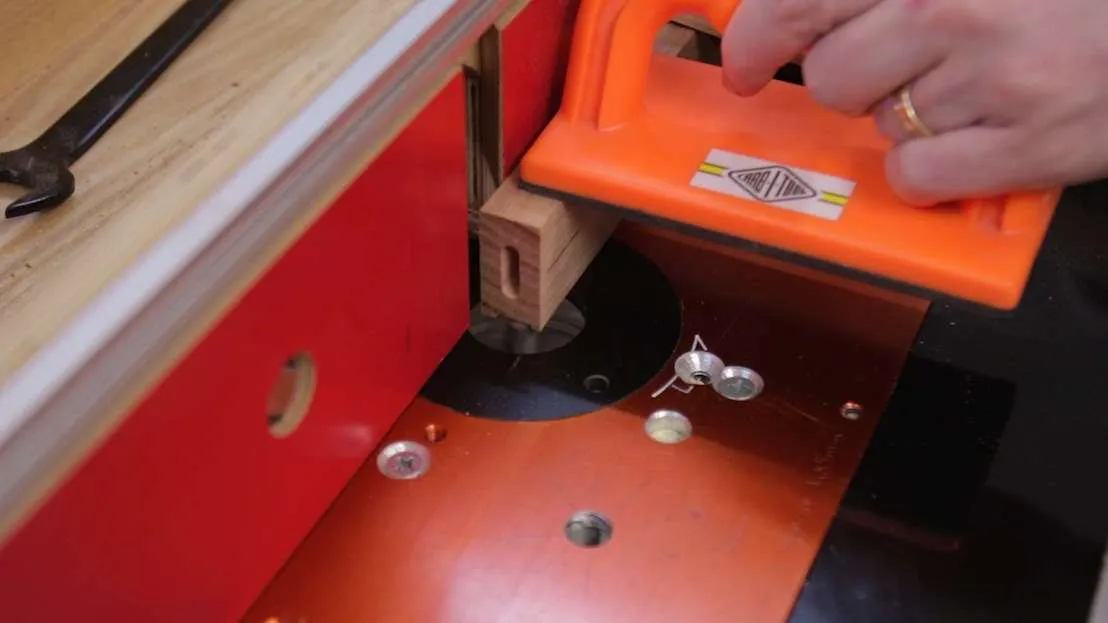
The two sliding doors of the TV unit need a track to run in. I used a 3/8″ dado stack setup – since my dado stack is imperial sizes, its just easier to use that as the actual dimensions don’t matter. I could shim it out to 10mm, but that becomes a lot more fiddly and difficult to repeat than just using relative dimensioning.
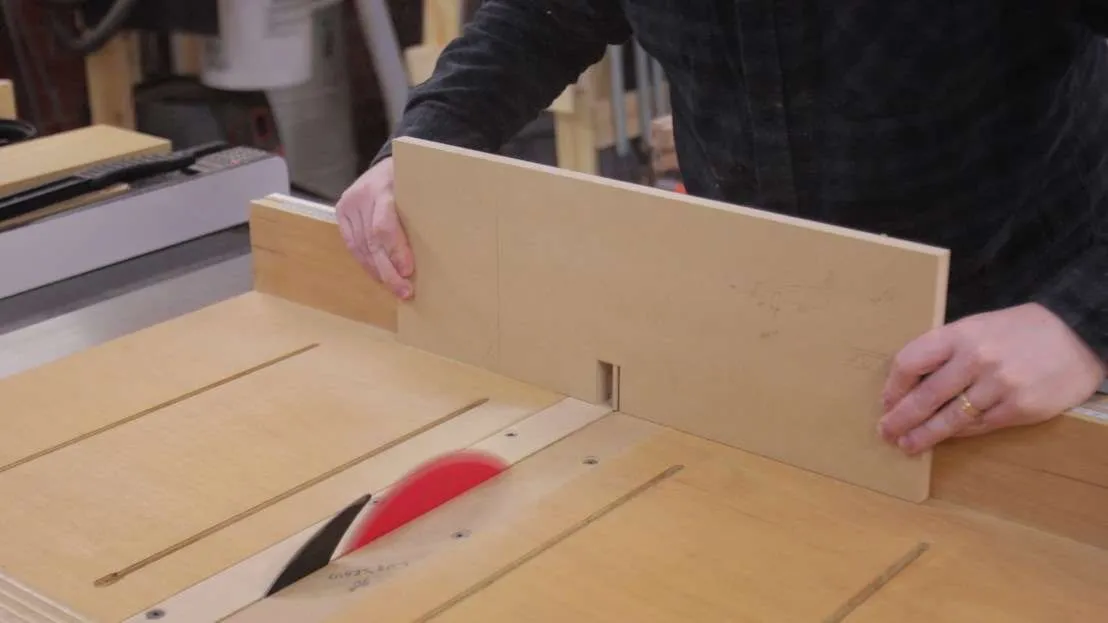
Once the dados were cut, I could switch to cutting the tenons. Notice I’m using a sacrificial fence so I can cut right up to the edge. It was just a matter of sneaking up on the fit in the dado.
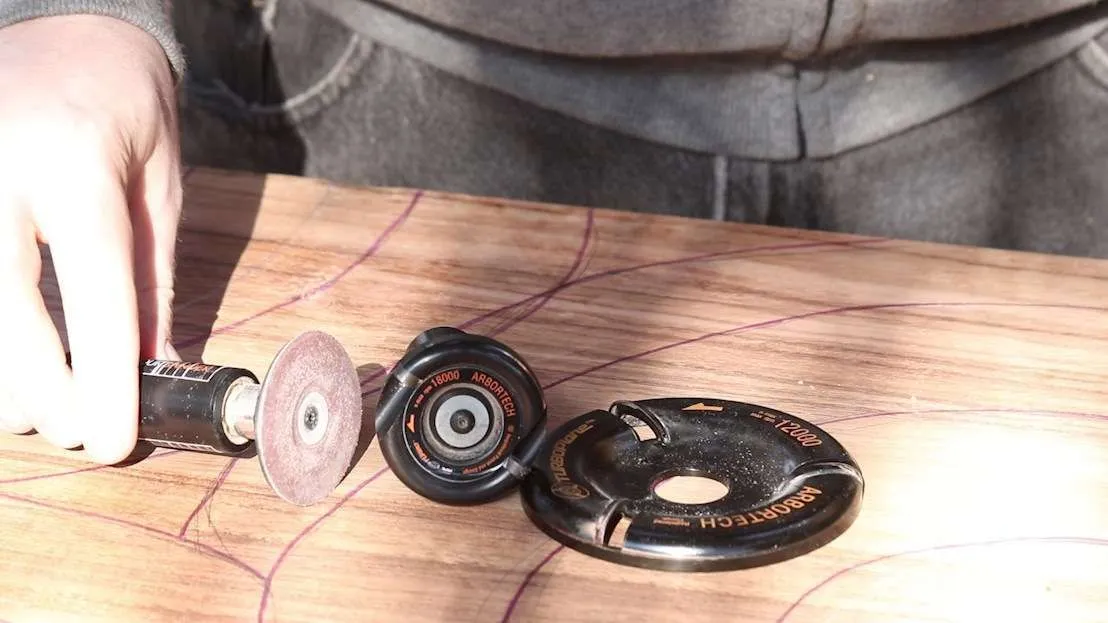
For this carving, I’ll be using three Arbortech tools. The TurboPlane for the majority of the work, the Mini Turbo for refining details and small spots, and the Contour Sander to smooth everything out.
You could get away with just the TurboPlane and Contour Sander, but the Mini Turbo was a Christmas present I’ve finally had time to give a good workout.
The back of the front lower rail, and the front of the back lower rail both receive a cleat to hold up the slats that will form the shelves. Since the dimensions of the slats isn’t super critical, I went with an arbitrary 6mm, which meant the cleats needed to be 34mm (40-6 = 34).
Speaking of the cleats, it was a bit of back and forthing. First one face and one edge was jointed-

.. then the first slat was cut (at this length it actually made three slats) – essentially just a very thick veneer at this stage.
After each resaw, its back to the jointer to reflatten that face that goes against the fence
Then another series of slats can be cut. This maintains each slat having one jointed face
That in turn makes it much easier to throw them through the thicknesser, with the rough bandsawn side facing up
The front two legs had an additional support glued on to one of the inside faces. This sits behind the veneered MDF panel. The additional support is to hold up a web frame – the back two legs don’t need the support, as the dado for the web frame can go directly in the legs. This support is to clear the two sliding doors.
To make sure the dado in the legs was in the same spot, I created a notch in MDF to act as a template.
That template got clamped onto each leg. Note (on the right) the stops glued onto the MDF so it could reference off the top of each leg.
The dado was cut with a 1/2″ spiral upcut bit, using a 19mm guide bushing, in a notch that was about 22mm, resulting in a 19mm or so wide dado.
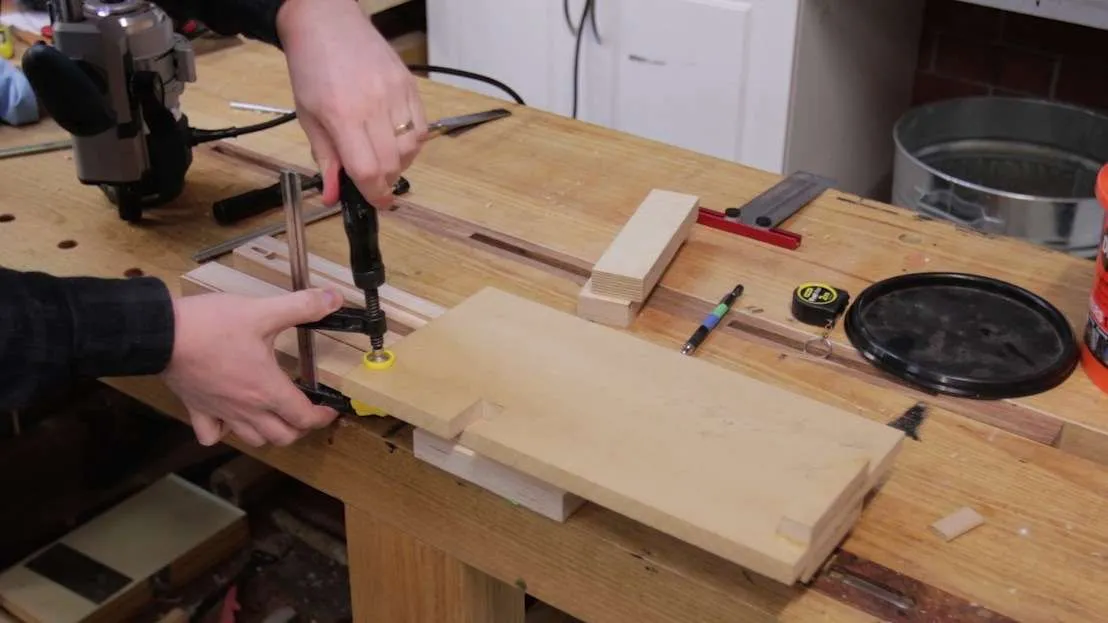
Once the dados were cut, I could start gluing up the leg assemblies. I like to glue smaller sections together first – it means fewer clamps needed, less stress, and I can glue everything up by myself, rather than requiring help.
The downside is it obviously takes a long longer to dry.
The next day once the end assemblies were dried, I could continue on with the long stretchers. This was a little tricky, just because of the weight of the doors and their desire to slide.
At this stage, the web frame isn’t glued in – I hadn’t finished making it. Using a long open time glue is a must though, and made for a relatively stress-free glue up.
In situations like this, I also like to go for non-water based glues. Normally I’d go for epoxy, but with temperatures outside West Systems curing temperature range, Liquid Hide Glue was a better choice. This TV unit will hopefully never see any moisture or outdoors conditions, so I’m fairly certain the downsides of hide glue won’t apply here!

After the cabinet was dried, the web frame was glued into those dados.
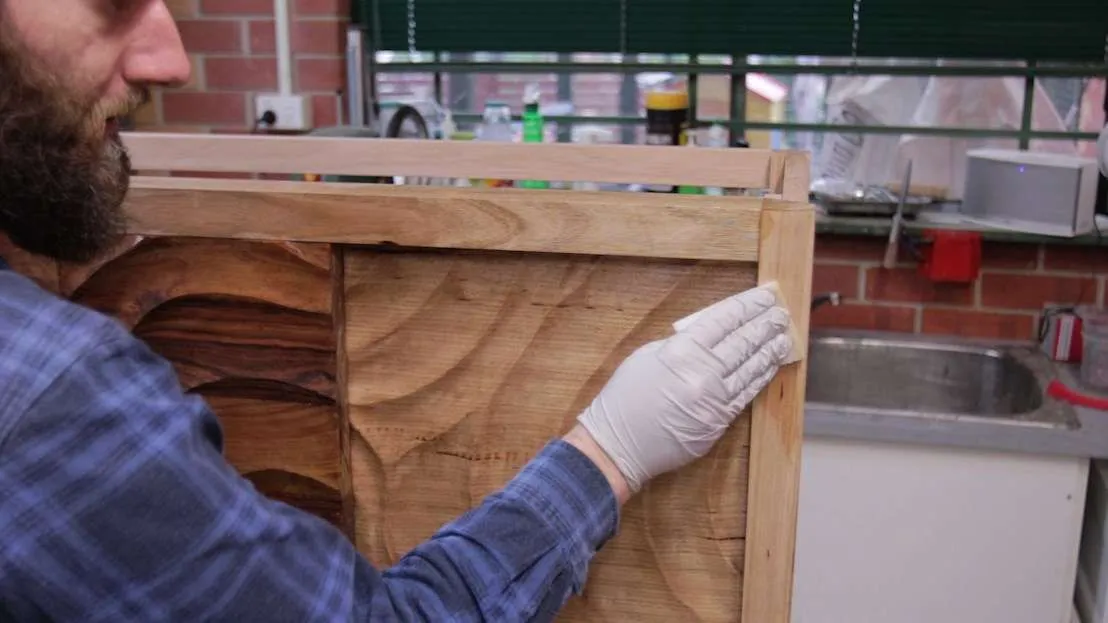
For the finish, I went with Osmo PolyX, rubbed on with a synthetic pad. See my “WTF is Hardwax Oil” episode to learn more about this finish. This was the first full project I’ve used the synthetic pad to apply finish with. Overall I’d rate it as “not as bad as I thought, but still trickier than some people give it credit for”. If I had the option, I would have rolled it on, but the cold snap in Melbourne meant I prioritised gluing up the TV unit.
When using the pad, most people recommend wiping the finish off after several minutes. The problem with that is you’re literally throwing away finish, and it takes many more coats to build the finish up to a protective layer. By not wiping it off, it’s a little harder to get the coverage consistent (not too heavy, not too light), but takes no more than two coats (same as rolling it on).