Tapering Jig
For the current project I’m working on, mission style side tables, the bottoms of the legs need tapers on two of the faces. With two side tables, four legs per side table, 16 tapers total that will be seen and need to be accurate? It’s time to jig up.
Parts
- MatchFit dovetail clamps
- MatchFit dovetail hardware (or 3D print your own)
- 1/2″ x 3/8″ 14° dovetail router bit
- 19mm (3/4″) plywood
You can cut dovetails on the router in a single pass, but it is considerably more work for the router and router bit because you have to do it in a single pass, you can’t slowly raise the bit.
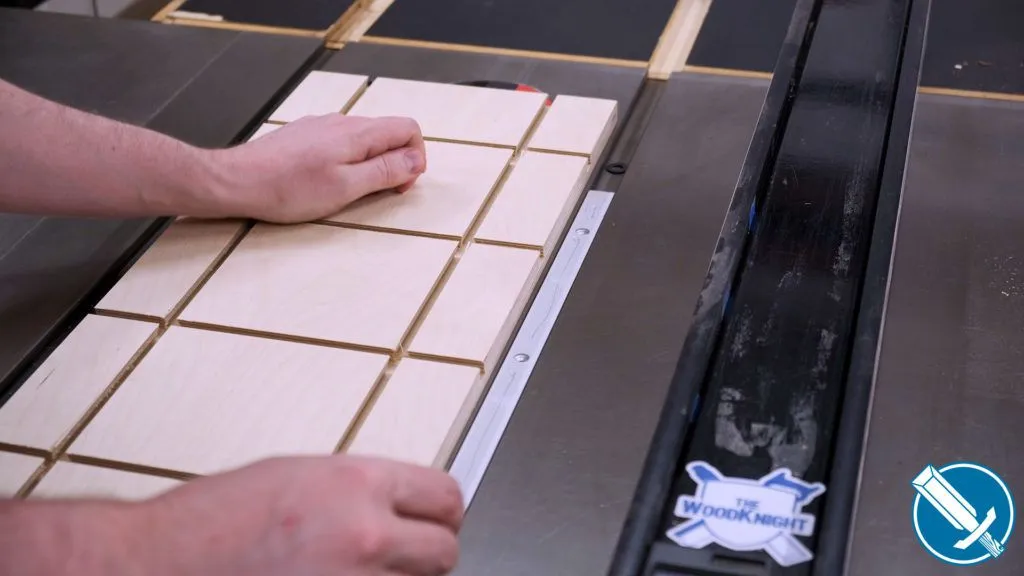
In order to lessen the load on the router bit, I like to do relief cuts first. Two passes width wise at the table saw per channel is fast and gets enough clearance that the router bit eases through.

There are two channels going along the length of the sled, so cut one side, flip the board and cut the other, then adjust the fence for the second pass per channel.
Two kerfs with a standard kerf blade (1/8″/3.125mm) will give a nice wide channel (1/4″/6.35mm), but still be narrow enough for the router bit.
The depth of cut should be a little under 3/8″ (9.5mm)
For the four short channels, the same thing can be done using the crosscut sled, but I just line up the layout lines either side of the zero clearance line on the sled for my spacing.
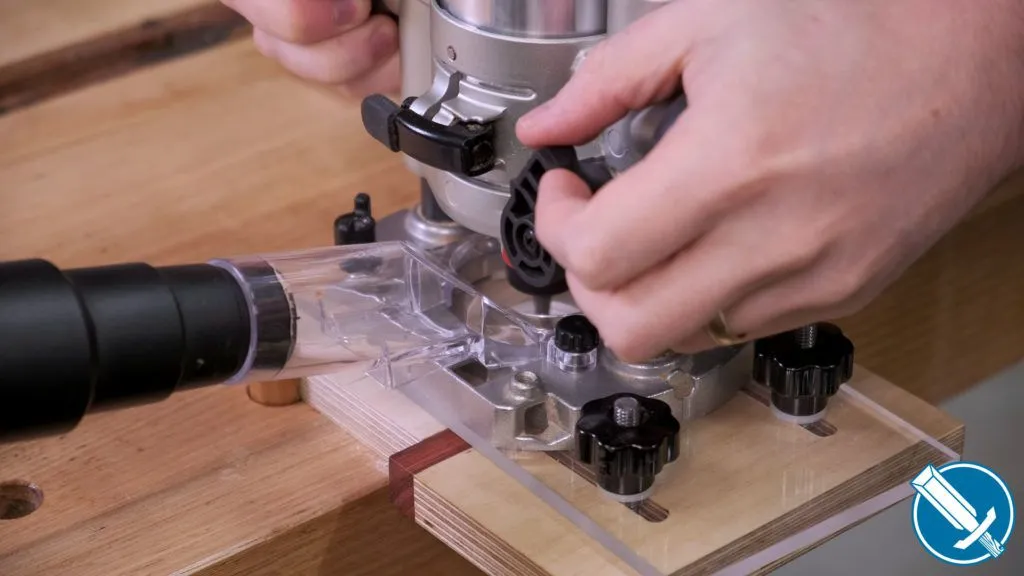
The MicroJig MatchFit system needs you to use a standard ½” by 3/8” 14 degree dovetail bit. They (Microjig) do have their own bit which adds some roundovers that looks nice, but it is not required. I couldn’t justify buying it when I already have a perfectly functional bit.
I’m repeating my self but.. the dovetail slot needs to be cut in a single pass – this is why the relief cuts were done at the table saw – since you can’t raise the bit per pass, you’d end up with a dado, not a dovetail.
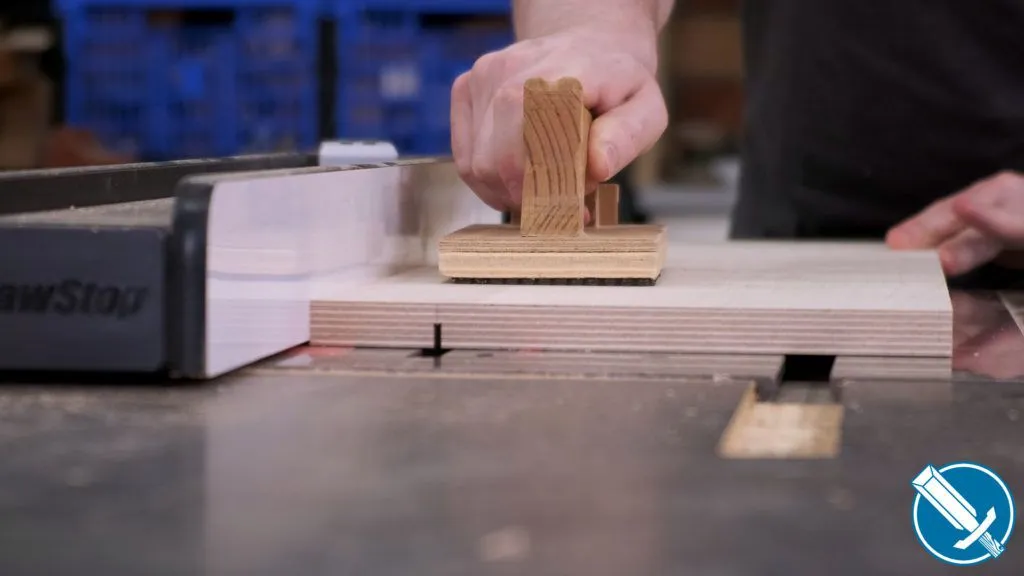
The same process is done for the shorter slots too, making sure to use a push block to help keep it hard up against the fence. My router table fence doesn’t have enough travel in it for the middle slots, so I ended up using the table saw fence instead. There isn’t ever parallel issues with the router table and fence because of how the cutter works.
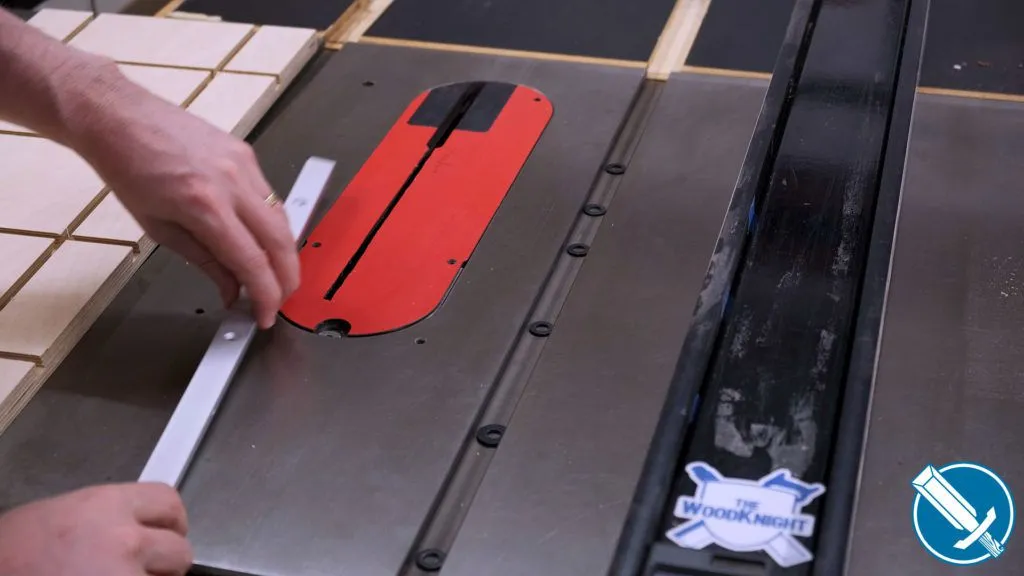

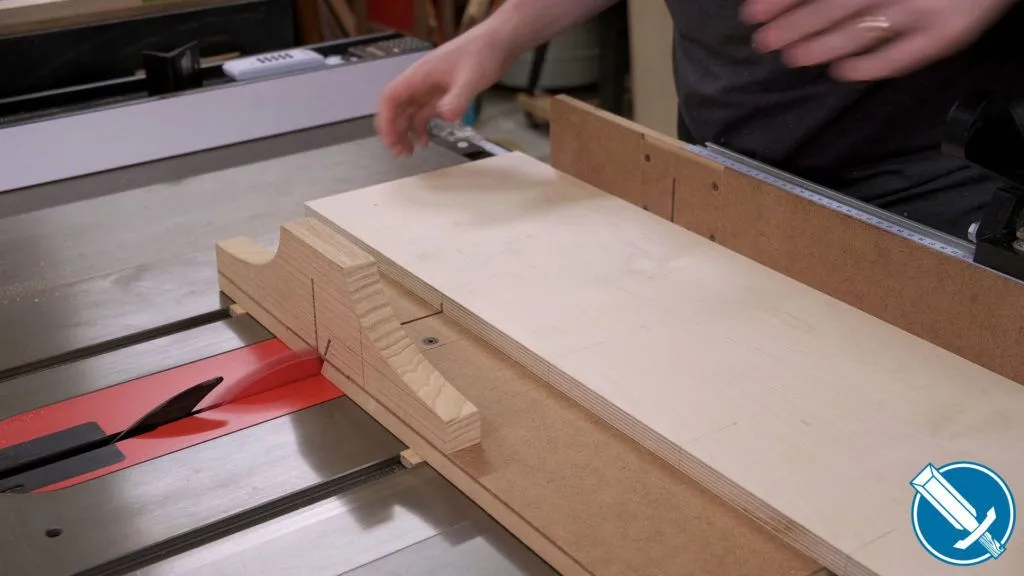
For whatever reason I find myself more comfortable with sleds that use a mitre track rather than just riding up against the fence. In this case I’m using an aluminium mitre bar, though I added wooden runners as I was unimpressed by the aluminium one.
If you don’t want to use a runner, you can just run the jig up against the fence. Every time you use the jig you’ll need to use the exact same positioning to maintain the zero clearance edge. A mitre runner has the advantage in that it will always be at the exact same mark.
Washers space it up above the table, and a few dabs of CA give it a good bond.
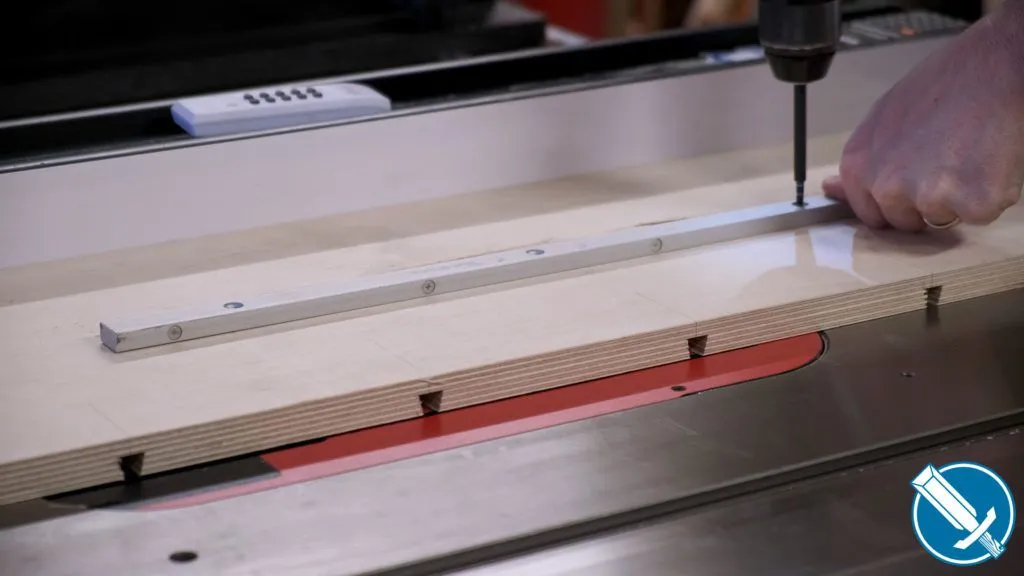
Then it can be flipped and screwed in more securely.
The runner was offset so that the first cut removes just enough material to make a zero clearance edge.
The Stops
For the stops, I’m using a scrap of plywood – about 100x100x18mm.
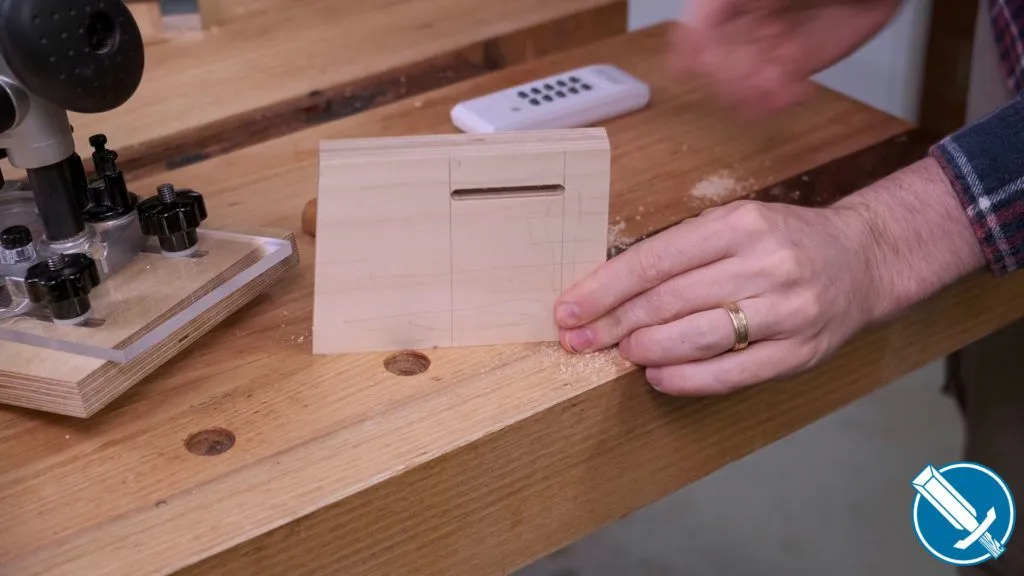
Using the recent edge guide, I routed two 1/4″ slots all the way through.
Router one halfway on one side then flip the board to the other side. Rinse and repeat on the the other edge and that gives you two stops from one scrap.
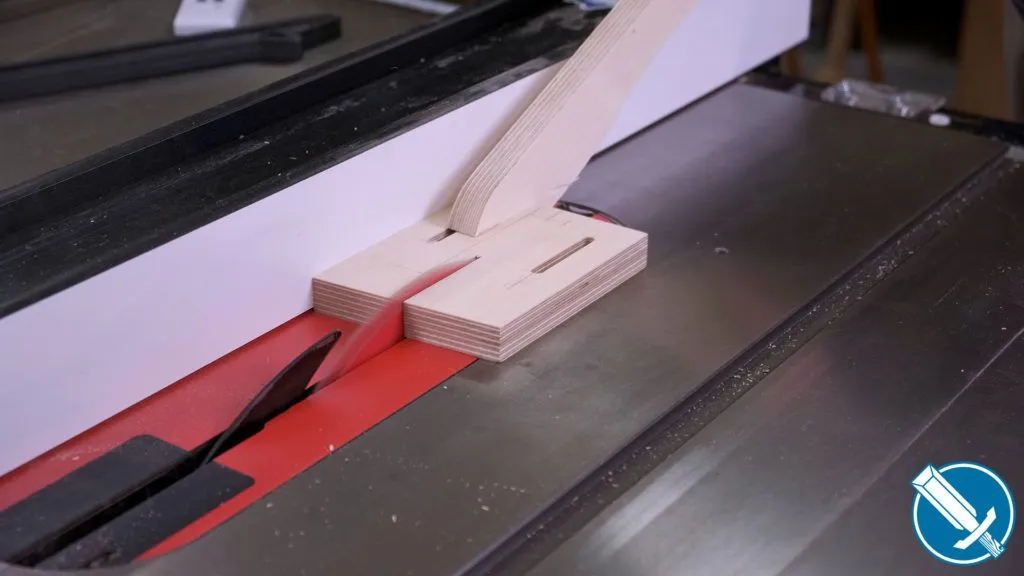
The scrap is cut in half on the table saw, then a corner cut is made using the crosscut sled on both pieces. This corner will act as a nice square reference for the hook. It isn’t strictly required to be done at the table saw, but it is a lot easier to guarantee squareness.
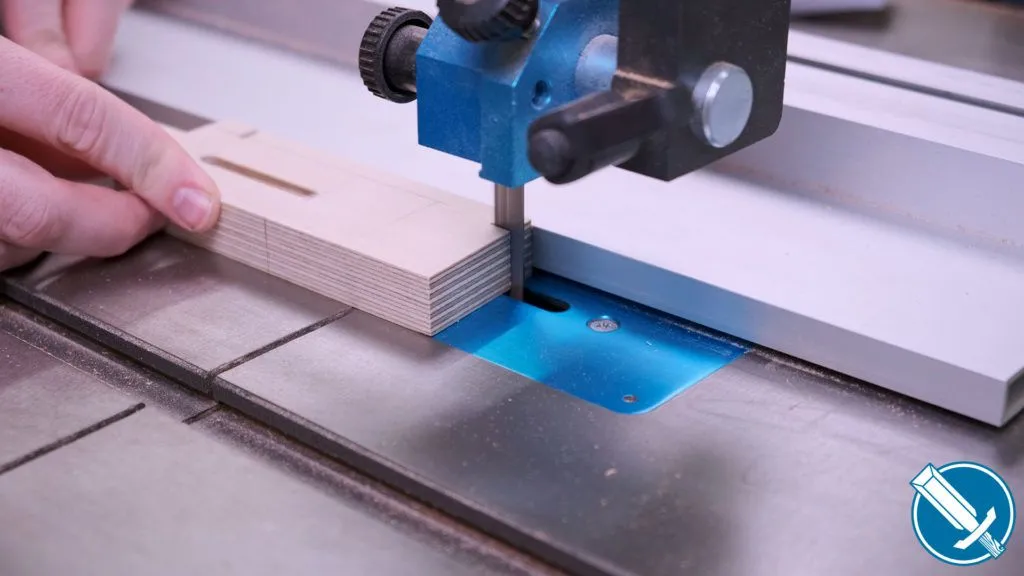
Then the remainder is removed on the bandsaw to leave an L shaped bracket
Tapering In Action
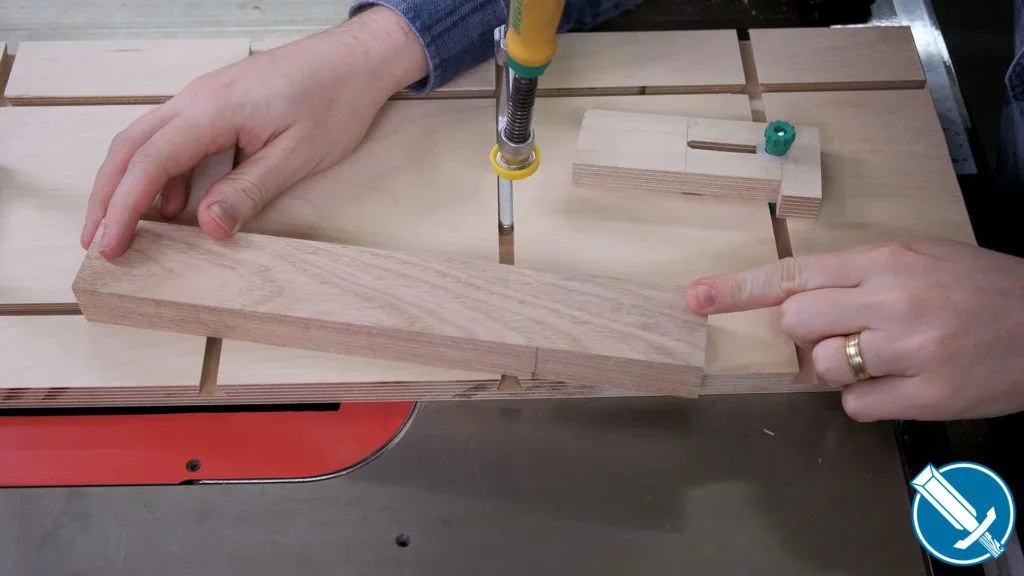
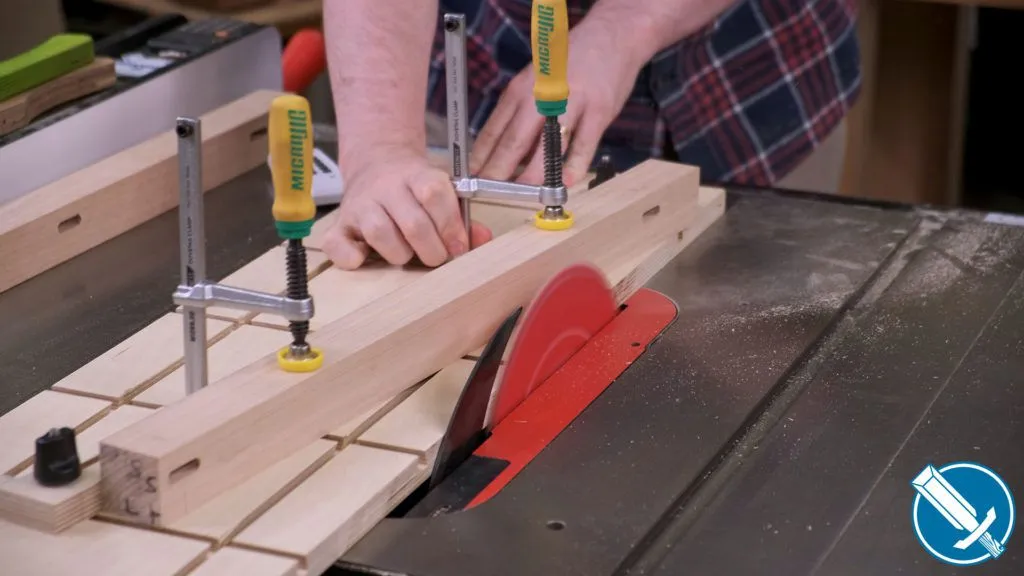
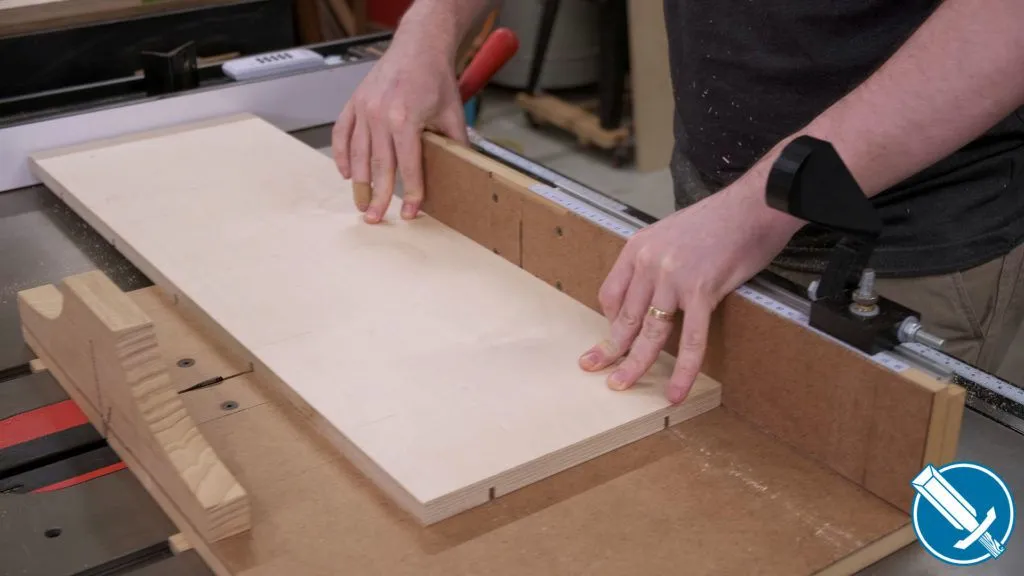
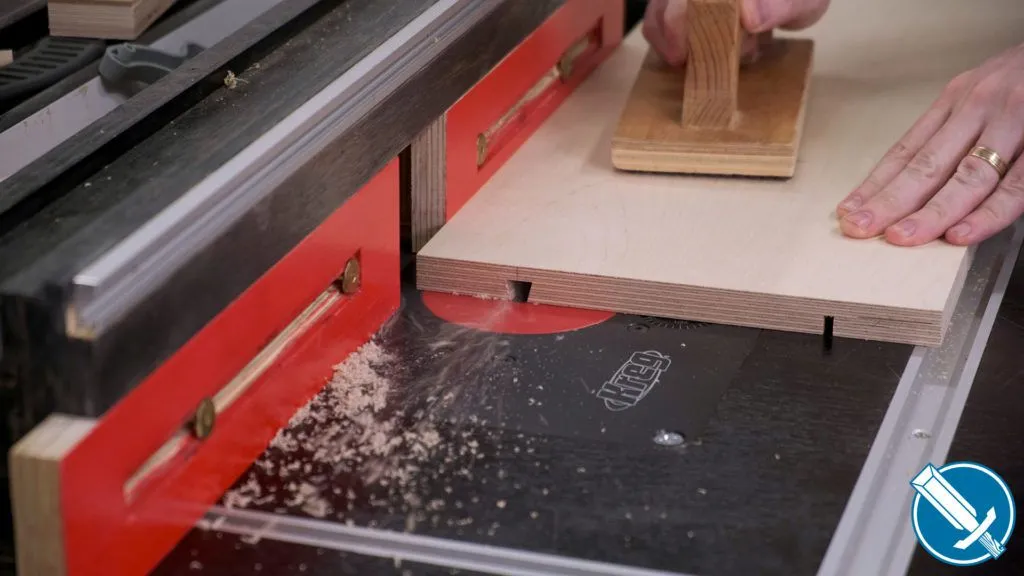
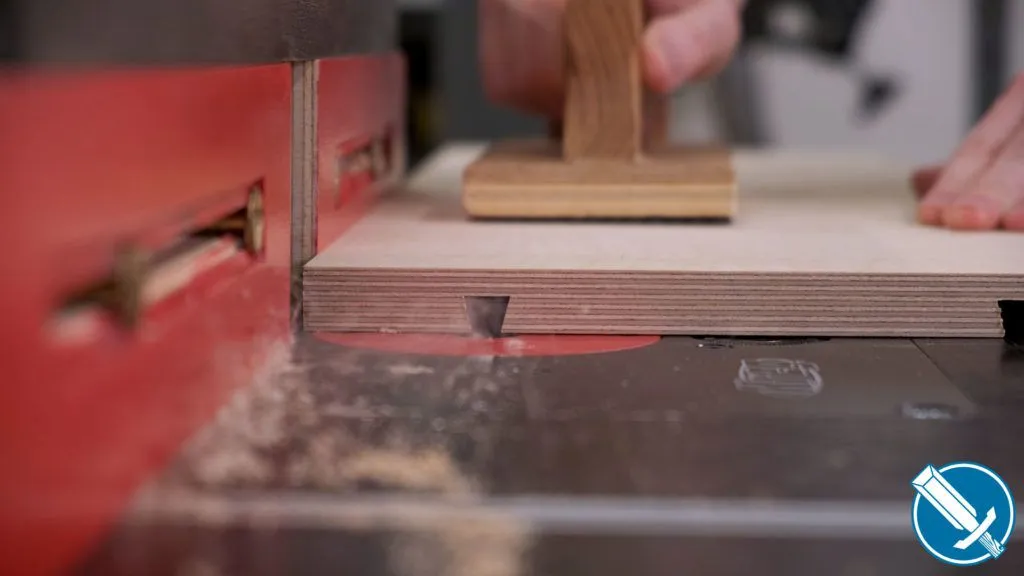
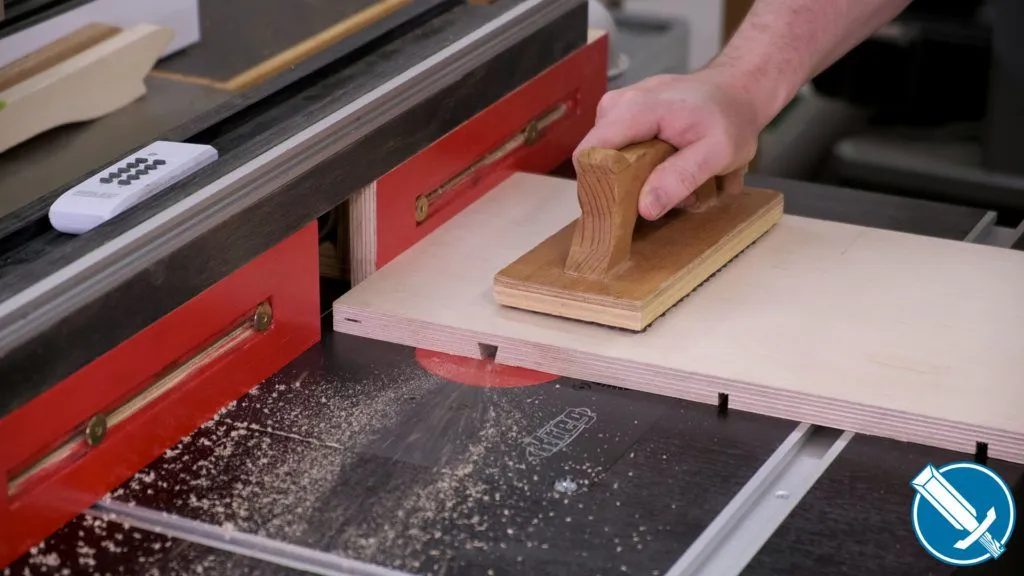
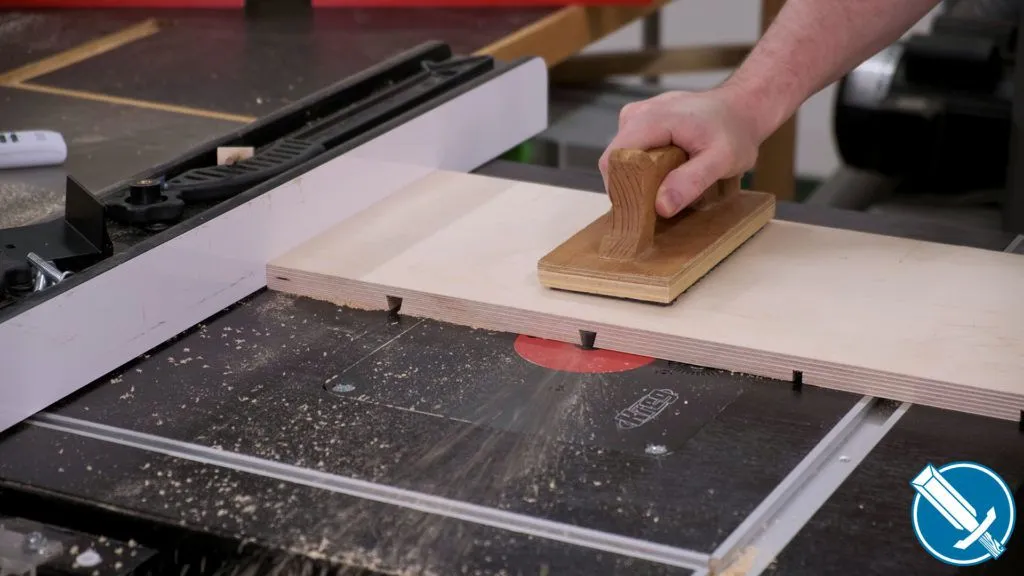
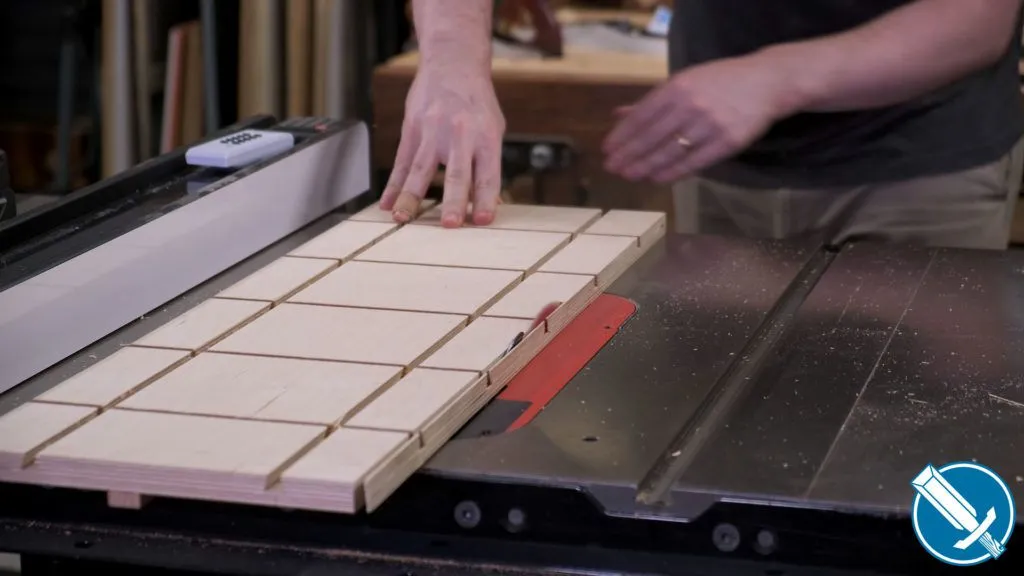
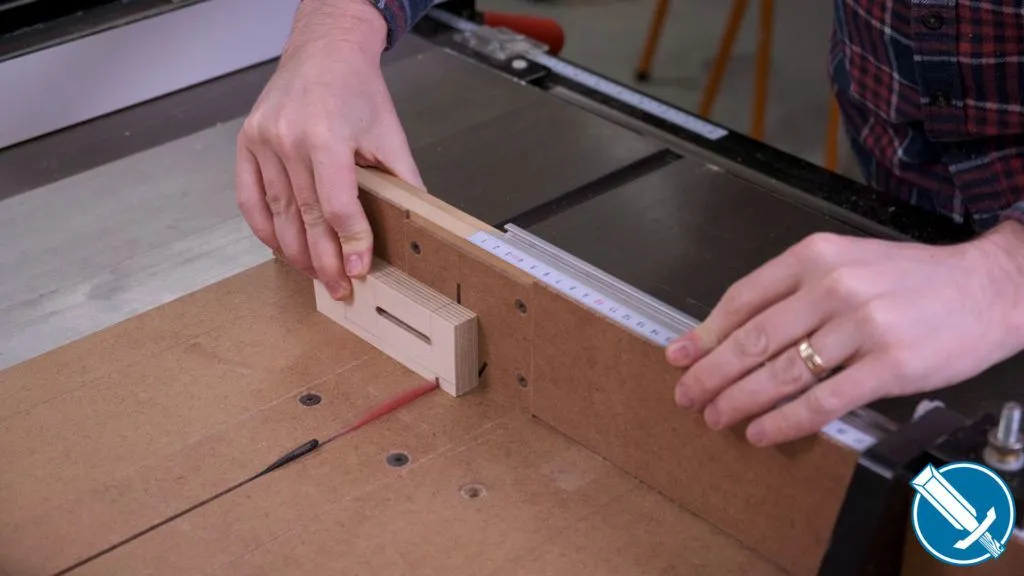
Here’s an example of the sled in use.
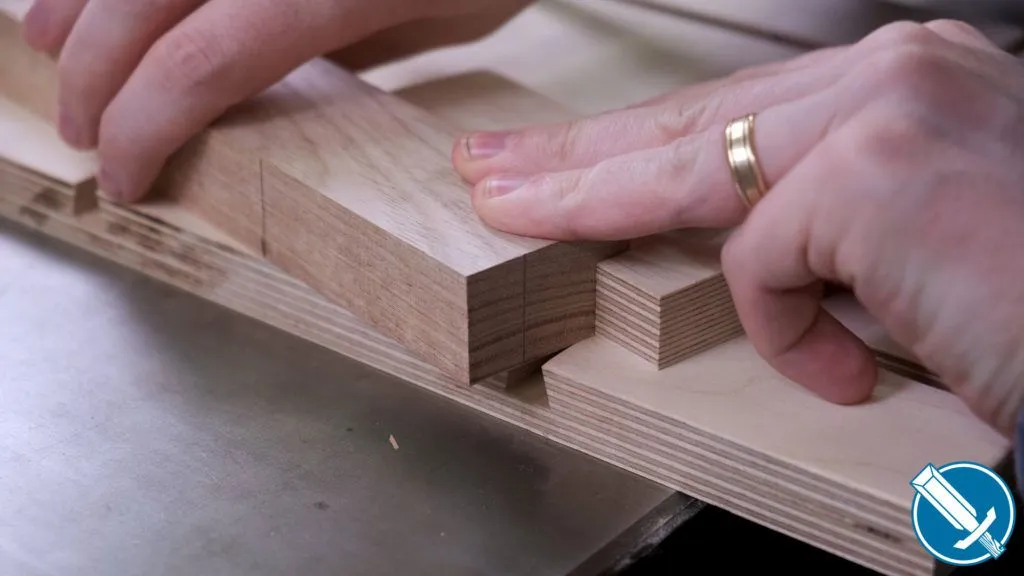
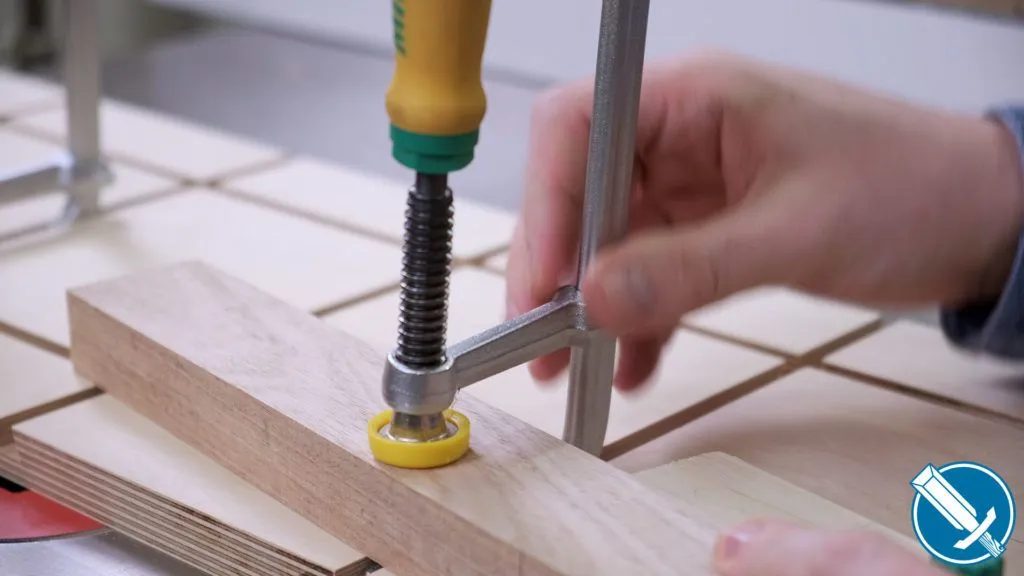
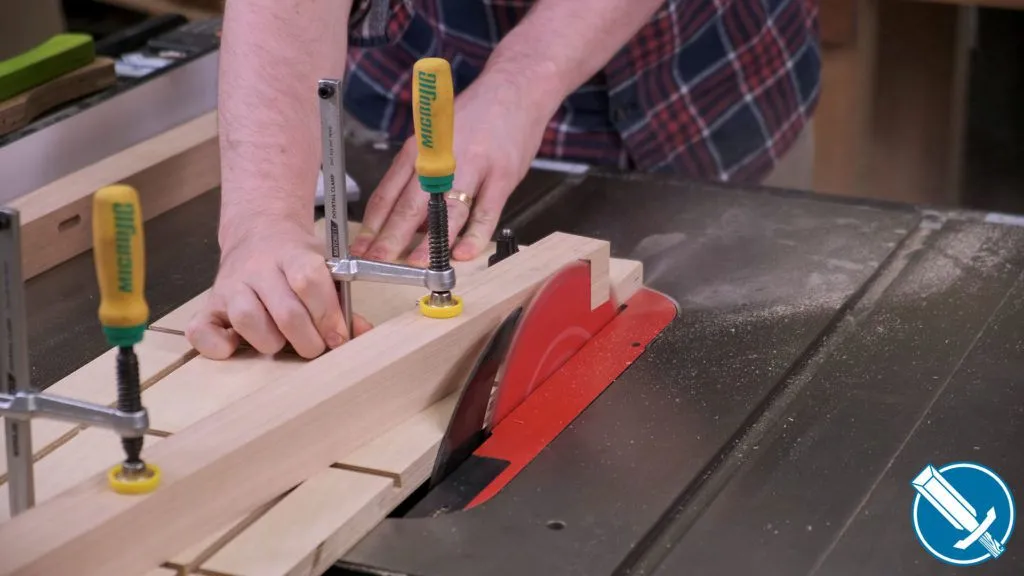
Mark your work piece where the taper should start and finish on the sides. The stops can then be placed around the workpiece, making it repeatable. The Matchfit hardware slides into the grooves in the jig, with the bolt going through the slot in the stop blocks. A knurled knob then secures it all.
The Matchfit clamps can then hold the work piece securely, and the cut can be performed.
Using the stops allows all the other tapers to be cut consistently – either the other face on a leg, or the other legs on the table.