Mission Style Side Tables
Table of contents
- Tools
- Supplies
- Table Tops
- Legs & Rails
- Joinery Layout
- Joinery
- Curved Template
- Flushing the curves
- Tapering The Legs
- Shelves
- Finishing
- Z-Clips
- First Glue Up
- Second Glue Up
- Attaching Z-Clips
A mission style side table, built as a gift for my mum for Christmas (2019).
Tools
- Tablesaw
- Large crosscut sled or circ saw/track saw + smaller crosscut sled
- Jointer
- Thicknesser (Planer)
- Sander
- Router/Router table
- Round over bit
- Flush trim bit
- Straight bit if using a router for joinery
- Bandsaw
- Drill (for attaching z-clips)
- Mitre saw is optional for breaking down large boards
Supplies
- I used two 140x45x2400mm Vic Ash boards for the two side tables, plus some jarrah I had laying around for the stiles.
- 4 Z-clips and screws per side table
- Clear finish (I used a satin hardwax oil)
Table Tops
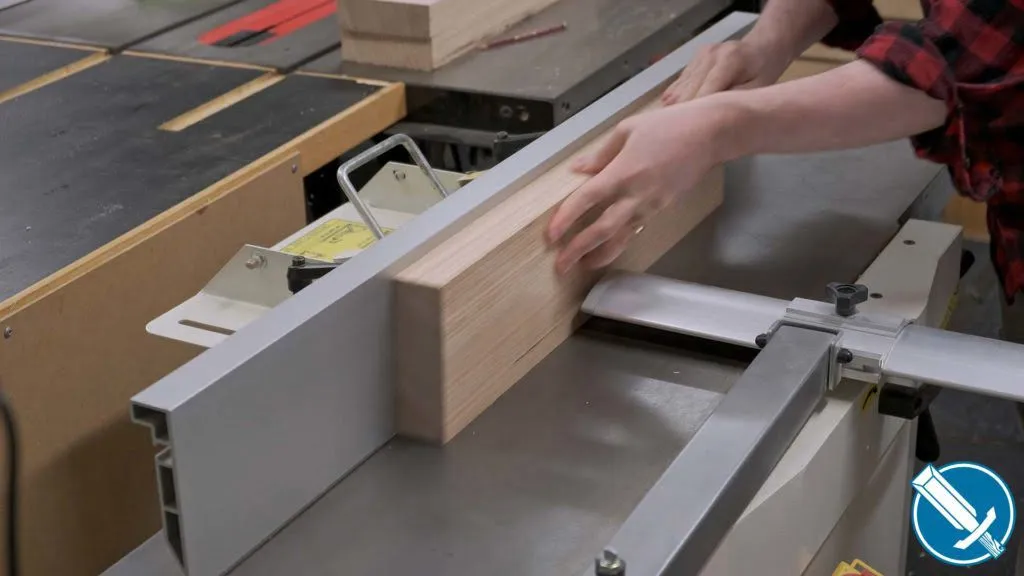
The dimensioning of the parts from rough stock is the same process for all parts, so I’ll try and cover it just once and I’ll start with the table top. To build furniture from scratch using rough sawn material, you need a jointer (machine or jointer plane) and thicknesser (planer in the US) or at a minimum, thicknesser with jointing sled and a straight cut jig for the table saw. Alternatively, if you’re able to source pre-dimensioned timber, that will end up costing more per board but shouldn’t need a jointer.
I’m working with 140x45mm rough sawn vic ash. I break it down into a rough length – slightly longer than what I need – at the mitre saw, so it is easier to manage. It is easier to joint 600mm boards than it is 2400mm.
The face then edge are jointed.
Because I’ll be resawing, I like to make the opposing face flat by running it through the thicknesser (jointed face down) too. This way, once everything is resawn, the two halves will have one square edge and one square face, making it much easier to flatten everything in the next step.
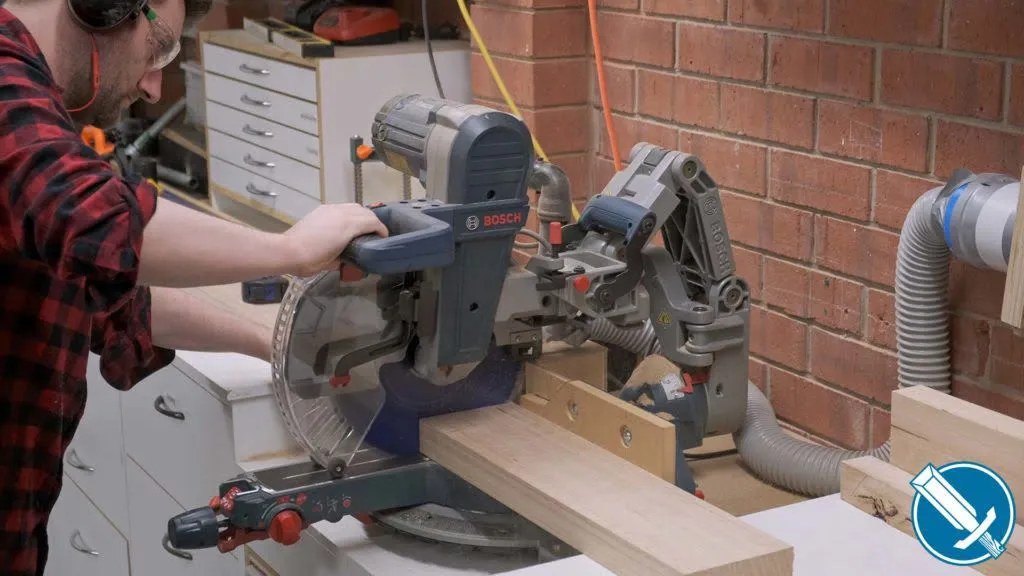
I’m working with 140x45mm rough sawn vic ash. I break it down into a rough length – slightly longer than what I need – at the mitre saw, so it is easier to manage.

The face, then edge are jointed.
Because I’ll be resawing, I like to make the opposing face flat too. This way, once everything is resawn, the two halves will have one square edge and one square face, making it much easier to flatten everything in the next step.
With the rough stock brought into square, the final dimensioning for the table top can take place.
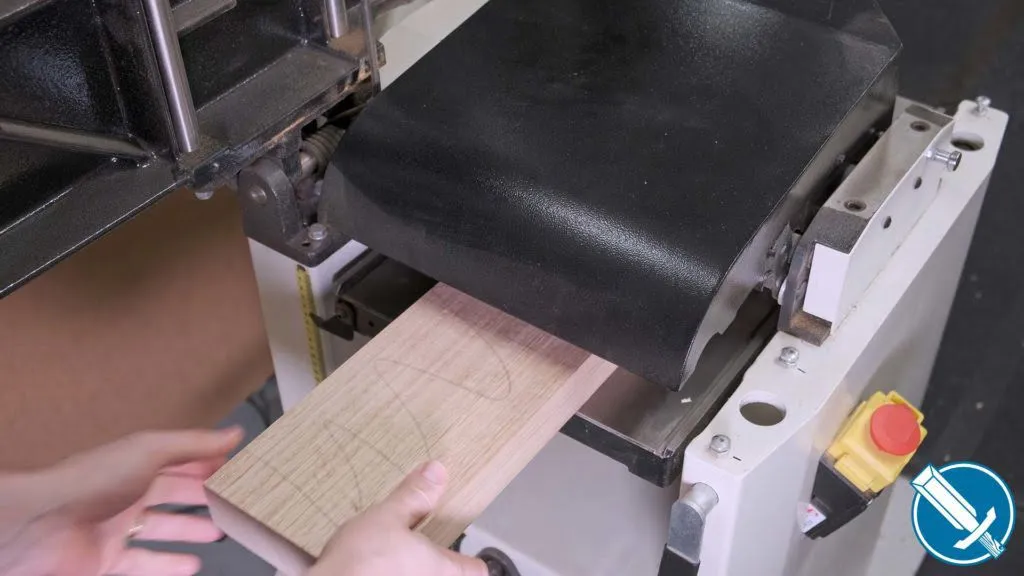
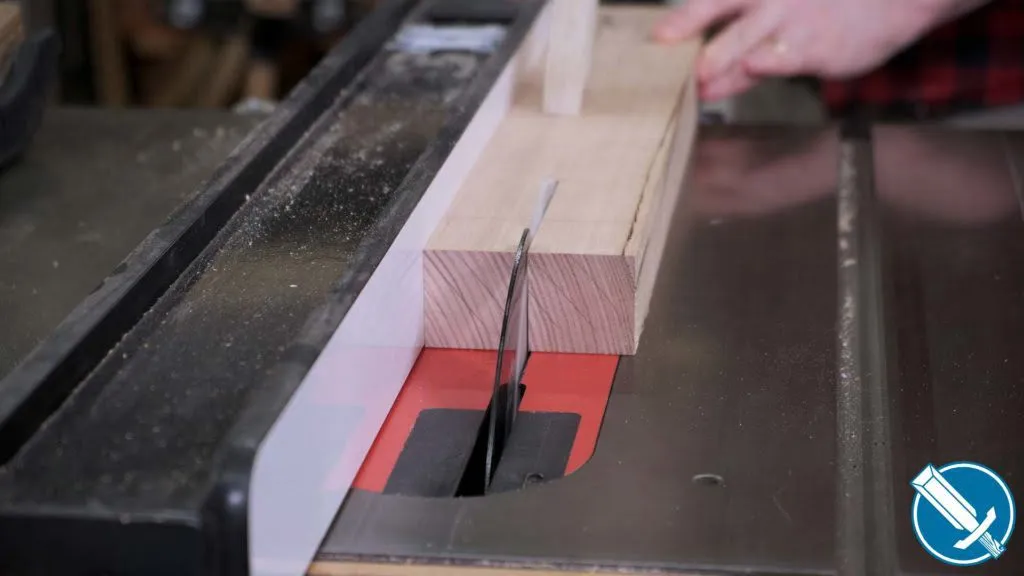
First the boards are resawn – 45mm is too thick for a side table top, but 20-22mm is just fine.
When resawing, applying even, constant pressure towards the fence before the blade. I use the Alex Snodgrass method of bandsaw calibration. I have also found for best results on my saw, running at 3-4tpi, 1/2″ blade gives better results than a wider blade, because I can properly set the guides and blade position on the wheel.
Remember going slow is always a good way to give the bandsaw the best chance at cutting straight.
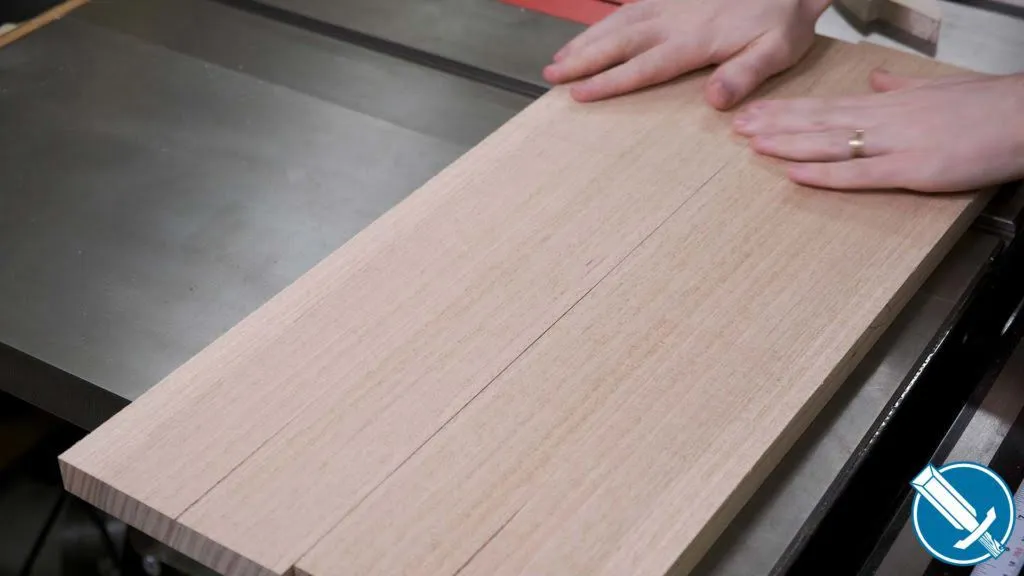
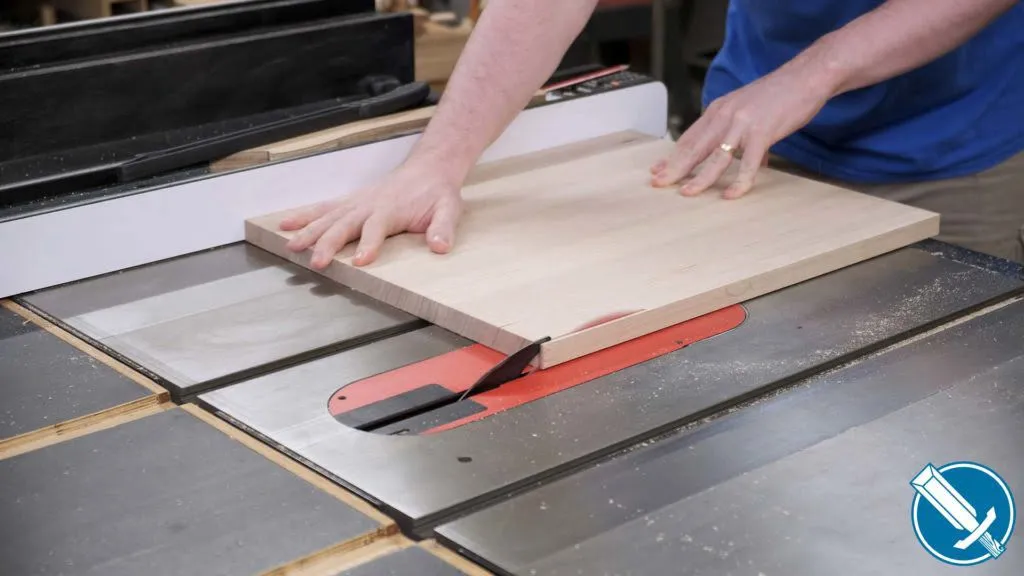
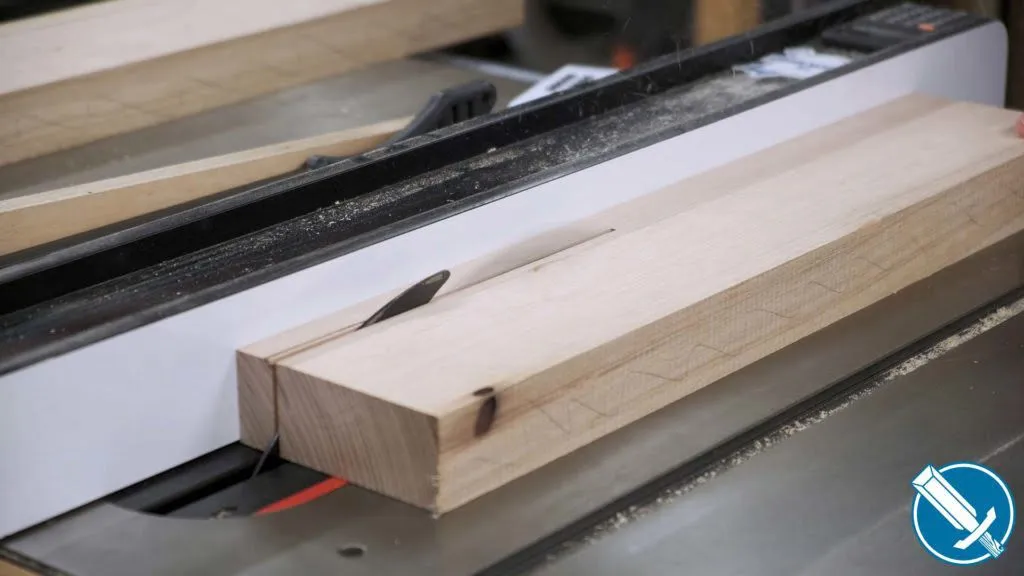
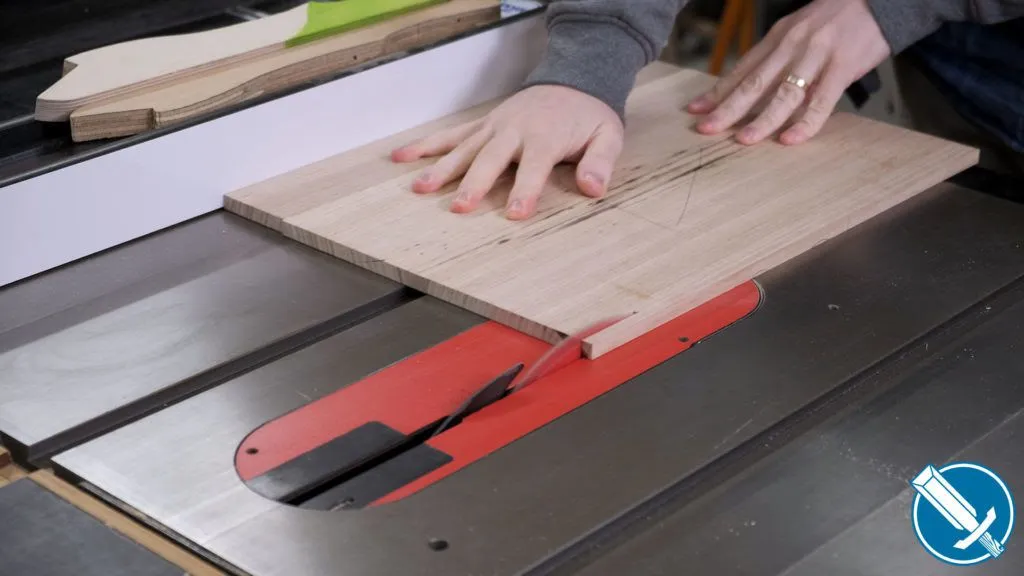
Once resawn, the final edge can be straightened and cut to width at the table saw, before glue up. At this stage I haven’t cut the boards to final length, because it is easier to do that once the table is all glued up.
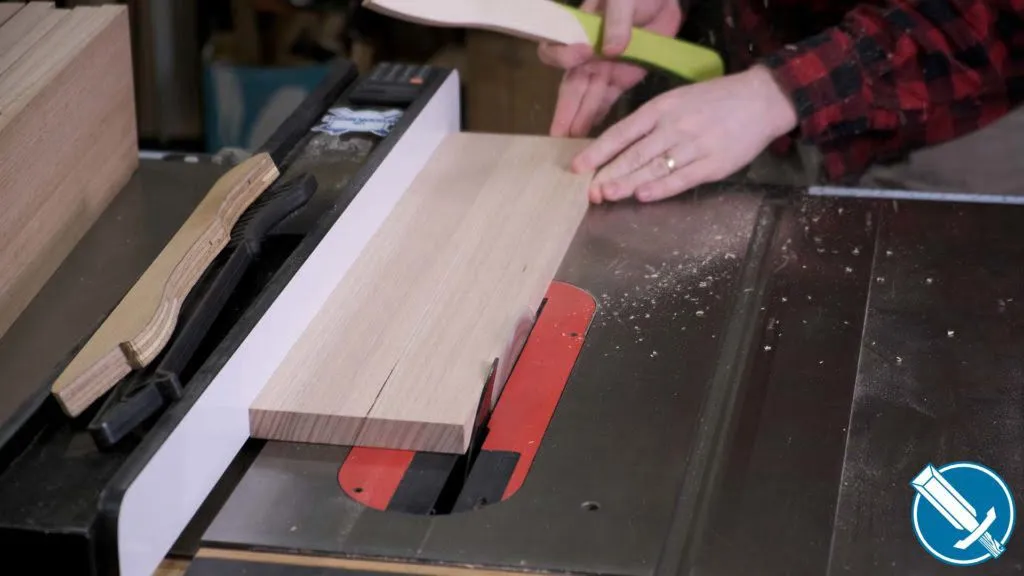
Neither end of the board is square, but the long edges are at least straight and parallel with each other. If I had a larger crosscut sled, I would have used that to square up one end first. Instead, I just marked a square line for the tracksaw, then the measurements for the other end can be taken from there. A regular circular saw with a guide will work fine too.
For now, the table tops can be put aside while the rest of the table is built
Legs & Rails
The standard jointing process takes place for the stock for the legs. These legs are all rift sawn grain – rift sawn grain will appear the same on all four faces, while other grain patterns (flat/plain and quartersawn) will not.
To rip stock in a single pass on my 1-3/4 HP saw, I’ve installed a 40tooth rip saw blade.
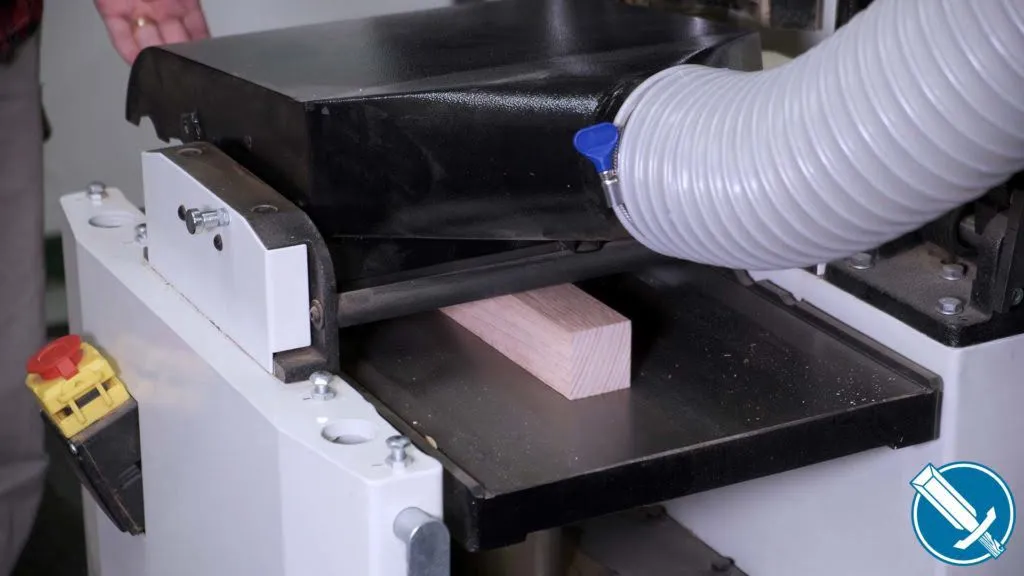
Clean up and final sizing is done at the thicknesser, bringing the 45 millimeter stock down to the final 40mm square
While the rip blade is installed, the rail stock is also processed. It’ll end up 40mm tall, but 20mm thick. There should be 10 aprons per side – four short aprons (two upper, two lower) and six long aprons (two upper, two lower, two middle for the shelf)
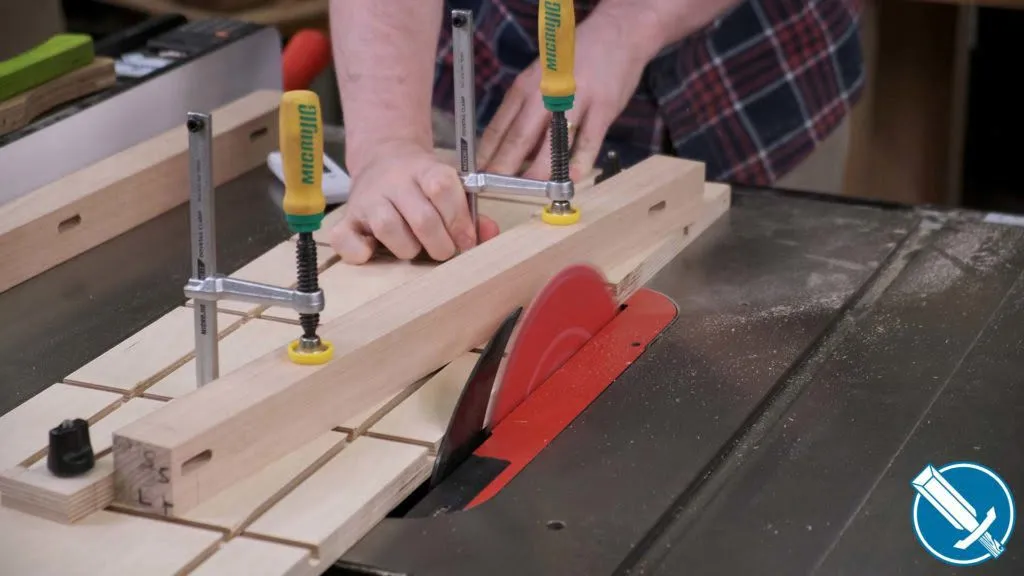
To cut everything to length, I’m using a crosscut sled on the table saw. Notice I’m referencing off a stop on the fence. At no time am I contacting the fence AND saw blade, as that would lead to binding issues.
The legs are also cut to length using this method.

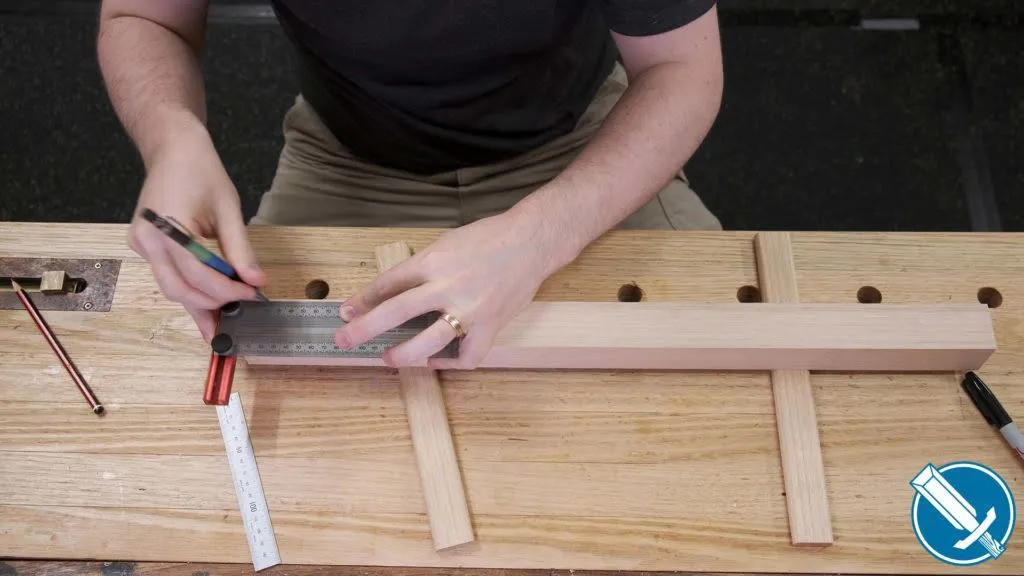
Joinery Layout
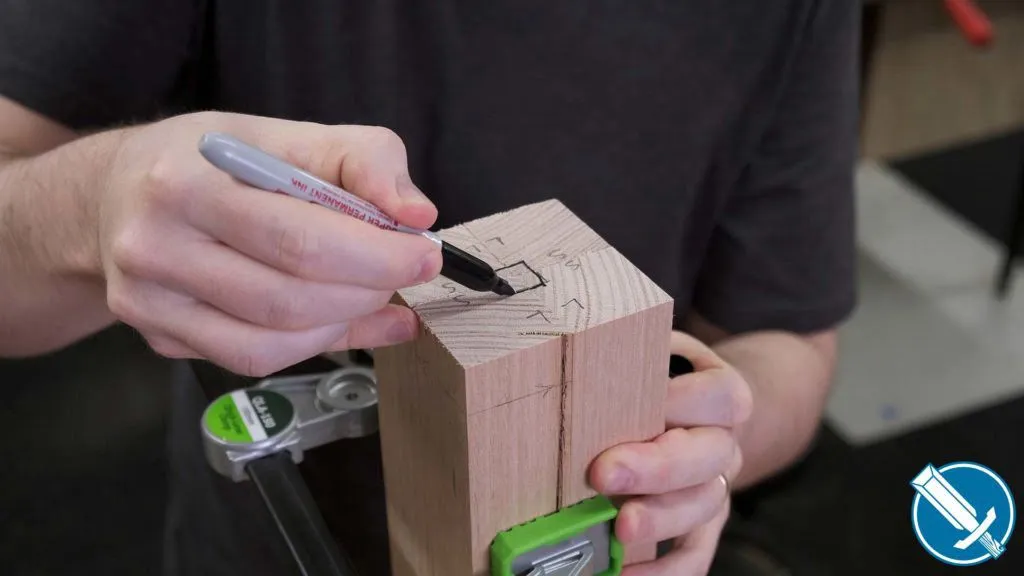
Four legs should be fairly simple, but they do have particular orientations in regards to joinery, so I like to mark the tops of them with clear obvious marks that even I couldn’t miss. Clamping them together and marking an inside square representing how they should go together always helps, as well as marking pairs of “L”ong aprons and “S”hort aprons.
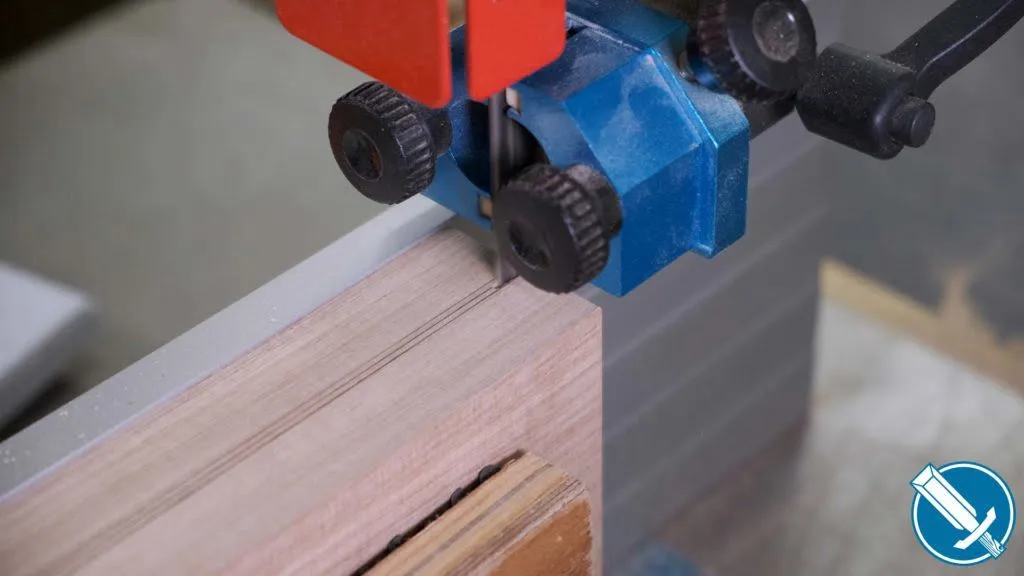
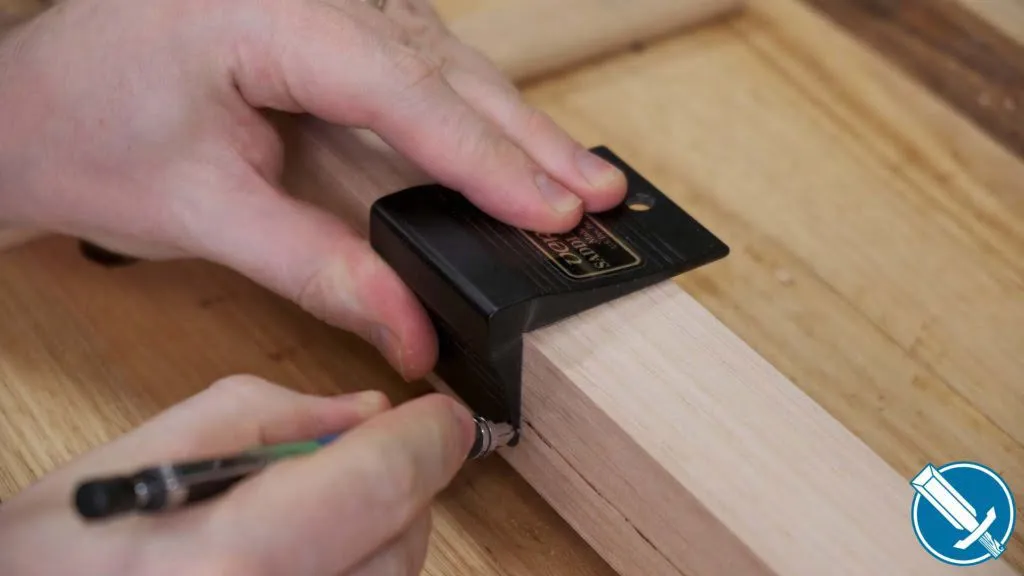
I’ll be using the Festool Domino, but the layout process is the same whether you’re using dominos, traditional mortise and tenon, or dowels.
A saddle square, like this one from Veritas, makes transferring lines around corners for the mortises on each leg a real cinch.
Joinery
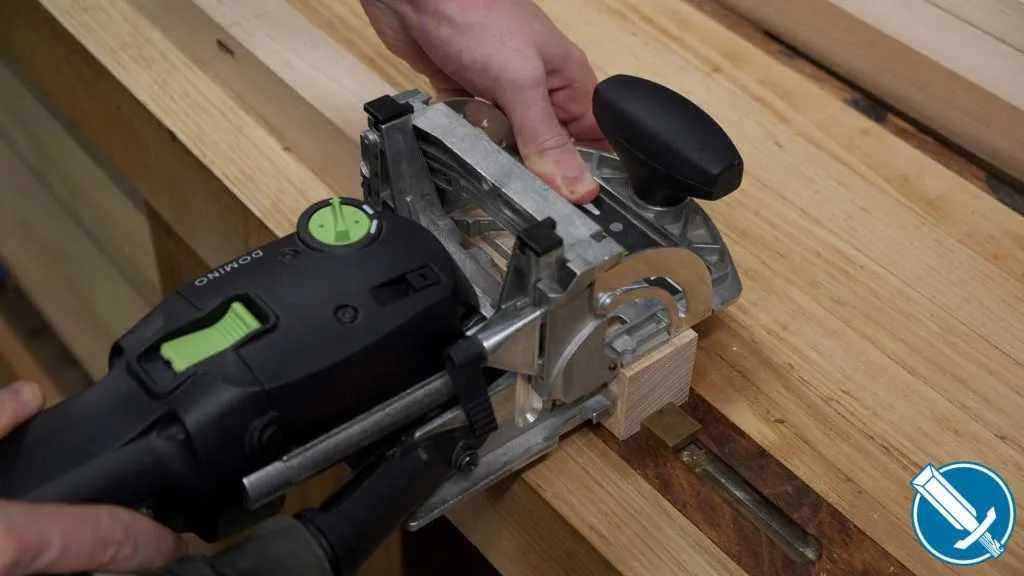
For the joinery, I’m using dominos. It’s pretty much just point and shoot at the marks made in the previous step.
This also happens on the vertical stiles and all apron pieces. See the plans for the placement of all the joinery.
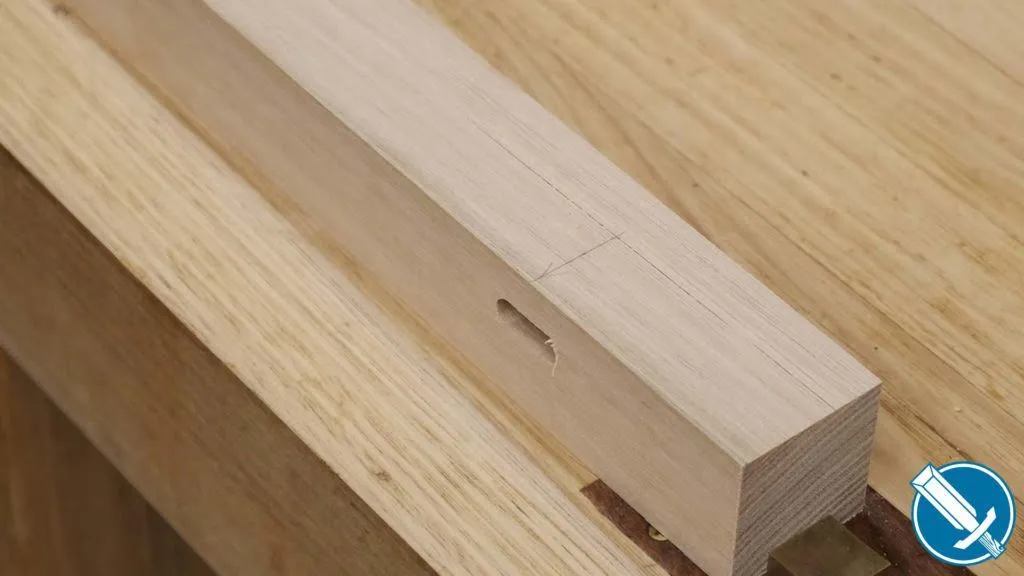
Undoubtedly I’ll cop some flak for using the domino. It’s a fantastic, albeit expensive, joinery tool. It makes mortises for loose tenons (dominos) and thats it. It really is ‘easy mode’ of woodworking – all the joints for two side tables took just 20 minutes to cut.
However, it is incredibly expensive. That shouldn’t deter you – there are plenty of ways to do integral mortise and tenon, or even your own loose tenon joinery using a router. Here are three examples
- https://www.instructables.com/id/Make-a-Mortise-Te-
- Woodsmith: How-to Loose Tenon Joinery System
- Woodwhisperer “But I don’t have a Domino”
Alternatively, loose tenons function very similar to dowels – throw in 1/4″ (6mm) dowels instead of the dominoes and the results will be the same
In this application, a biscuit jointer is not a substitute. It won’t provide any structural strength.

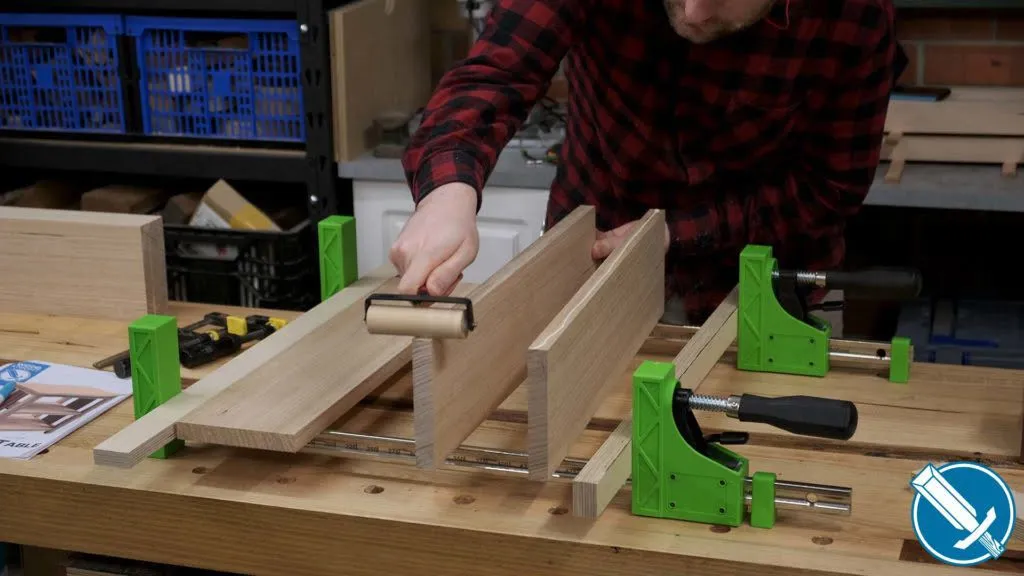
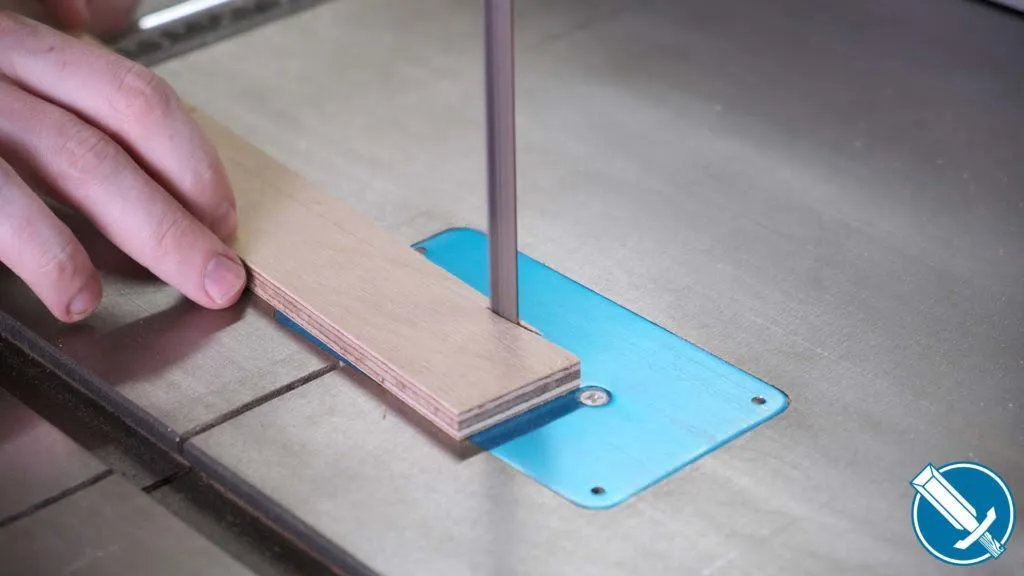
Curved Template
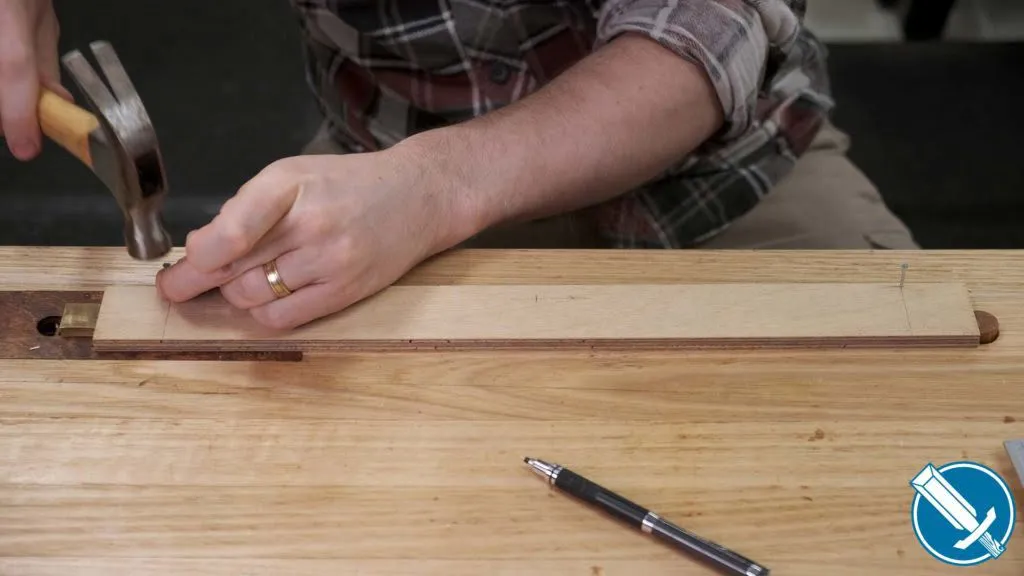
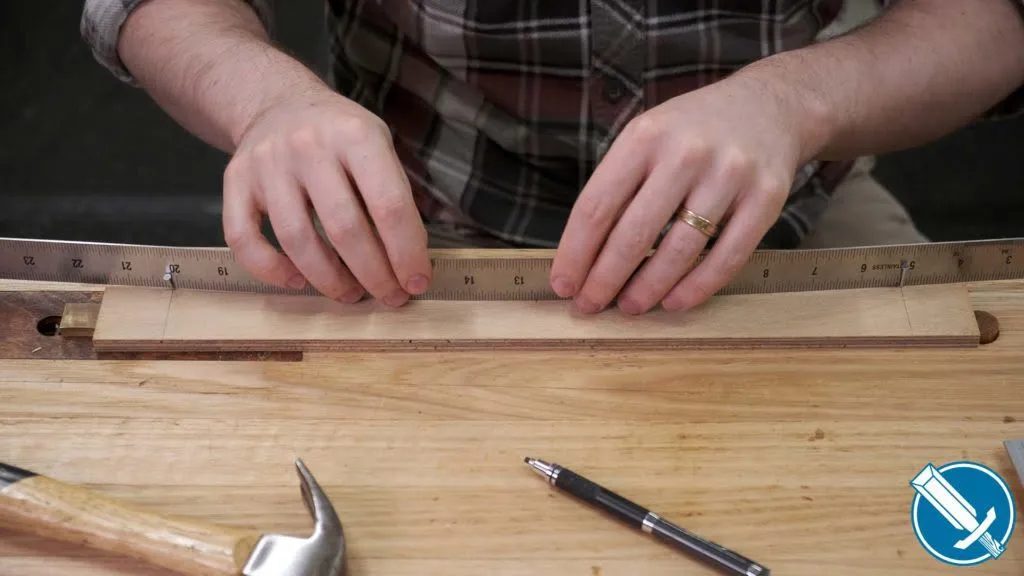
Using a scrap of 9 mm plywood, cut to 40mm wide to match the width of the rail but about 50mm longer at either end of the length of the aprons, I measure up the height I want for my arc. Then I drive a couple of nails partially into where the ends of the aprons will come to.
This lets me flex a metal ruler to let me draw my arc out.
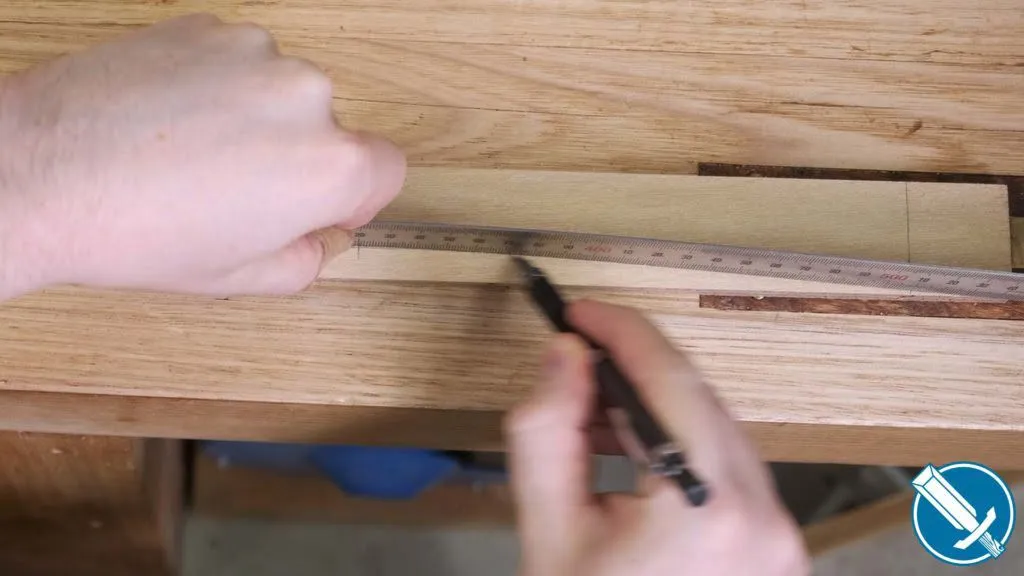
The template can then be trimmed to length, and the curve cut at the bandsaw.
The curve is refined using a flexible hand sander – being just 9mm plywood, this goes quickly enough that there isn’t a need for a power tool here.
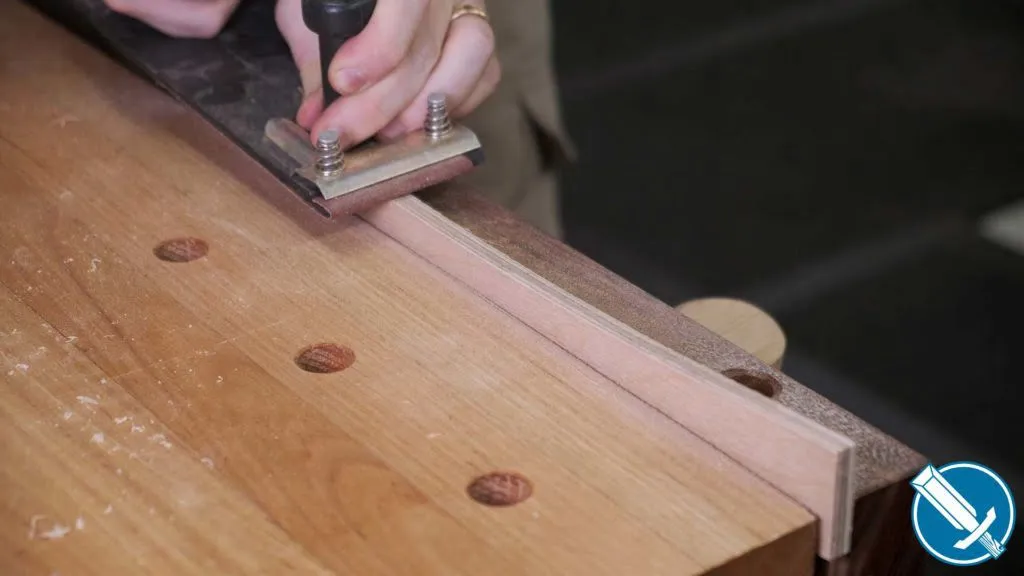
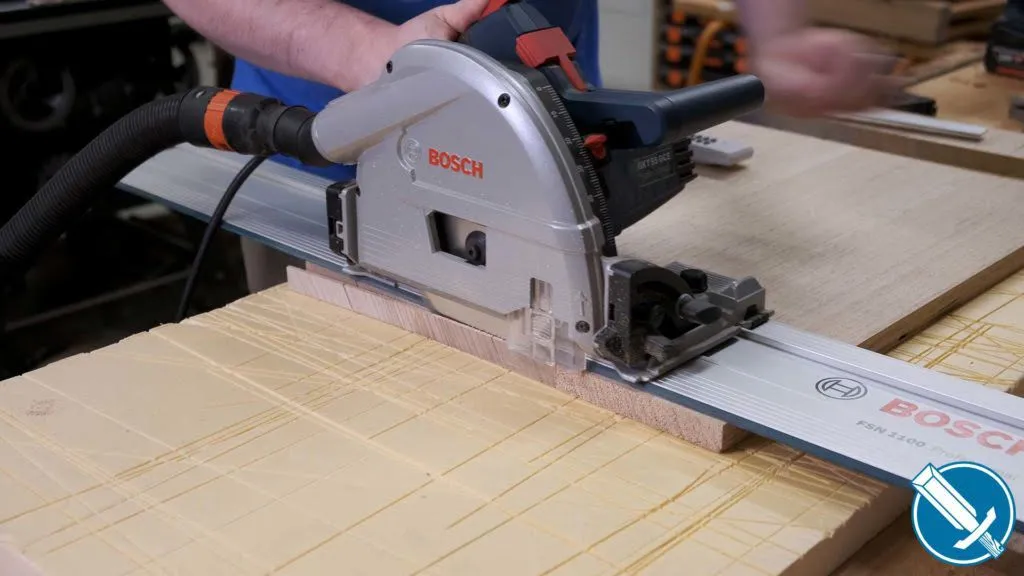
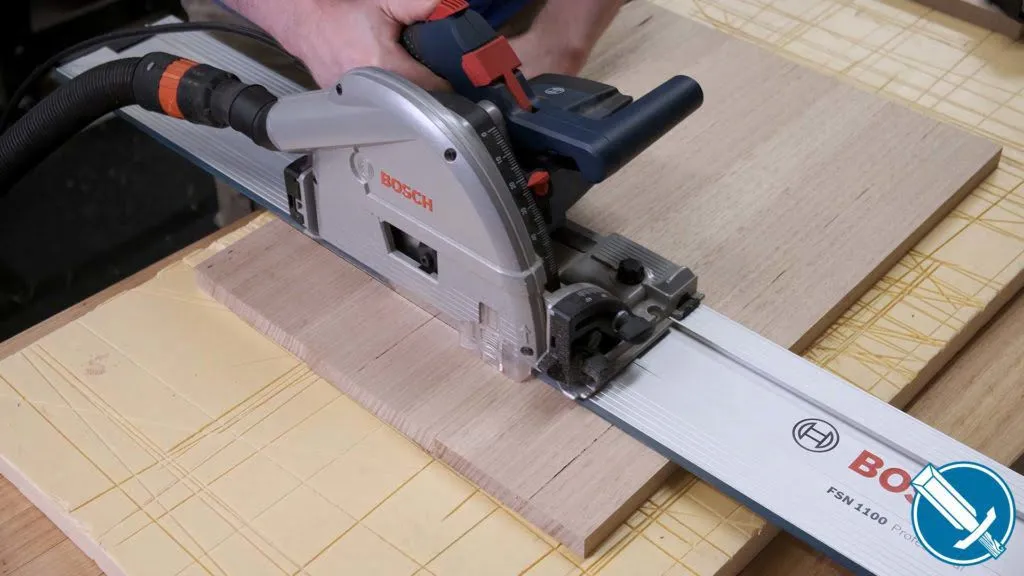
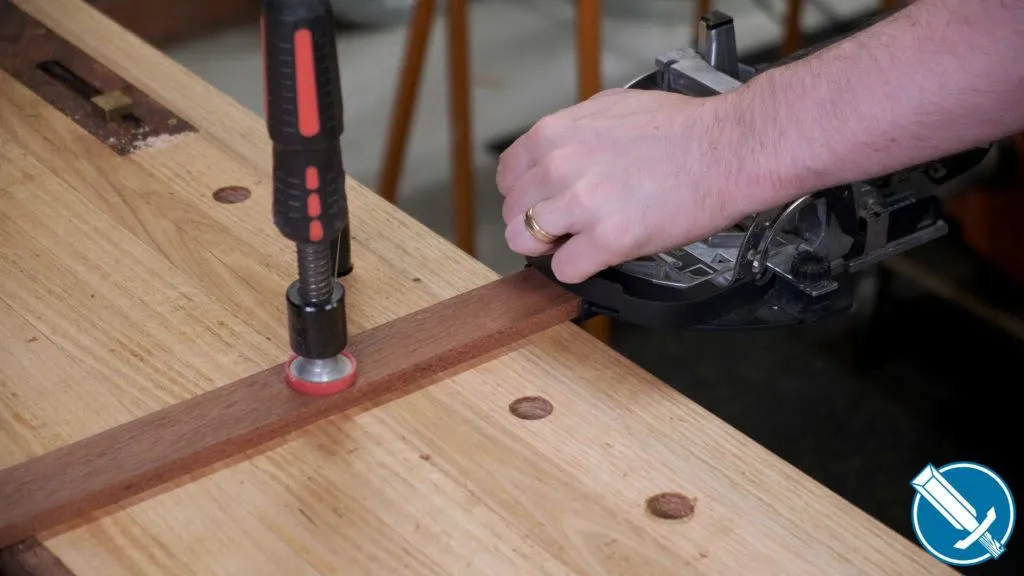
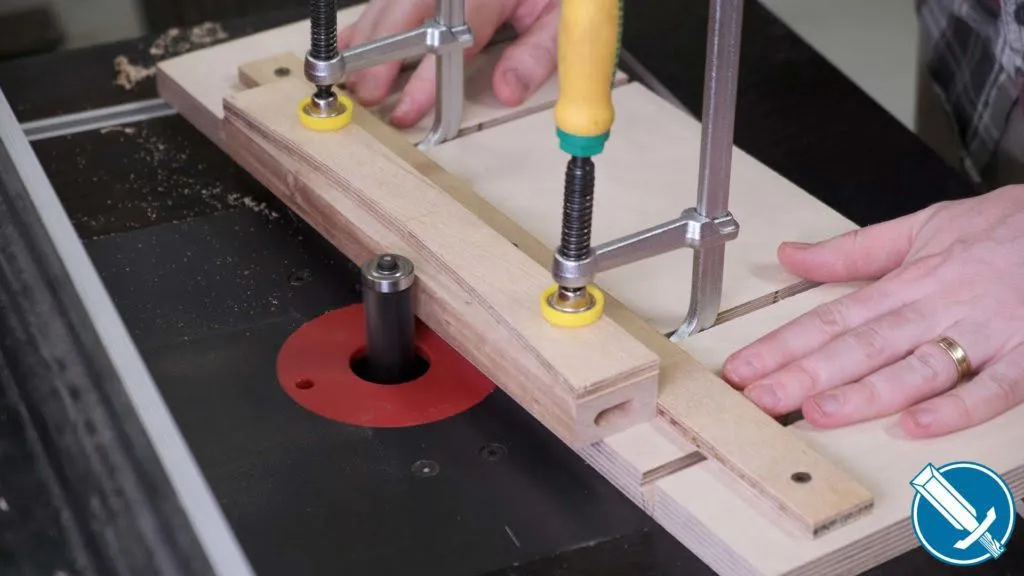
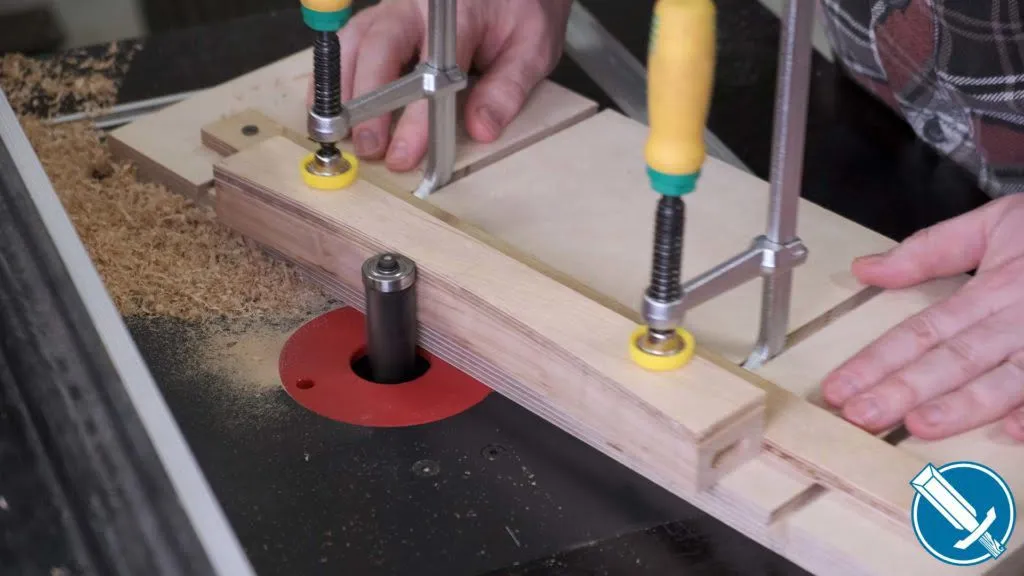
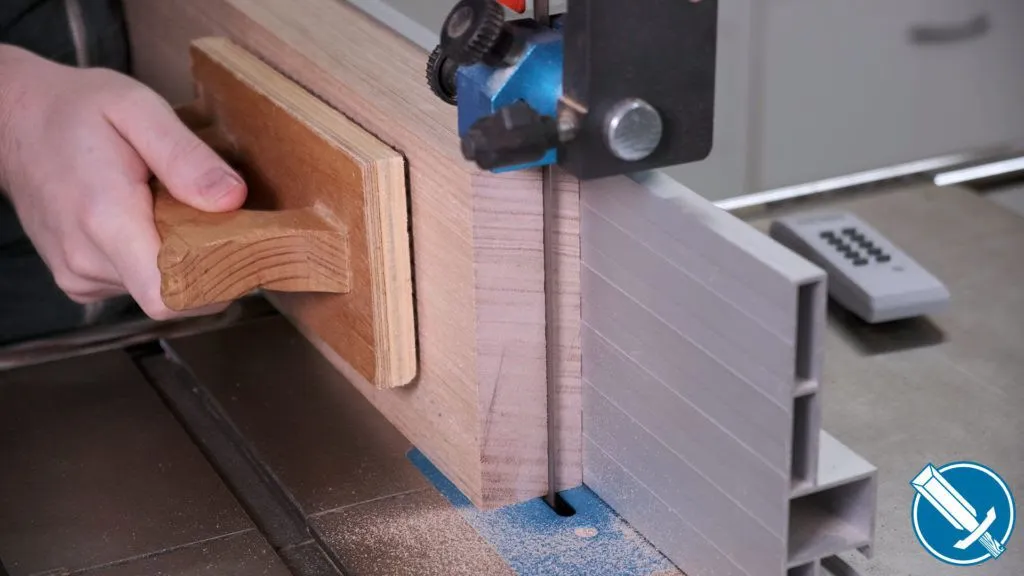
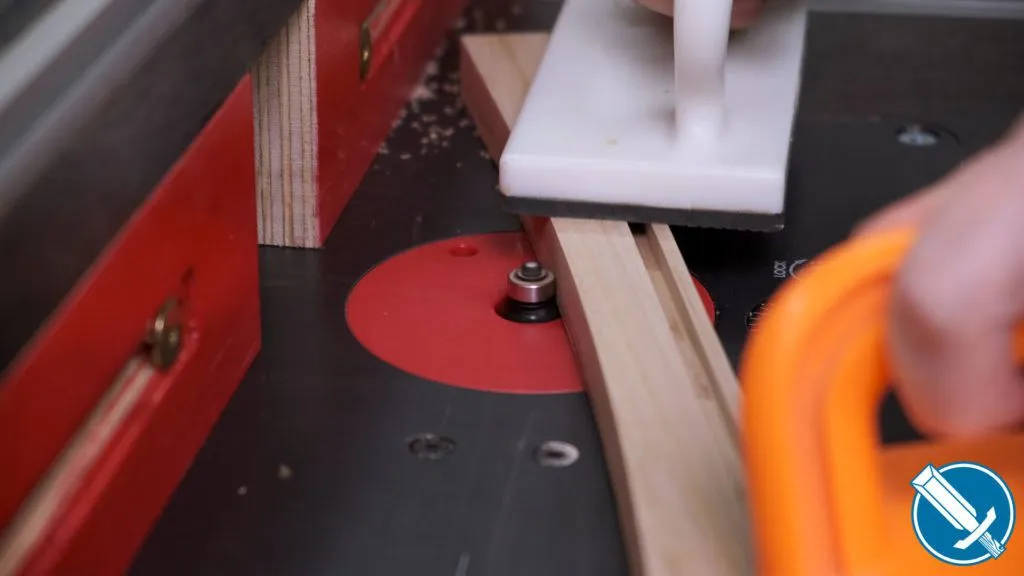
Flushing the curves
The apron and template can be clamped onto this jig, which is basically just a mini version of the tapering jig I made the other week without a mitre runner. You can make something similar with toggle clamps.
The flush trim bit bearing rides up against the arc template, very quickly removing material.
This type of jig is much quicker than using double sided tape.
All of the lower aprons (two short, two long) receive a curve. Nothing else does
Tapering The Legs
You can watch the attached video, or look at the instructable I wrote on the Tablesaw Tapering Jig.
The jig was made specifically for this project. The tapers are at the bottom of the legs, and are about 50mm/2″ long, and take the 40x40mm leg down to 32mmx32mm at the smallest point, by tapering two of the faces
Shelves
Like the boards that were resawn for the table top, the boards that will make up the shelf panels are resawn. Even less thickness is needed however, so instead of resawing in half, its resawn into thirds. The board starts square on two faces and one edge, and after the first cut on the bandsaw is taken back to the thicknesser to make the thicker ‘offcut’ piece have two square faces again.
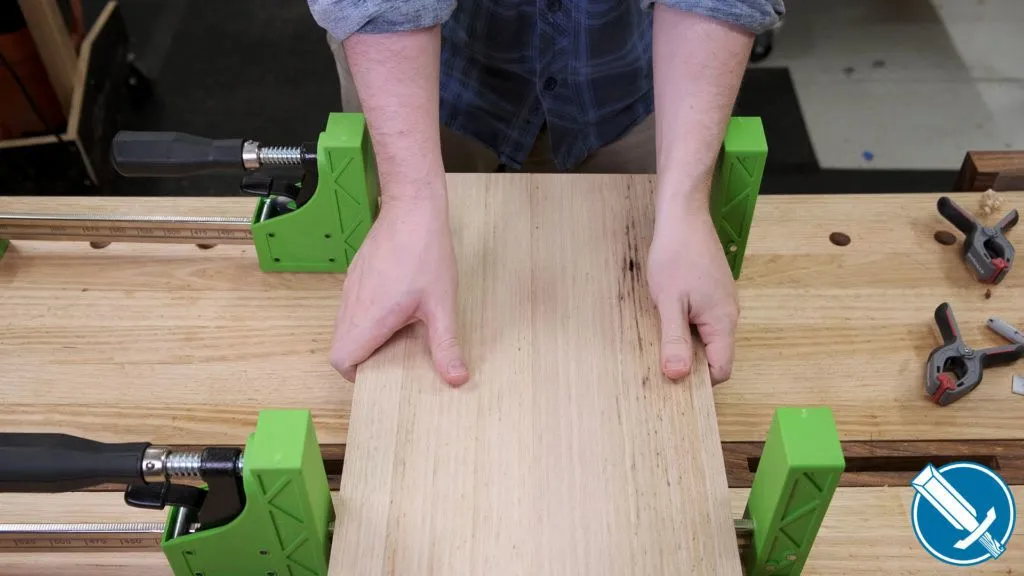
Glue up a panel thats oversized in both length and width. It’s much less work to cut down a panel to size than it is to be slightly too short and need to glue on more.
Once trimmed to size, the panels get a rebate to fit into the dados cut in the apron pieces. The show side – that is the face that will be seen from the top of the shelf – is face down. Use a straight bit or rebate bit in the router table.
Finishing
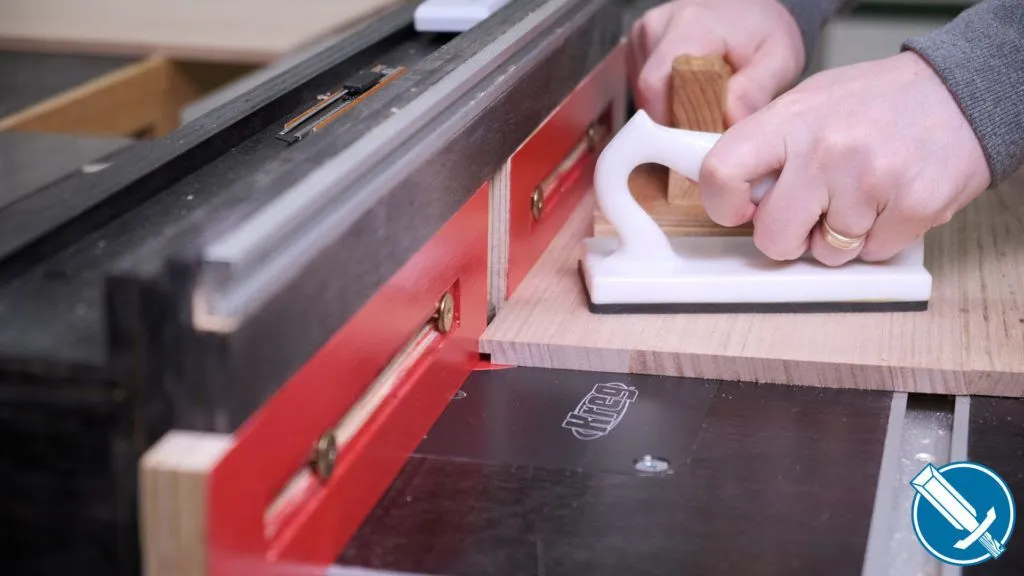
The final bit of prep on the apron and legs is rounding over using a 2mm radius router bit. Breaking the edges can be done with sandpaper, but it faster and more consistent with this tiny bit.
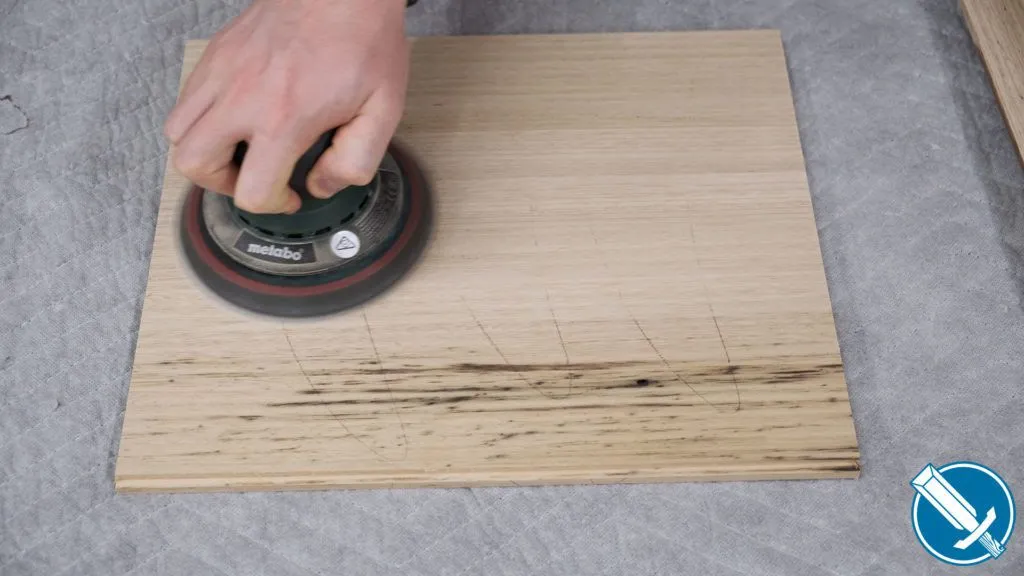
Before glue up, all parts are sanded up to 180 grit.
I use the pencil method for knowing when I’ve sanded enough – scribble some lines, sand until the lines are gone, and you’re done.
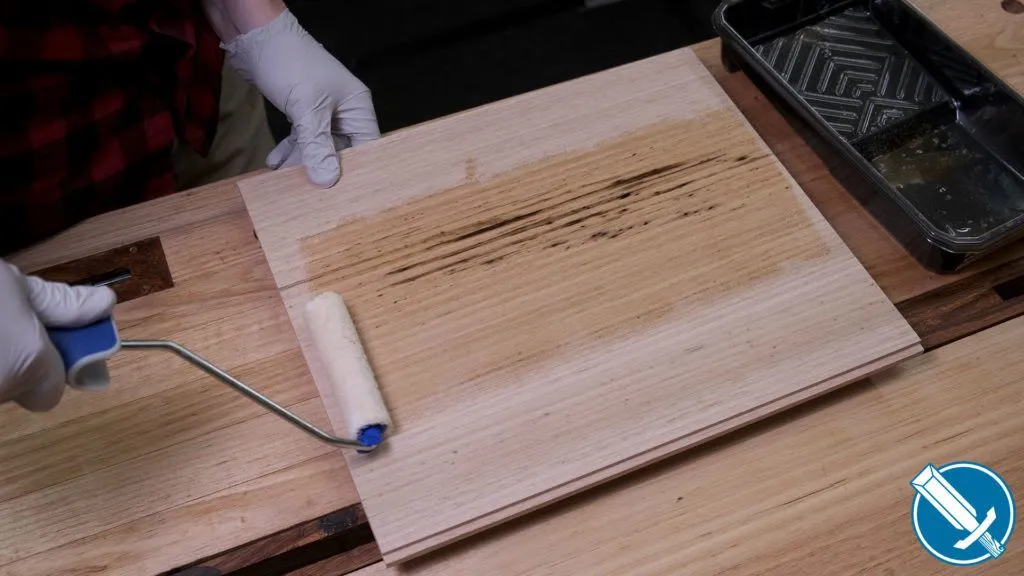
I find it much easier to apply finish before glue up, rather than after. Particularly with this hardwax oil, it’s easy to do touch ups after glue up if need be. I apply just two coats, rolling it on with a microfibre roller.
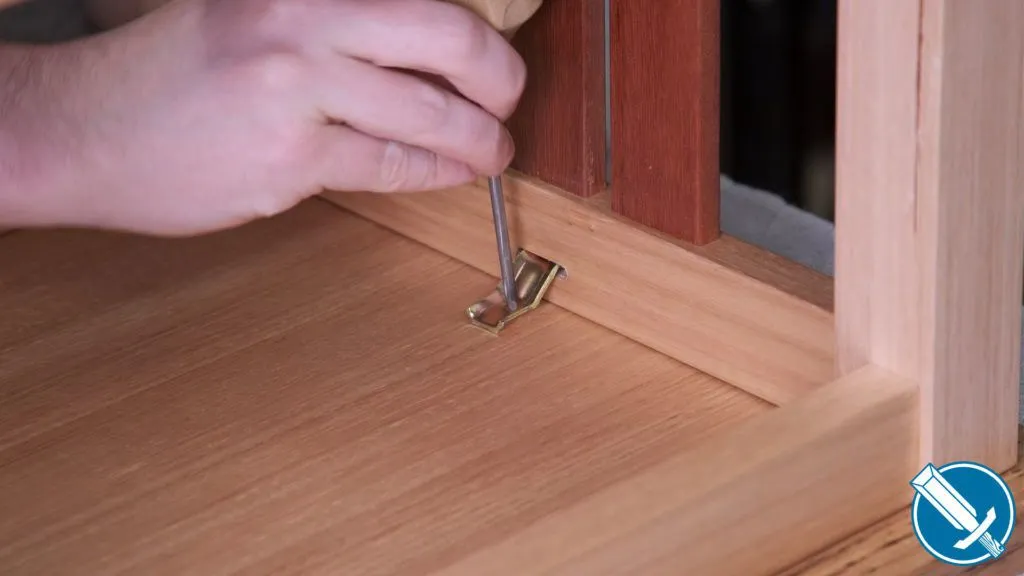
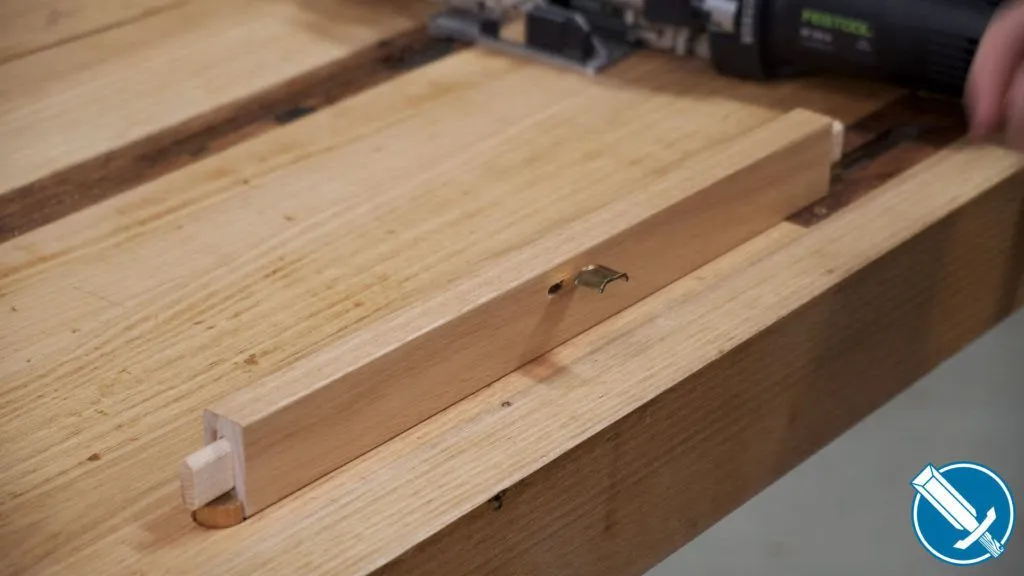
Z-Clips
Z-clips are a way to attach table tops to the base while still allowing wood movement.
If you were to just glue on screw the top on without allowing for movement, eventually the table top would likely split. In this case – being a relatively small side table – you could probably get away with it. However, it’s good practice to always avoid restricting wood movement when possible.
The Z-Clips I use need a 5mm slot that’s about 10mm from the top of the apron. I’ve just used the Domino to cut the slot, but a biscuit jointer or router will work great too. You could even use multiple passes with a table saw – the kerf is on the inside, so it’d be invisible anyway.
Make sure you add in the slots before glue up!
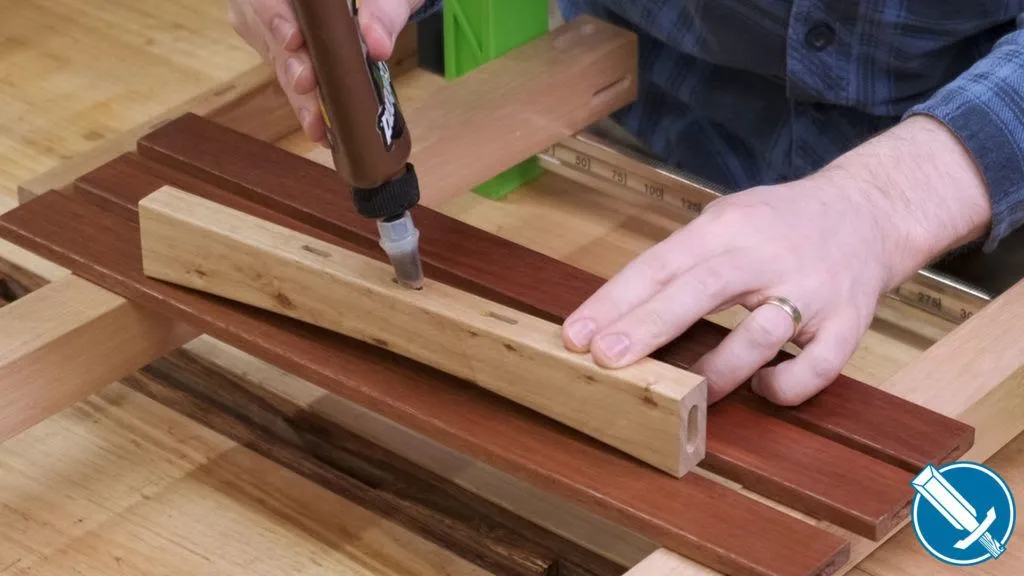
First Glue Up
If I can break a project into smaller sub assemblies, I always try to. In this case, I’ll be gluing up the short sides as sub assemblies, so that the overall glue up is less stressful.
As this will only ever be indoors, liquid hide glue is my go-to for hassle free glue ups. It won’t stain the wood like PVA, it’ll stick to itself if I get it in the wrong mortise, and helps lubricate the joint for easier assembly.
Glue is squeezed into each mortise, then brushed onto the walls of the mortise. The loose tenons can be easily inserted by hand for the most part.
A mallet coaxes the top apron into proper alignment, and the additional orange clamp pulls the bottom rail and stiles up nice and tight.
This is the downside of using the domino on the slightly wider setting, there is a bit too much wriggle room
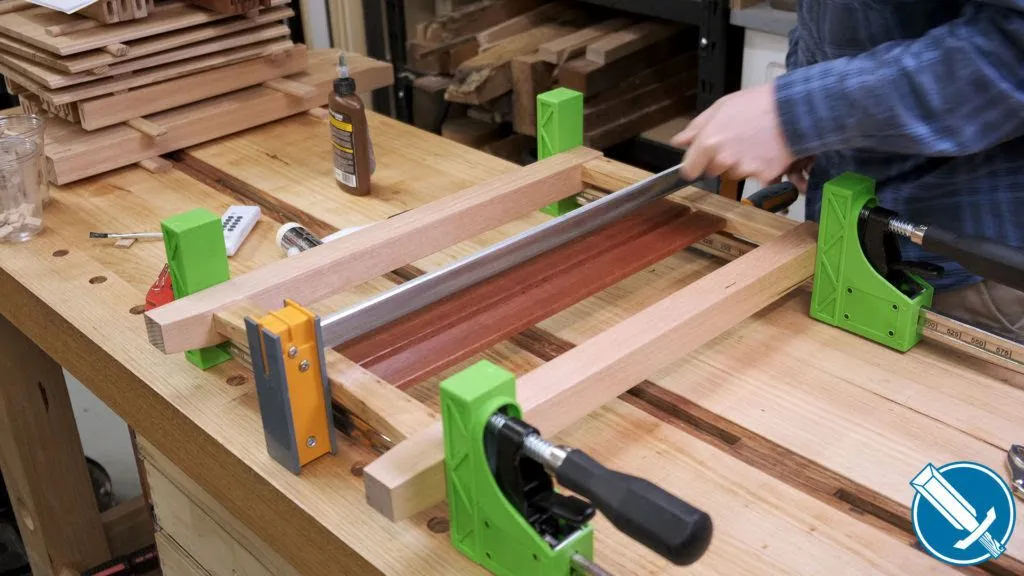
Second Glue Up
The second stage glue up is the long aprons and shelves.
While waiting for the short sides to dry, I glued in dominoes to the long aprons. I like to work within my own levels of dumb, so by pregluing in one side of the dominoes, I’ve got a much lower chance of forgetting to put glue in a mortise.
The shelves are floating, they do not get glued in.
I’ve found these parallel clamps have enormous clamping pressure, so some scrap wood makes a good caul to not dent the wood.
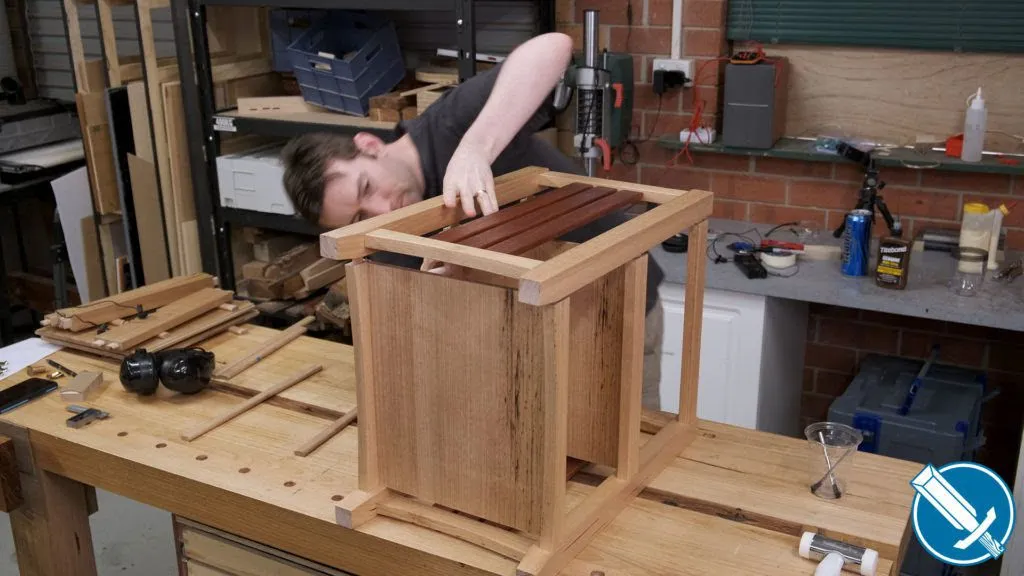
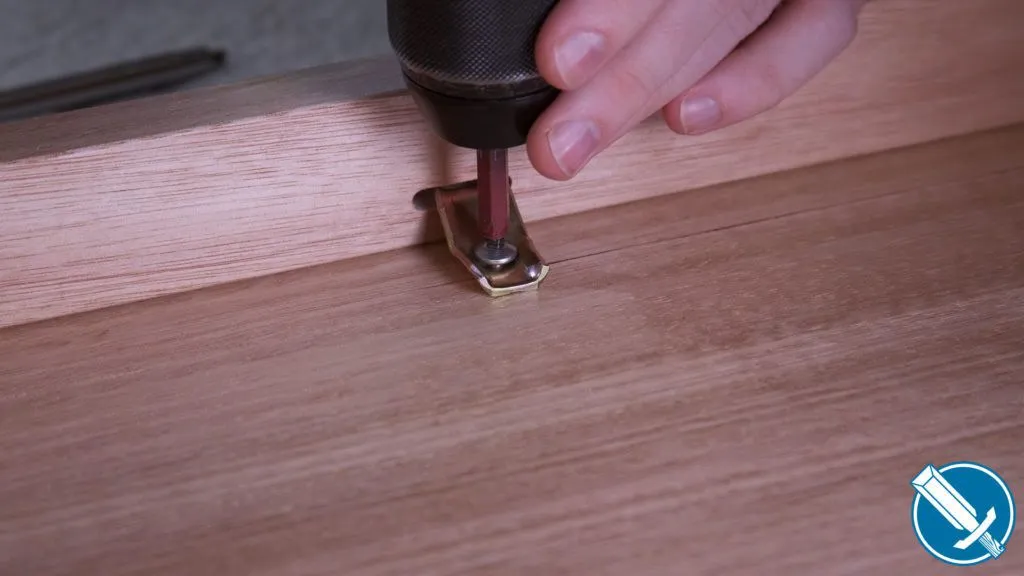
Attaching Z-Clips
With everything glued up and finished, it’s time to attach the top to the base.
Flip the top onto a moving blanket, with the base on top of it. Slide the z-clips in and use an awl to mark where to drill.
Remove the base, and drill a pilot hole for the z-clip.
Place the base on again, and screw in to the top, through the z-clip.
Congrats, you’re now done!